|
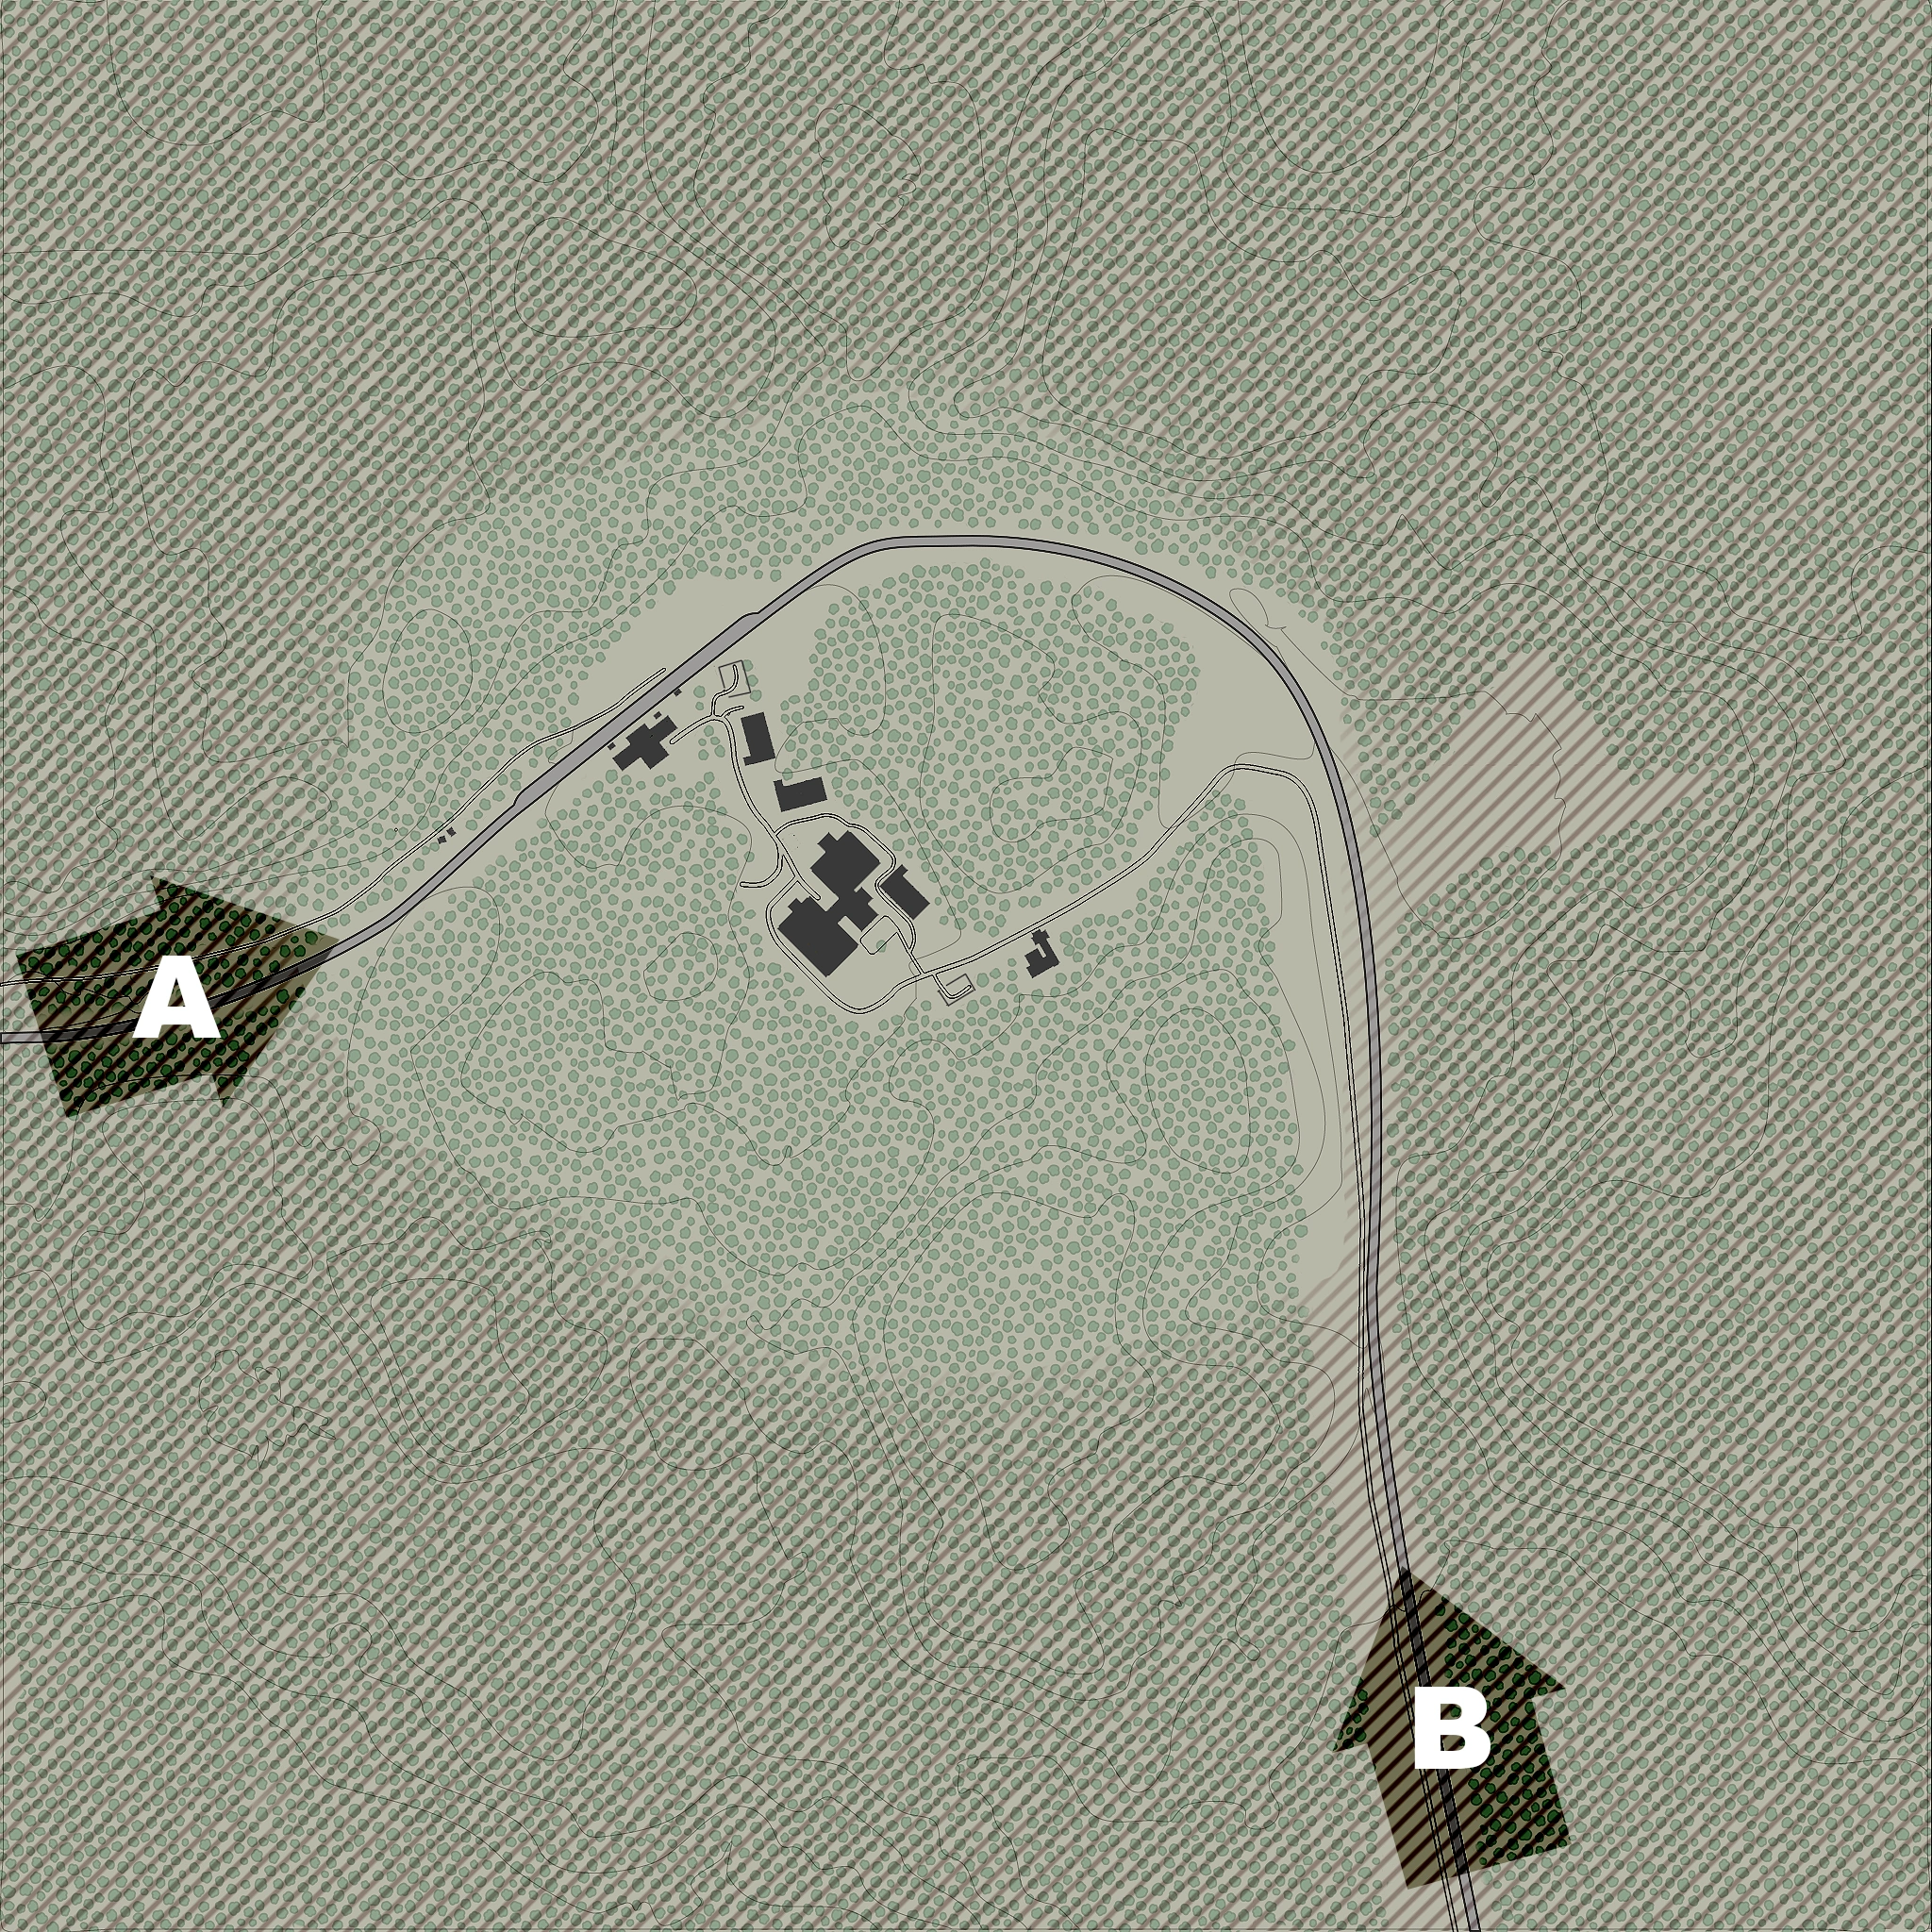
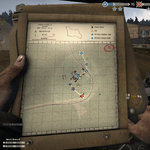
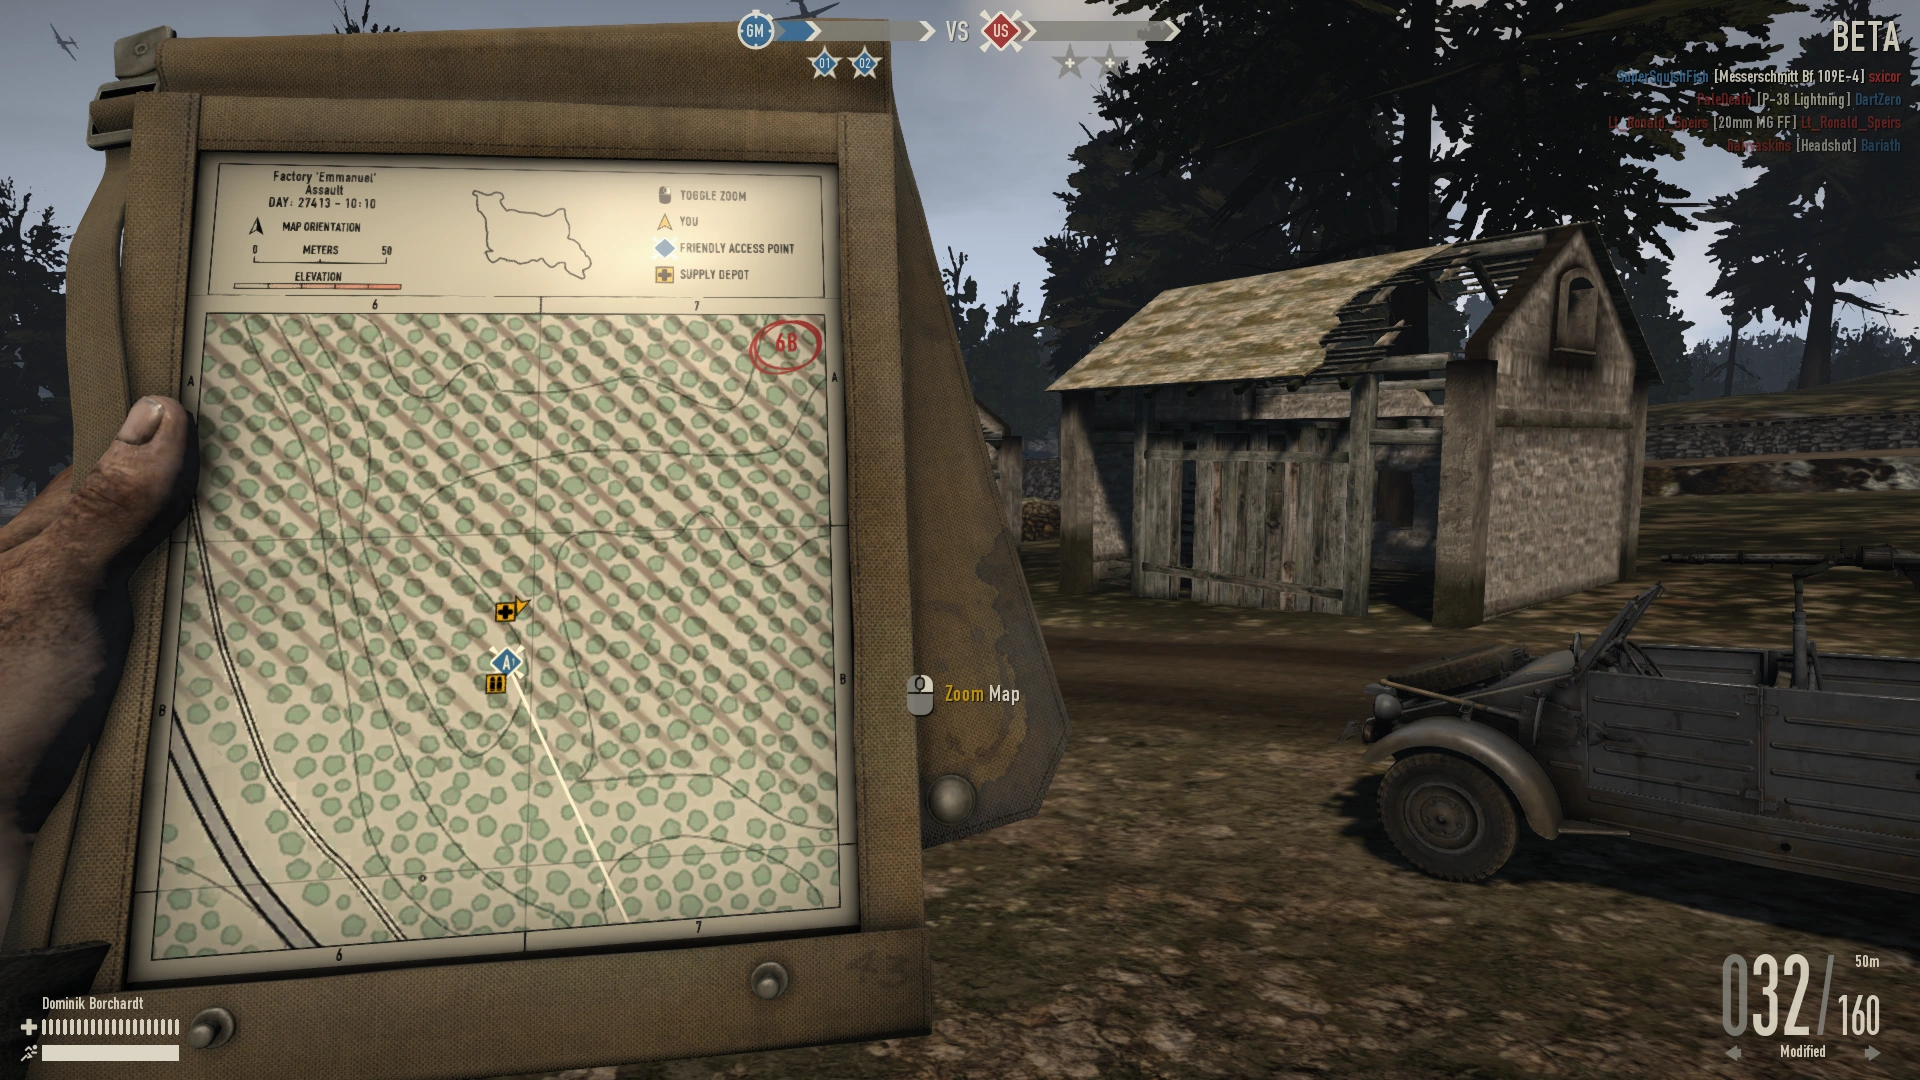
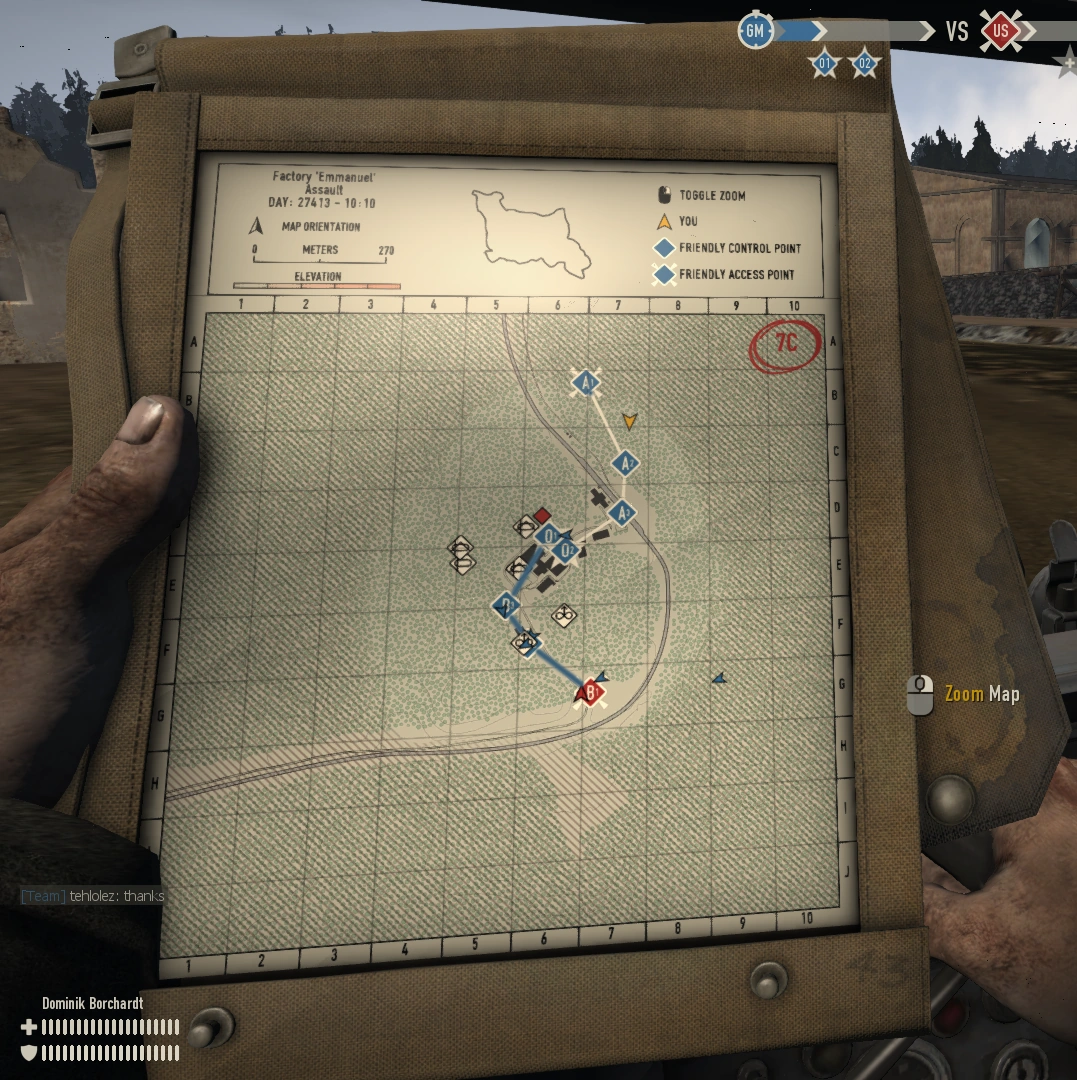
The old map layout, note that where B-line was is where C-line is now.

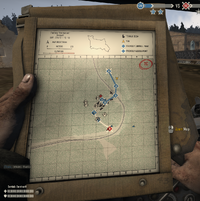
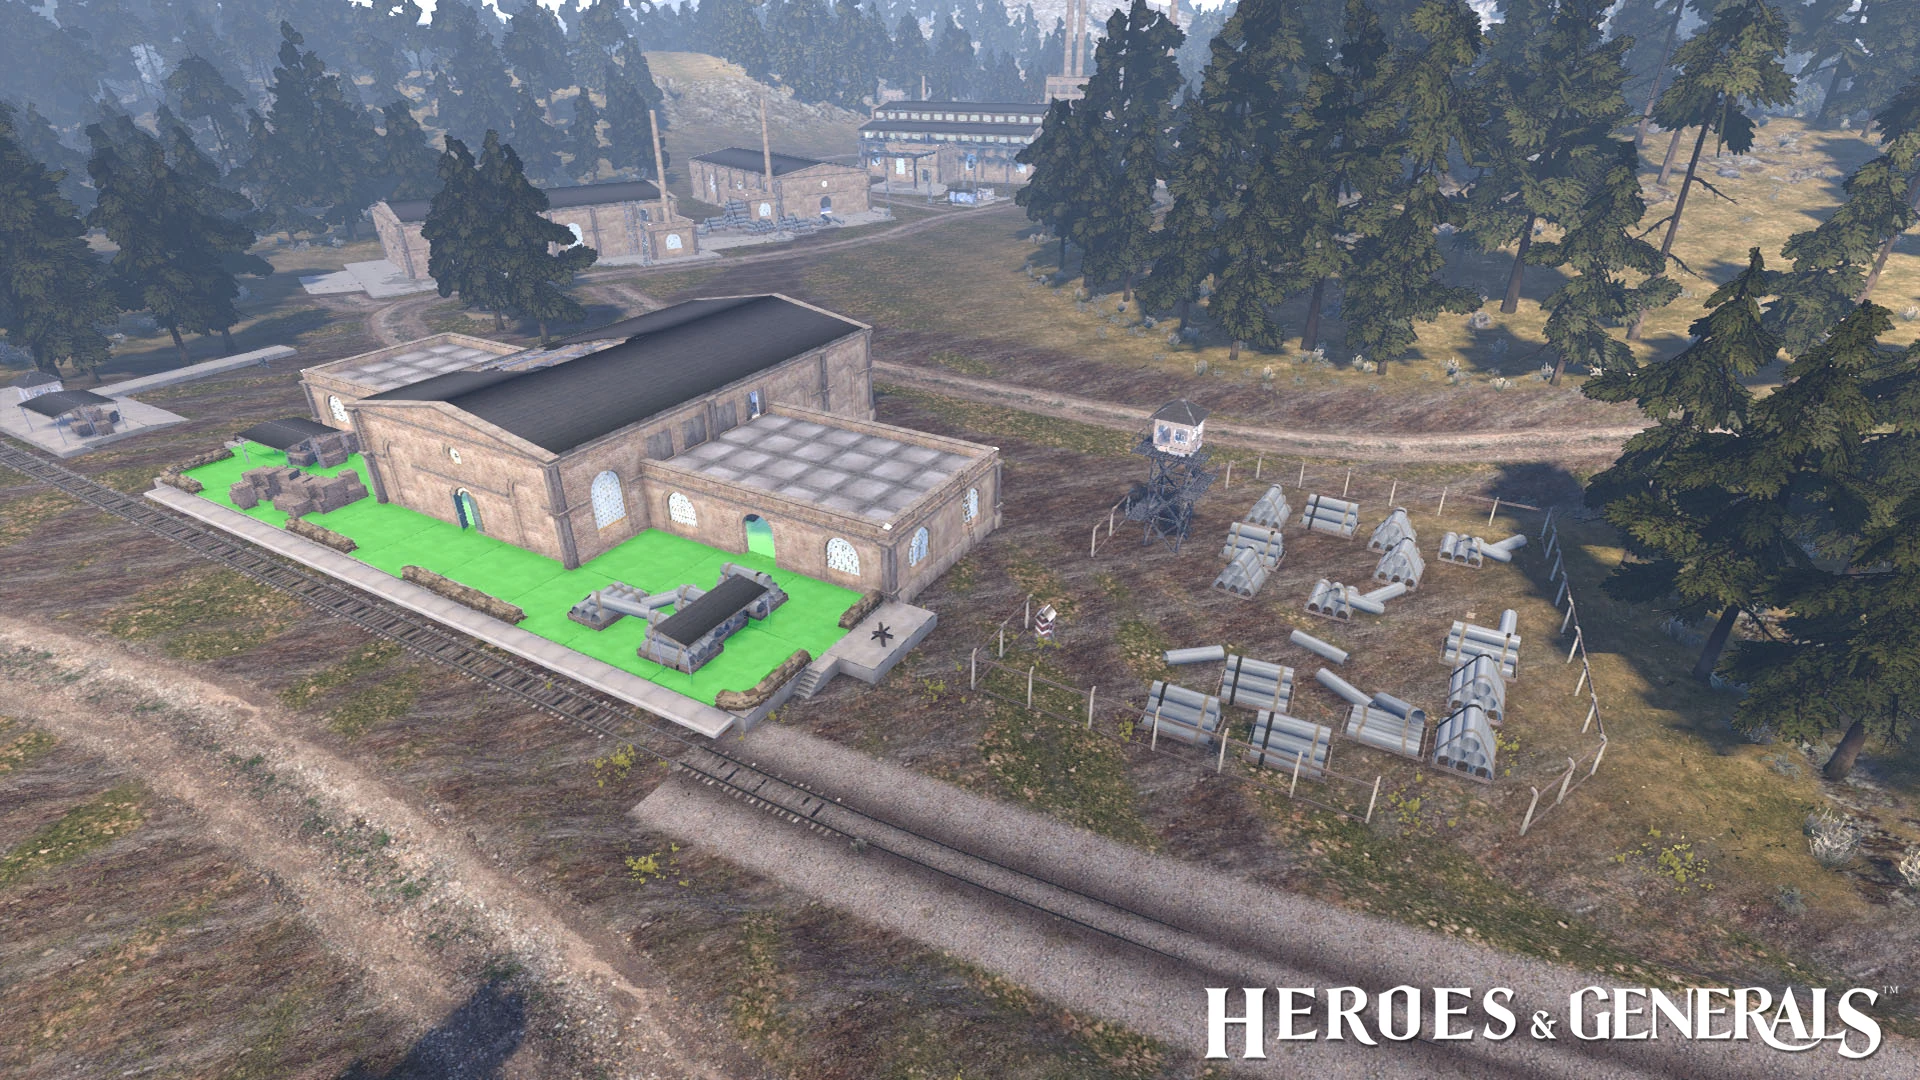
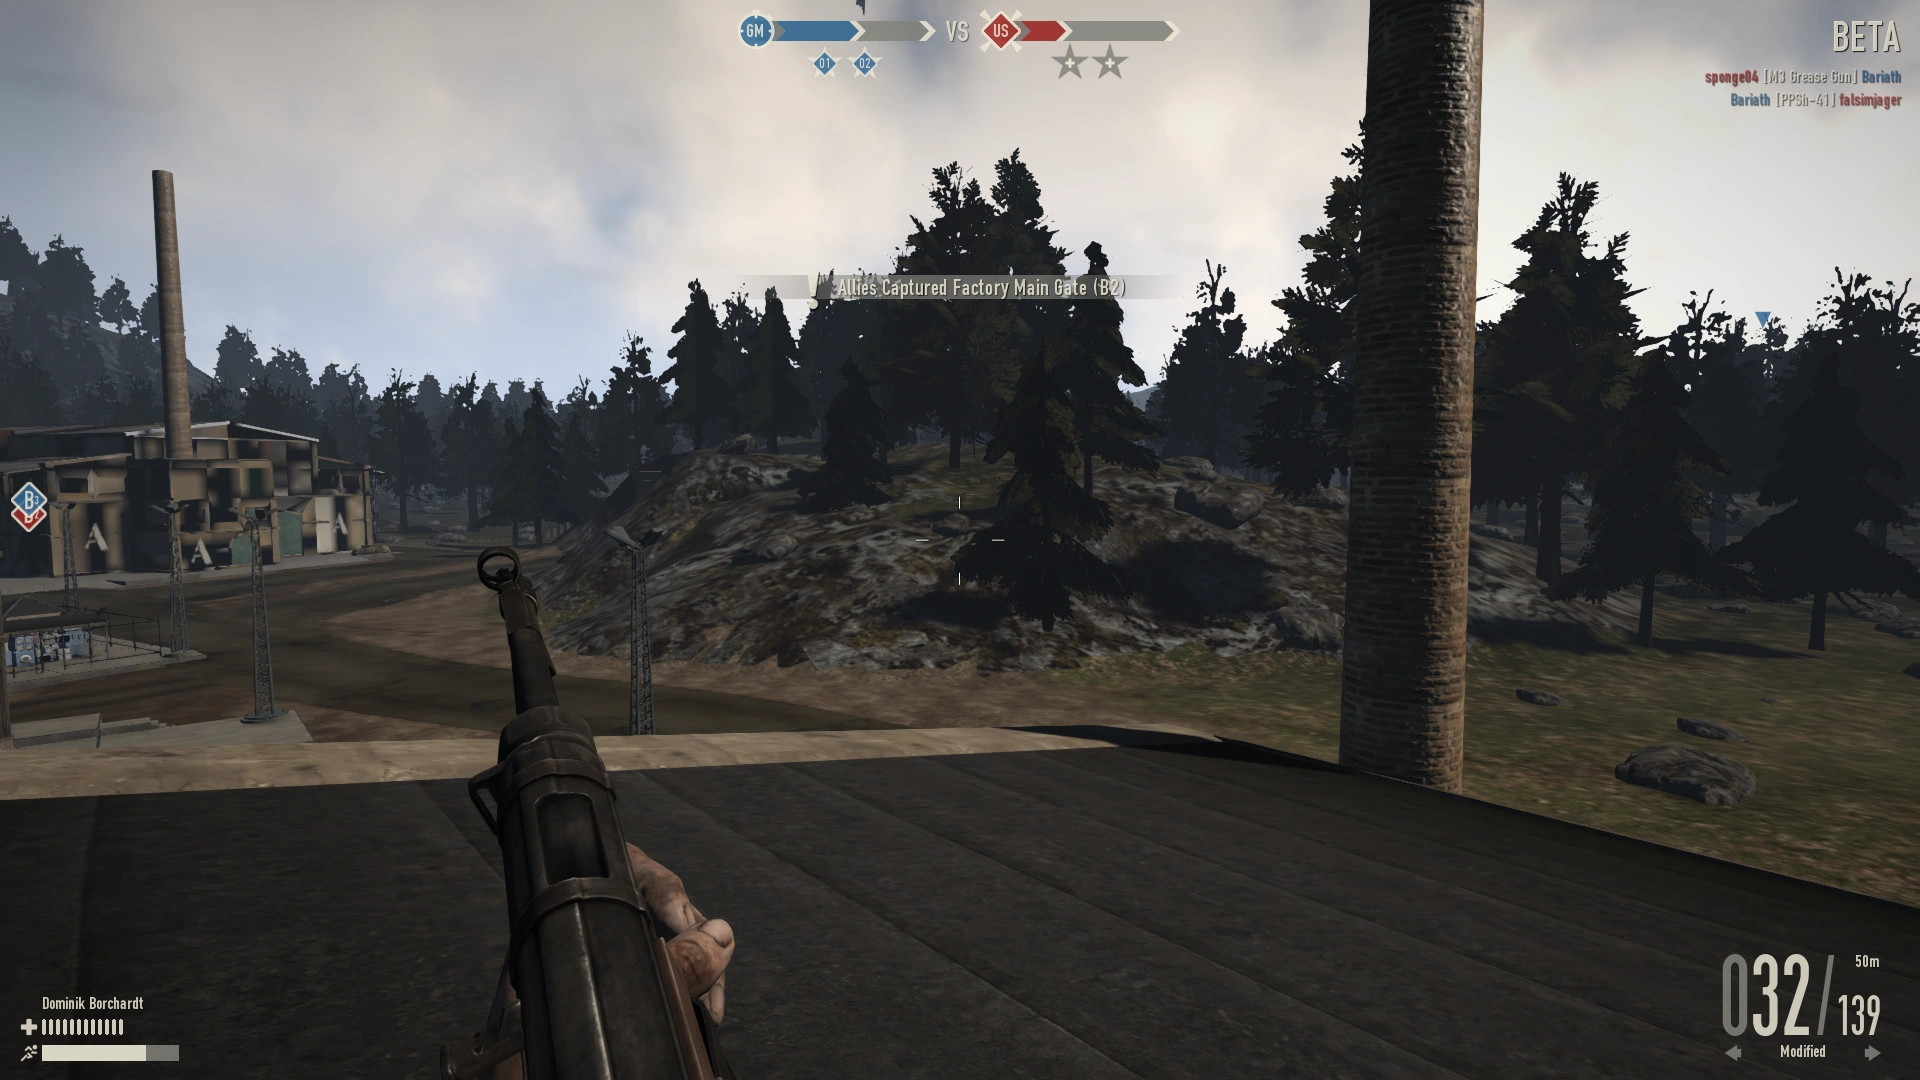
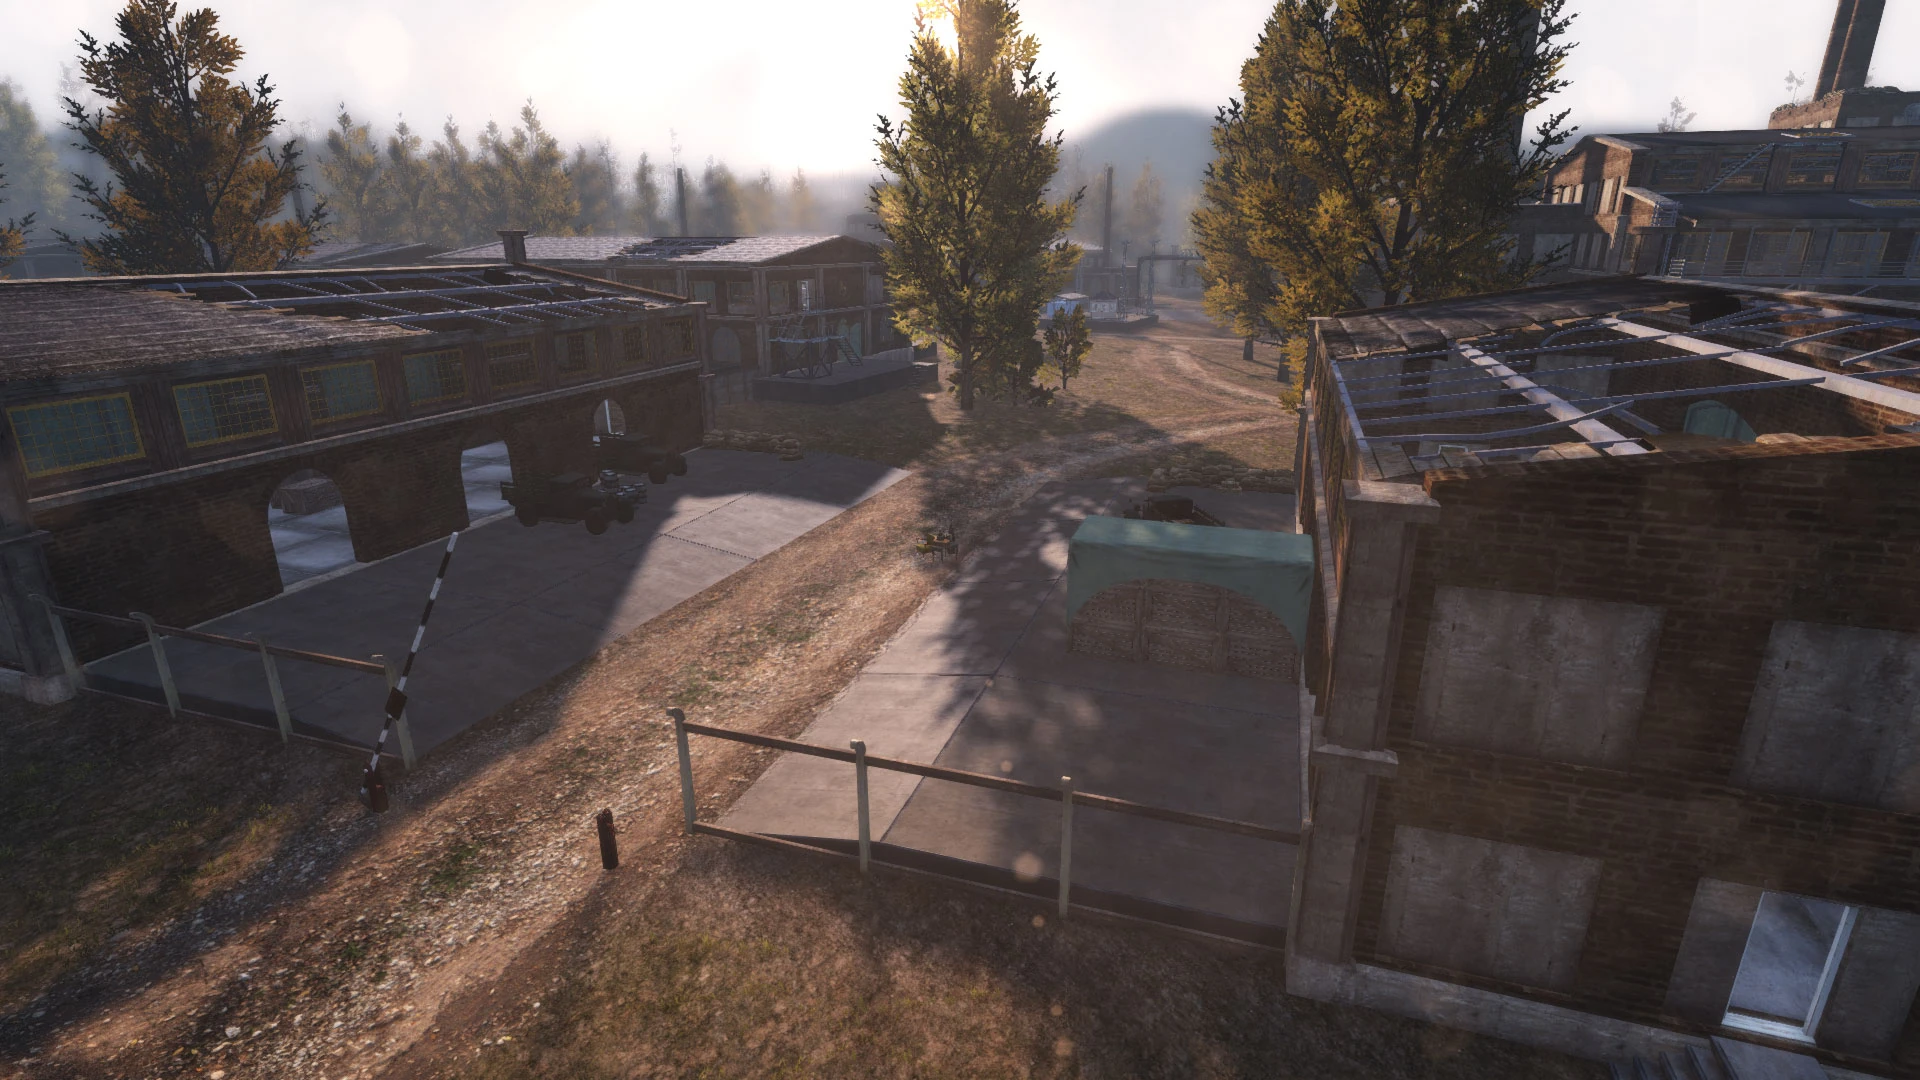
The new Factory layout
Layout[ | ]
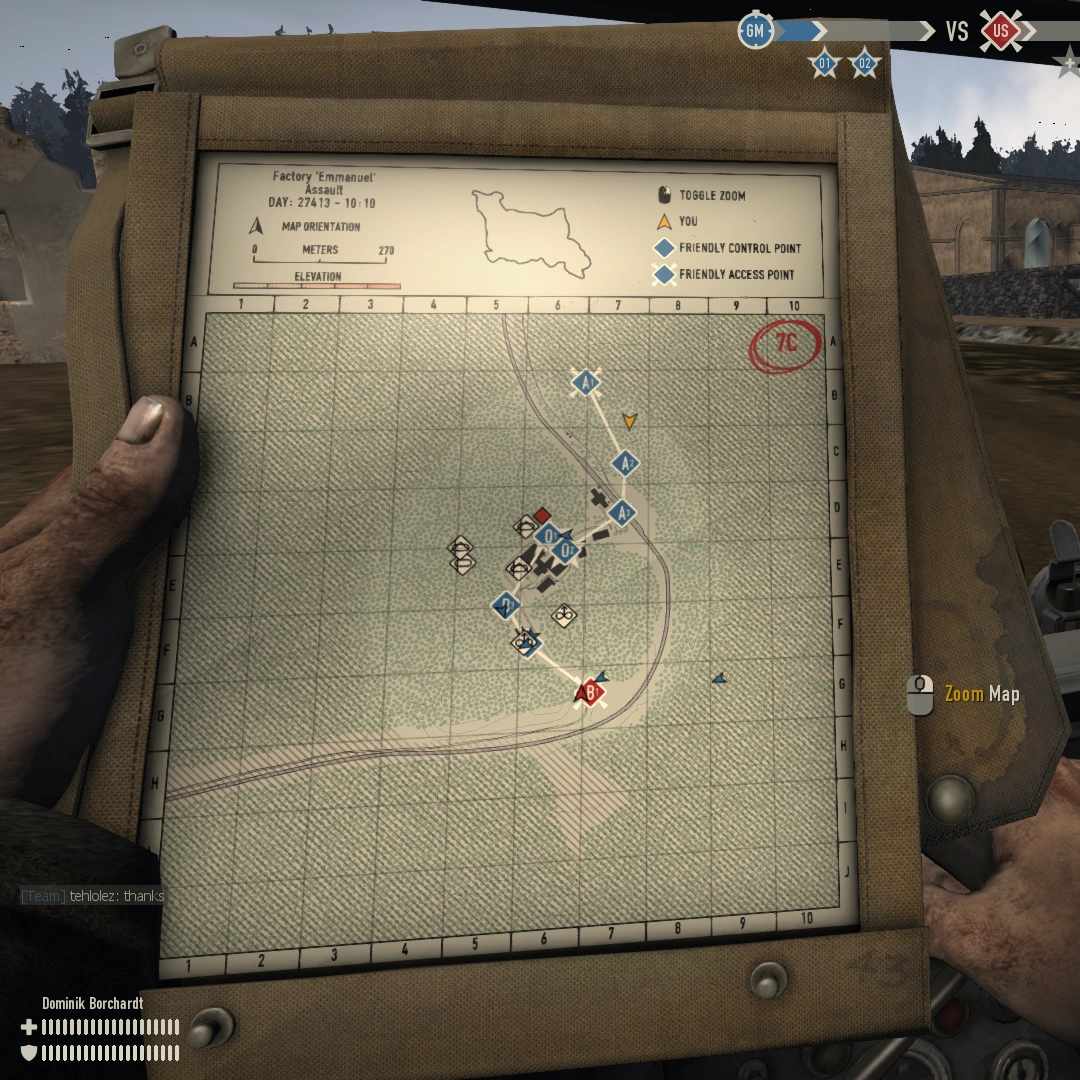
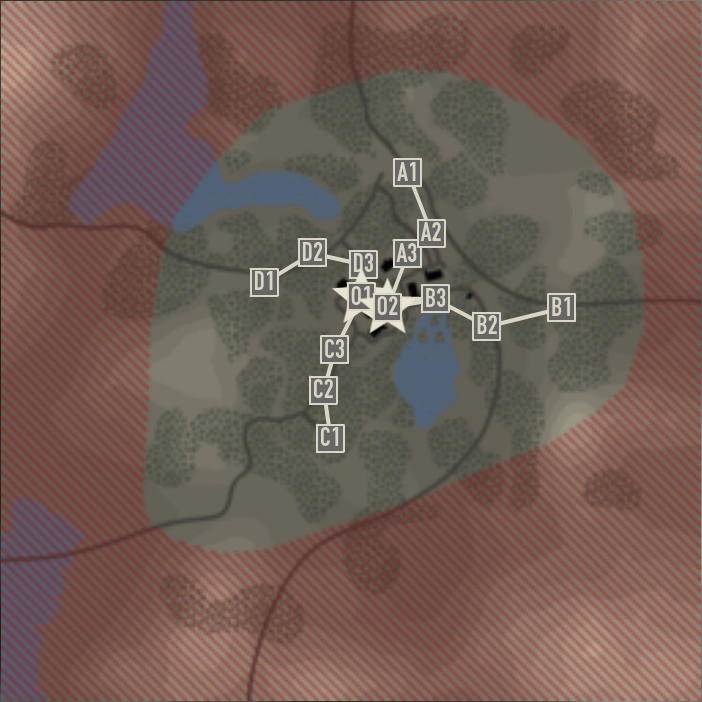
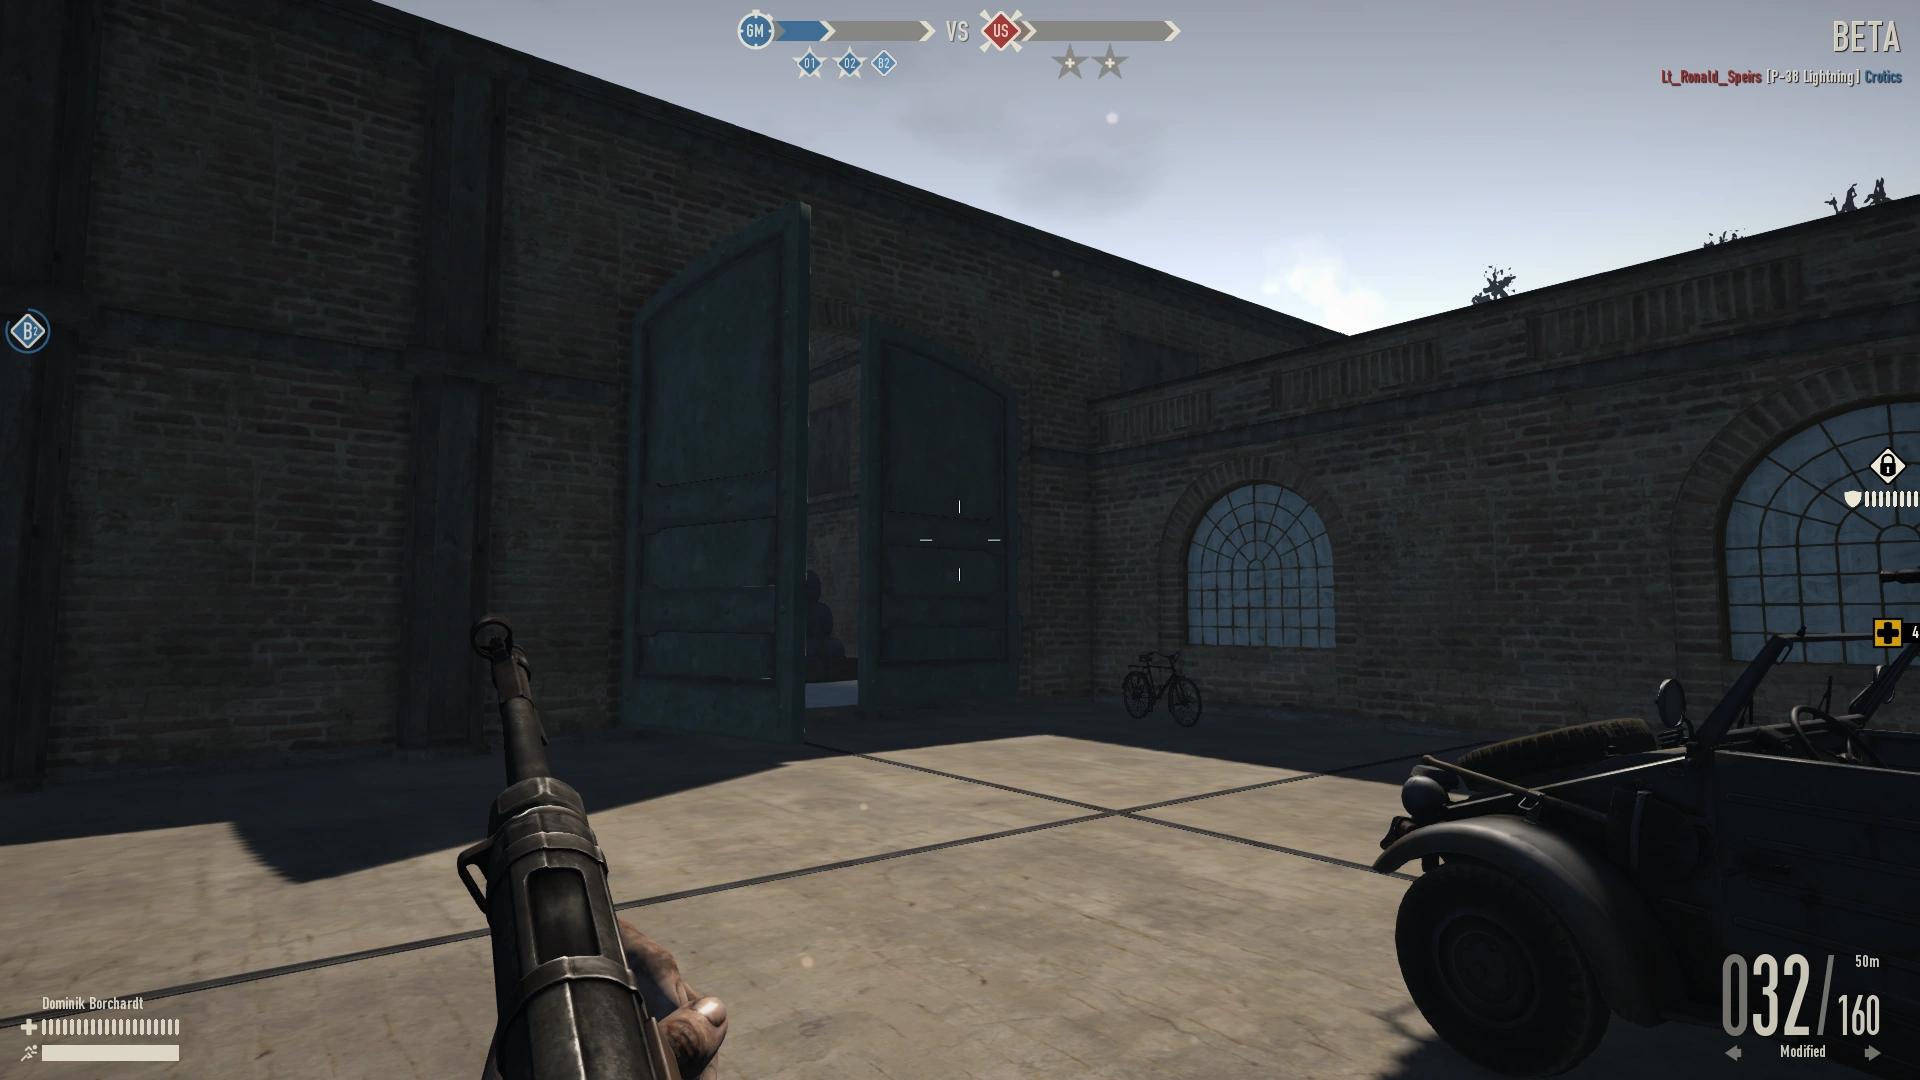
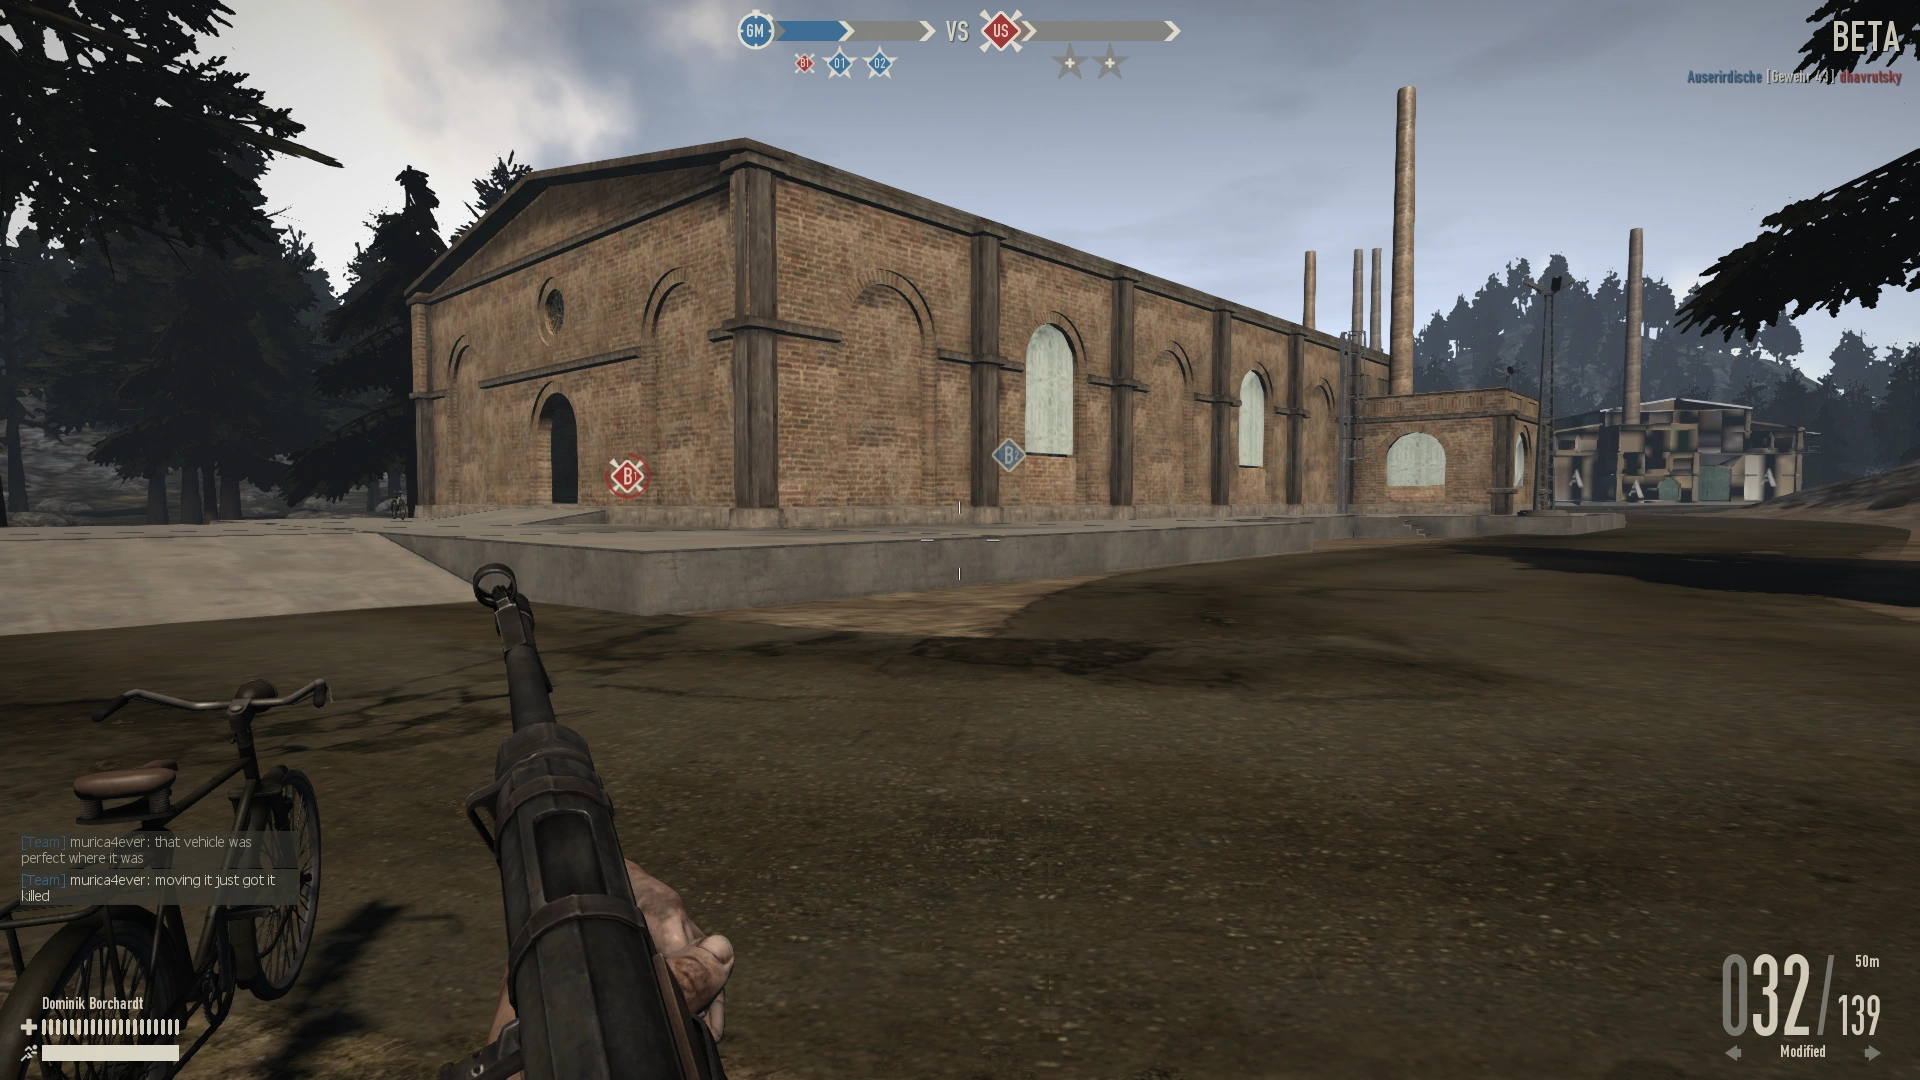
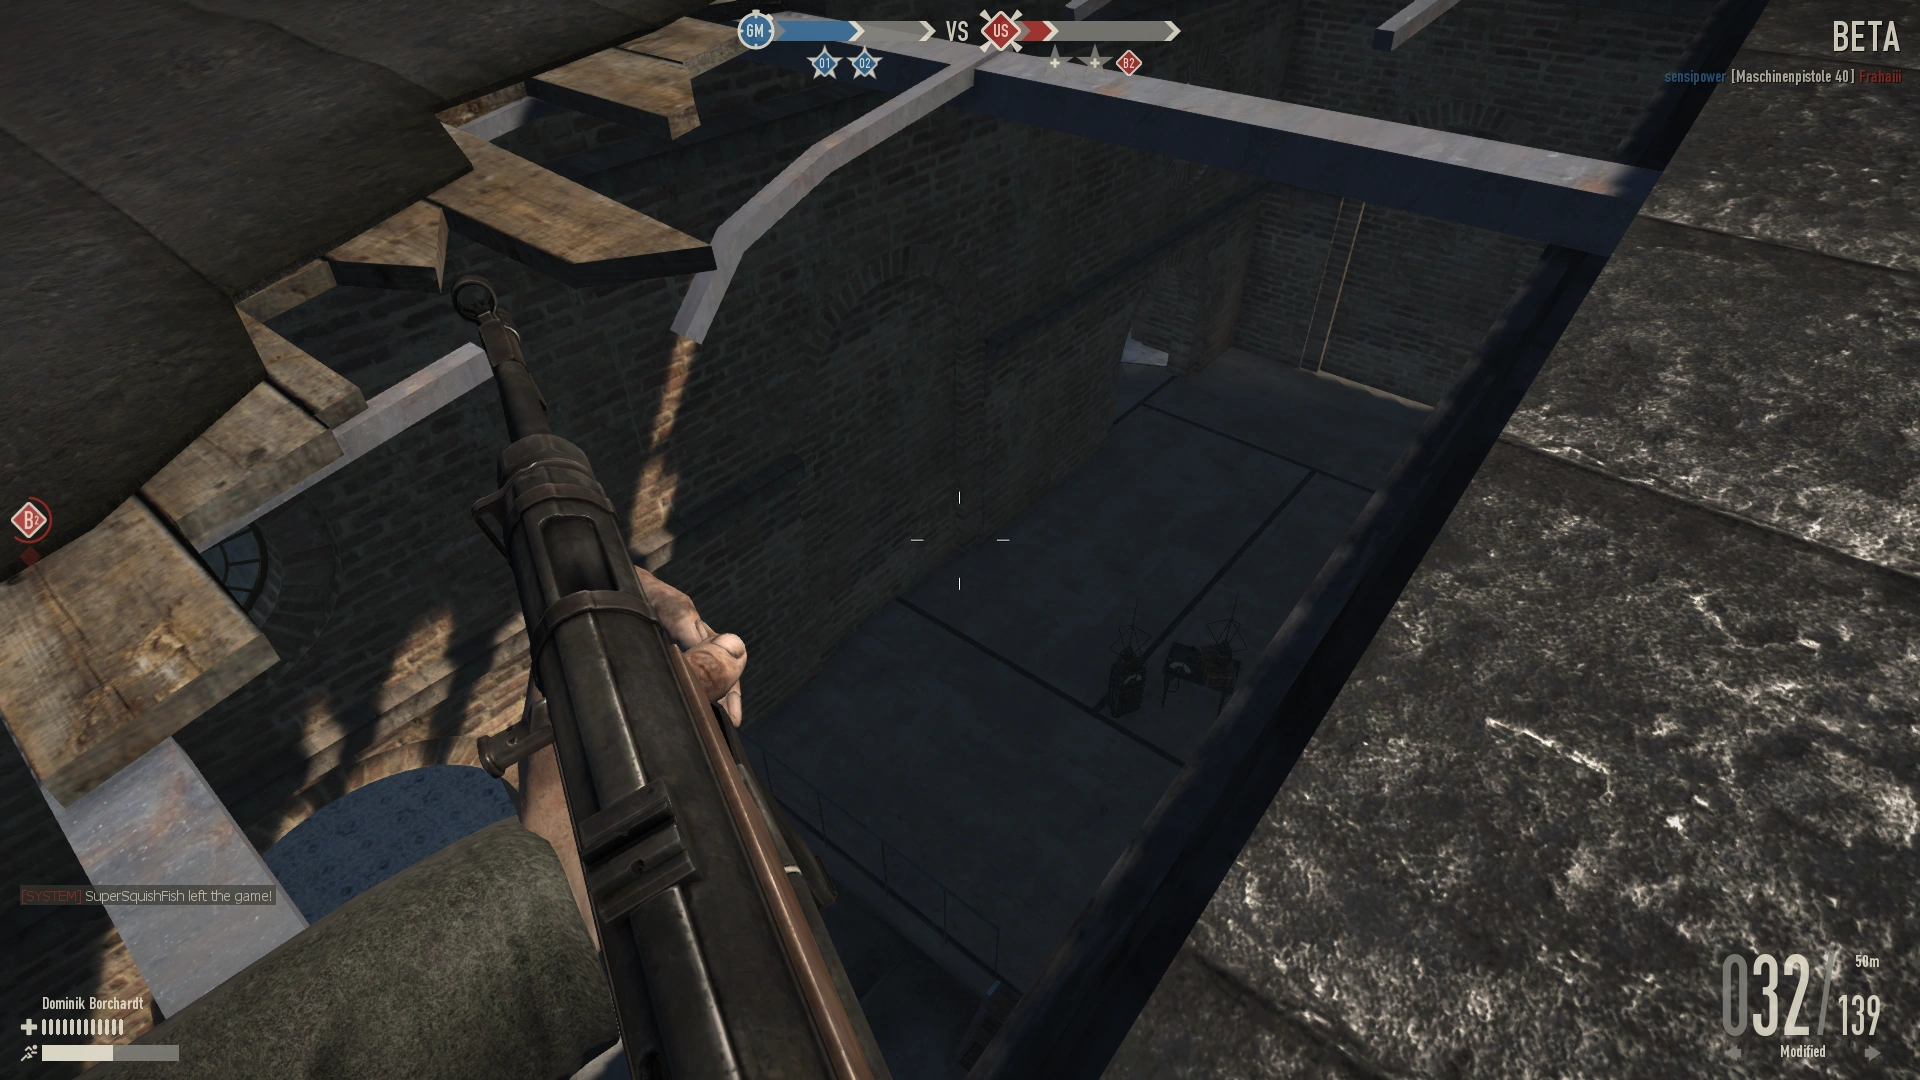
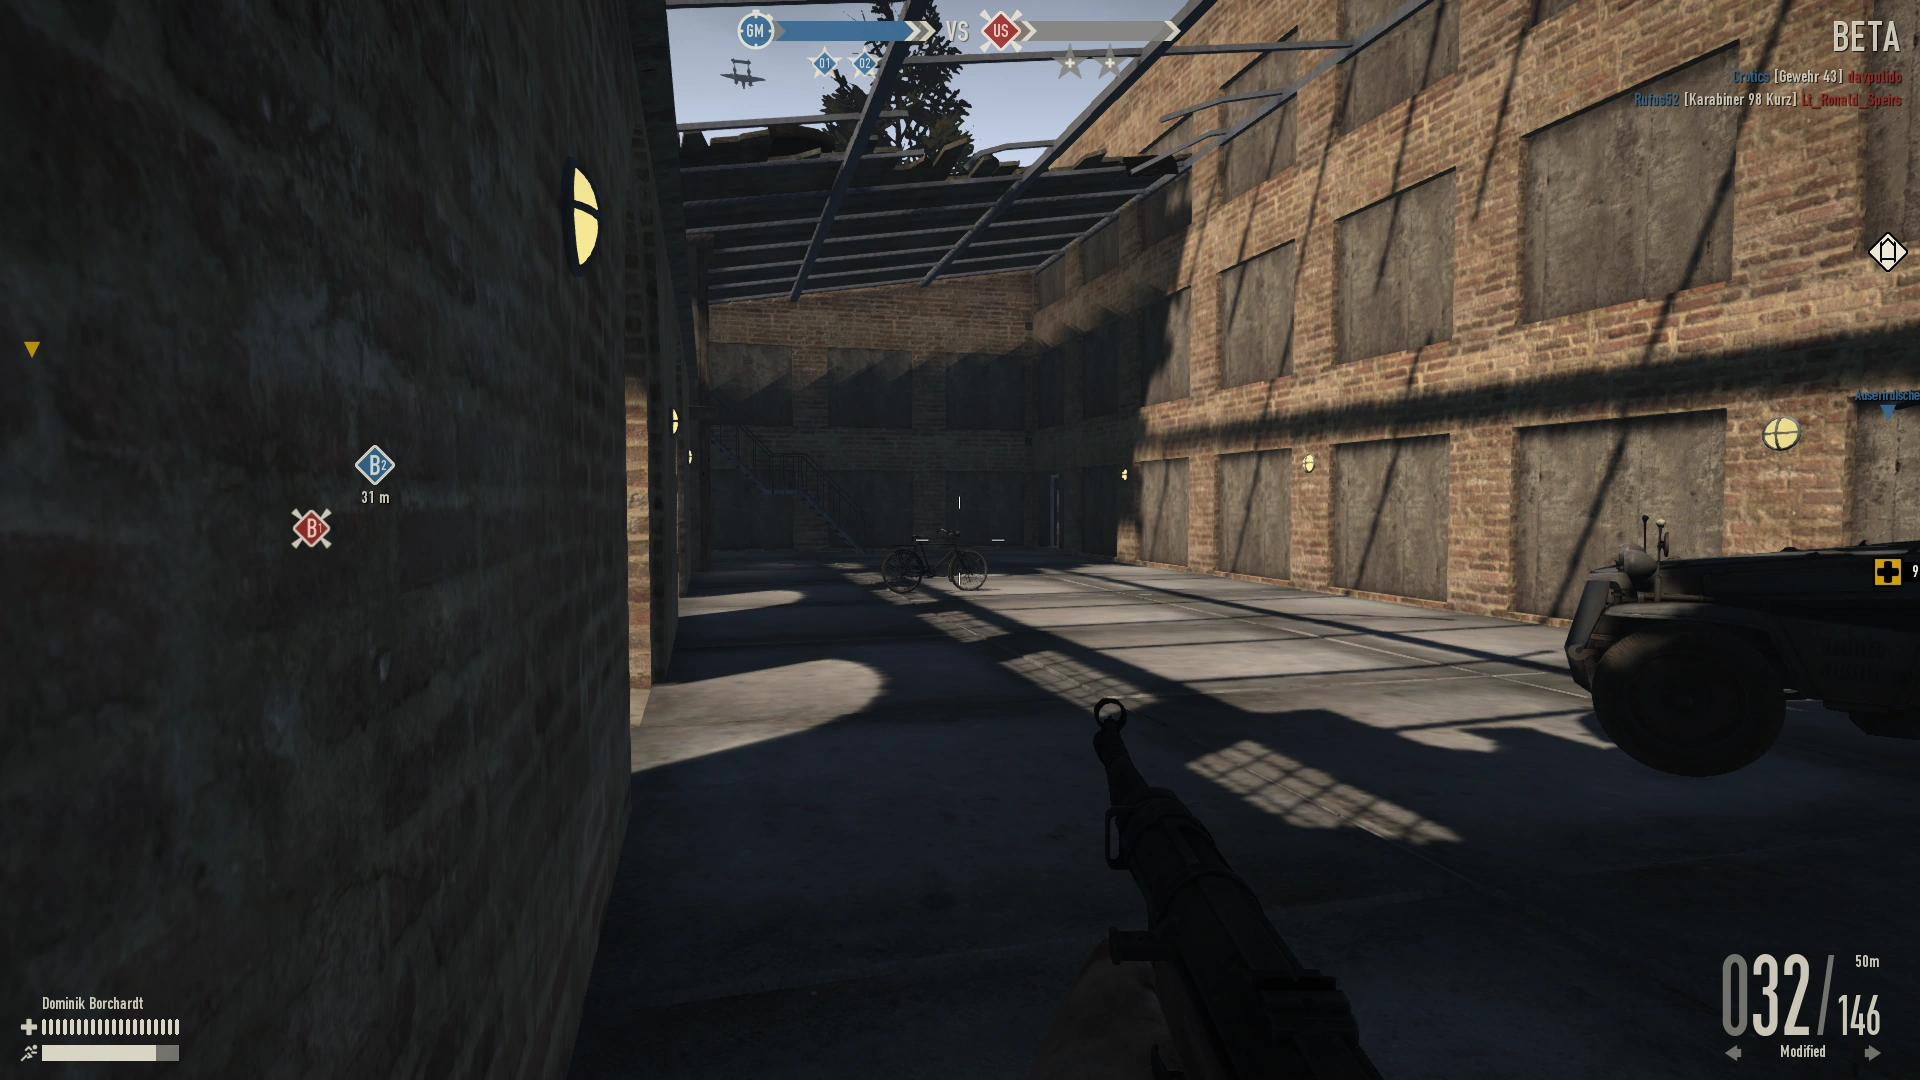
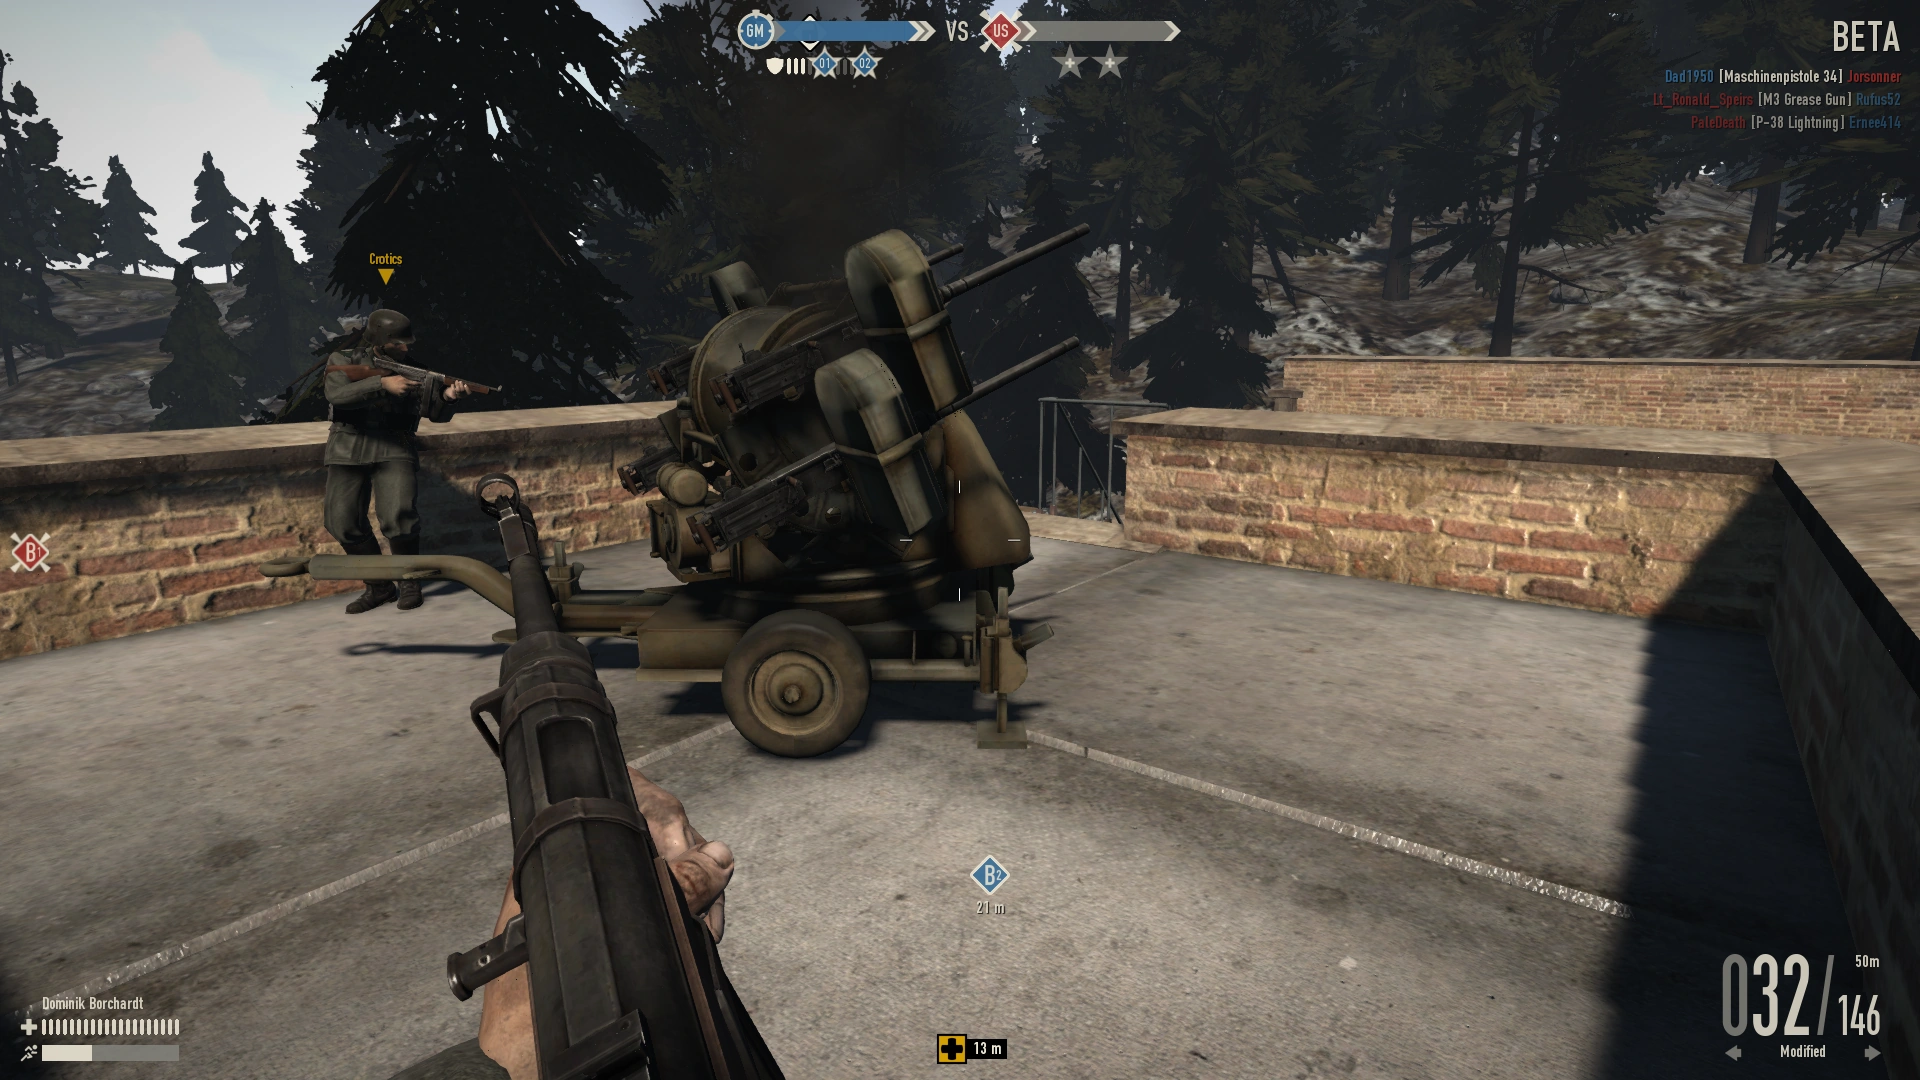
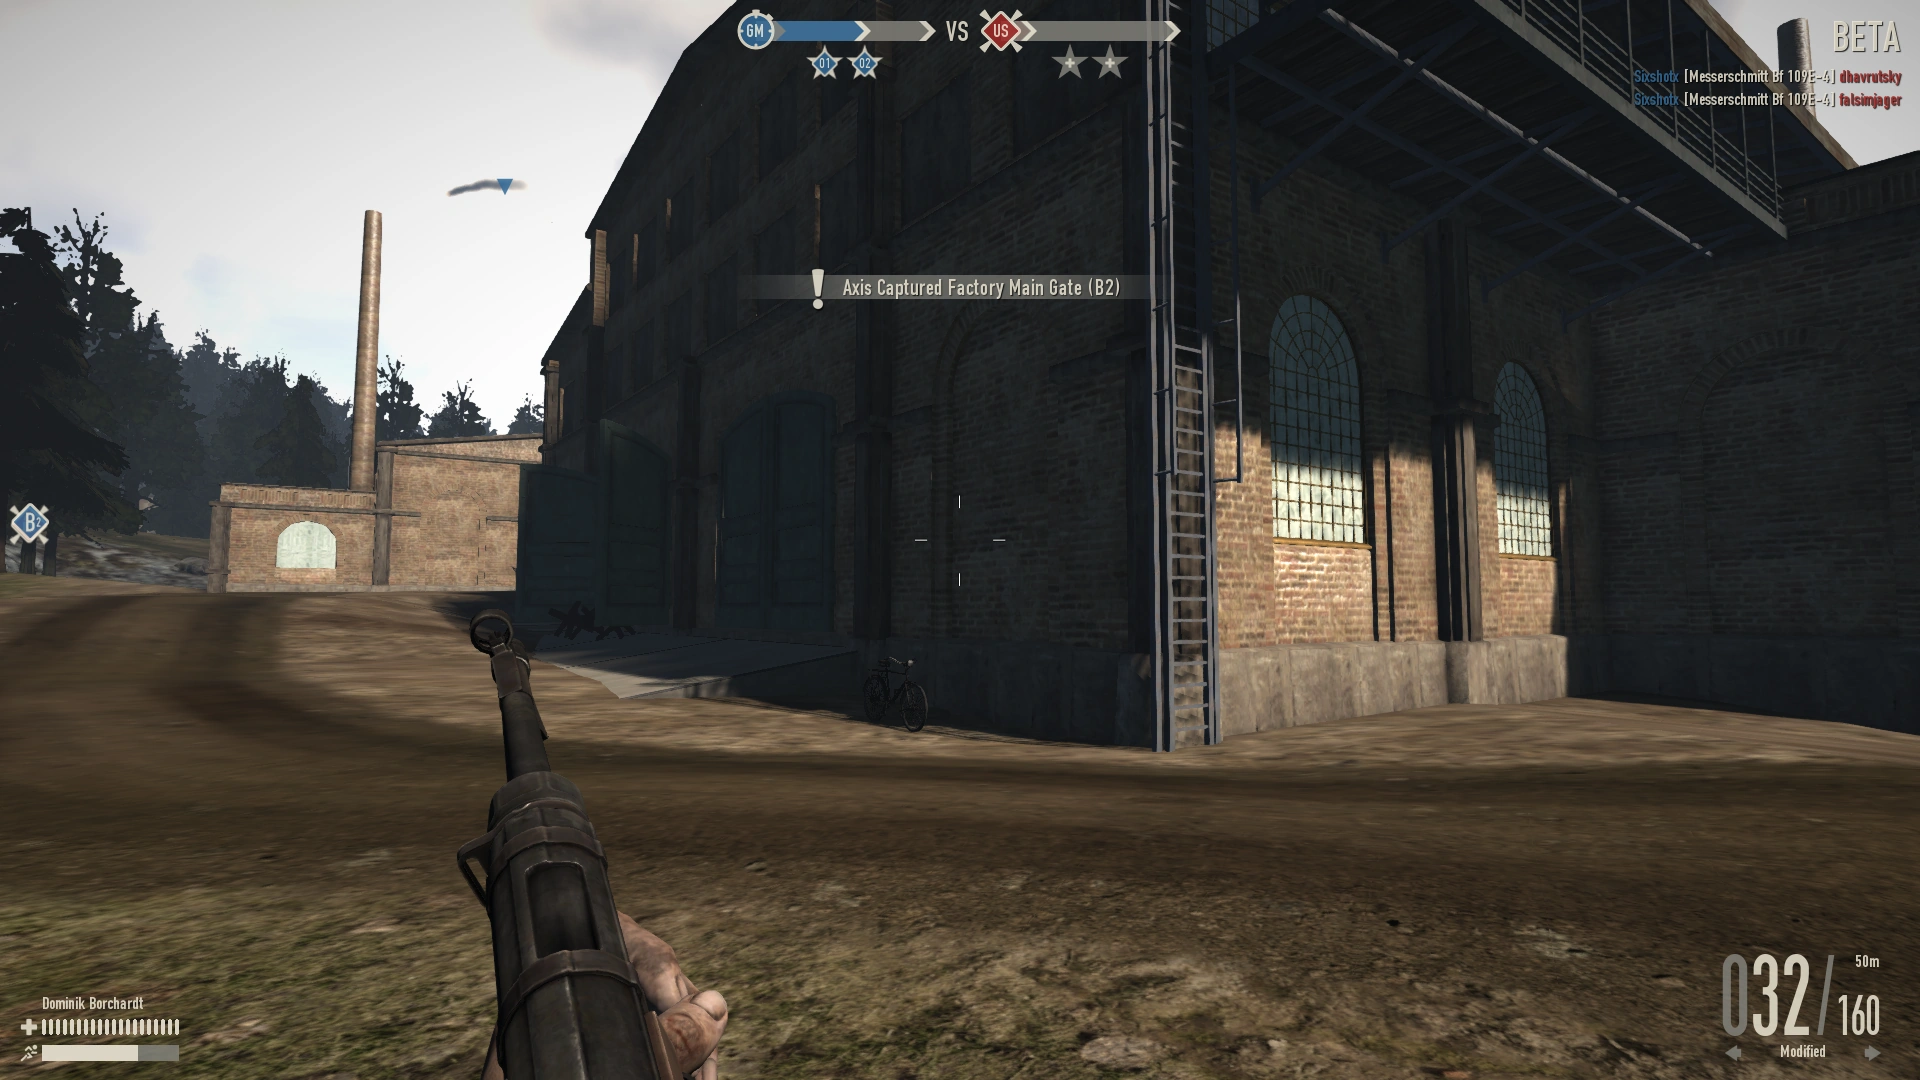
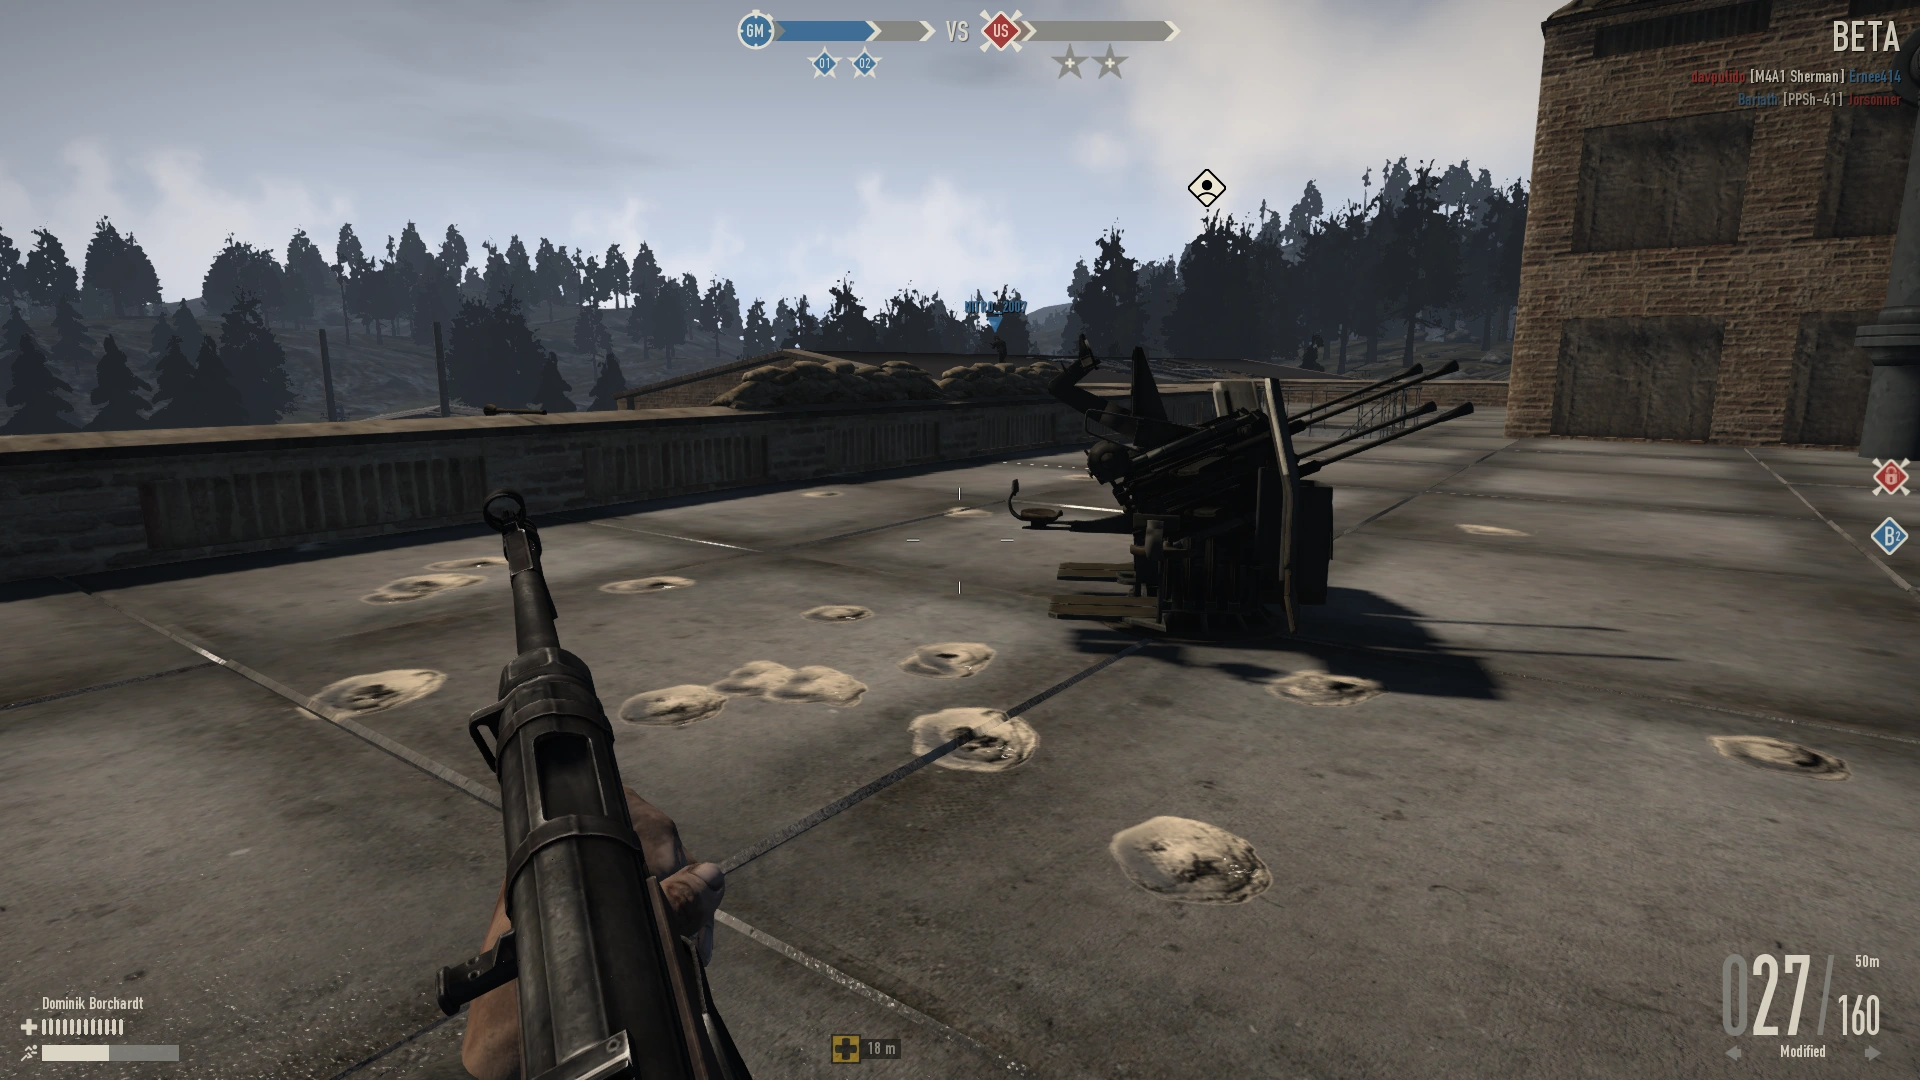
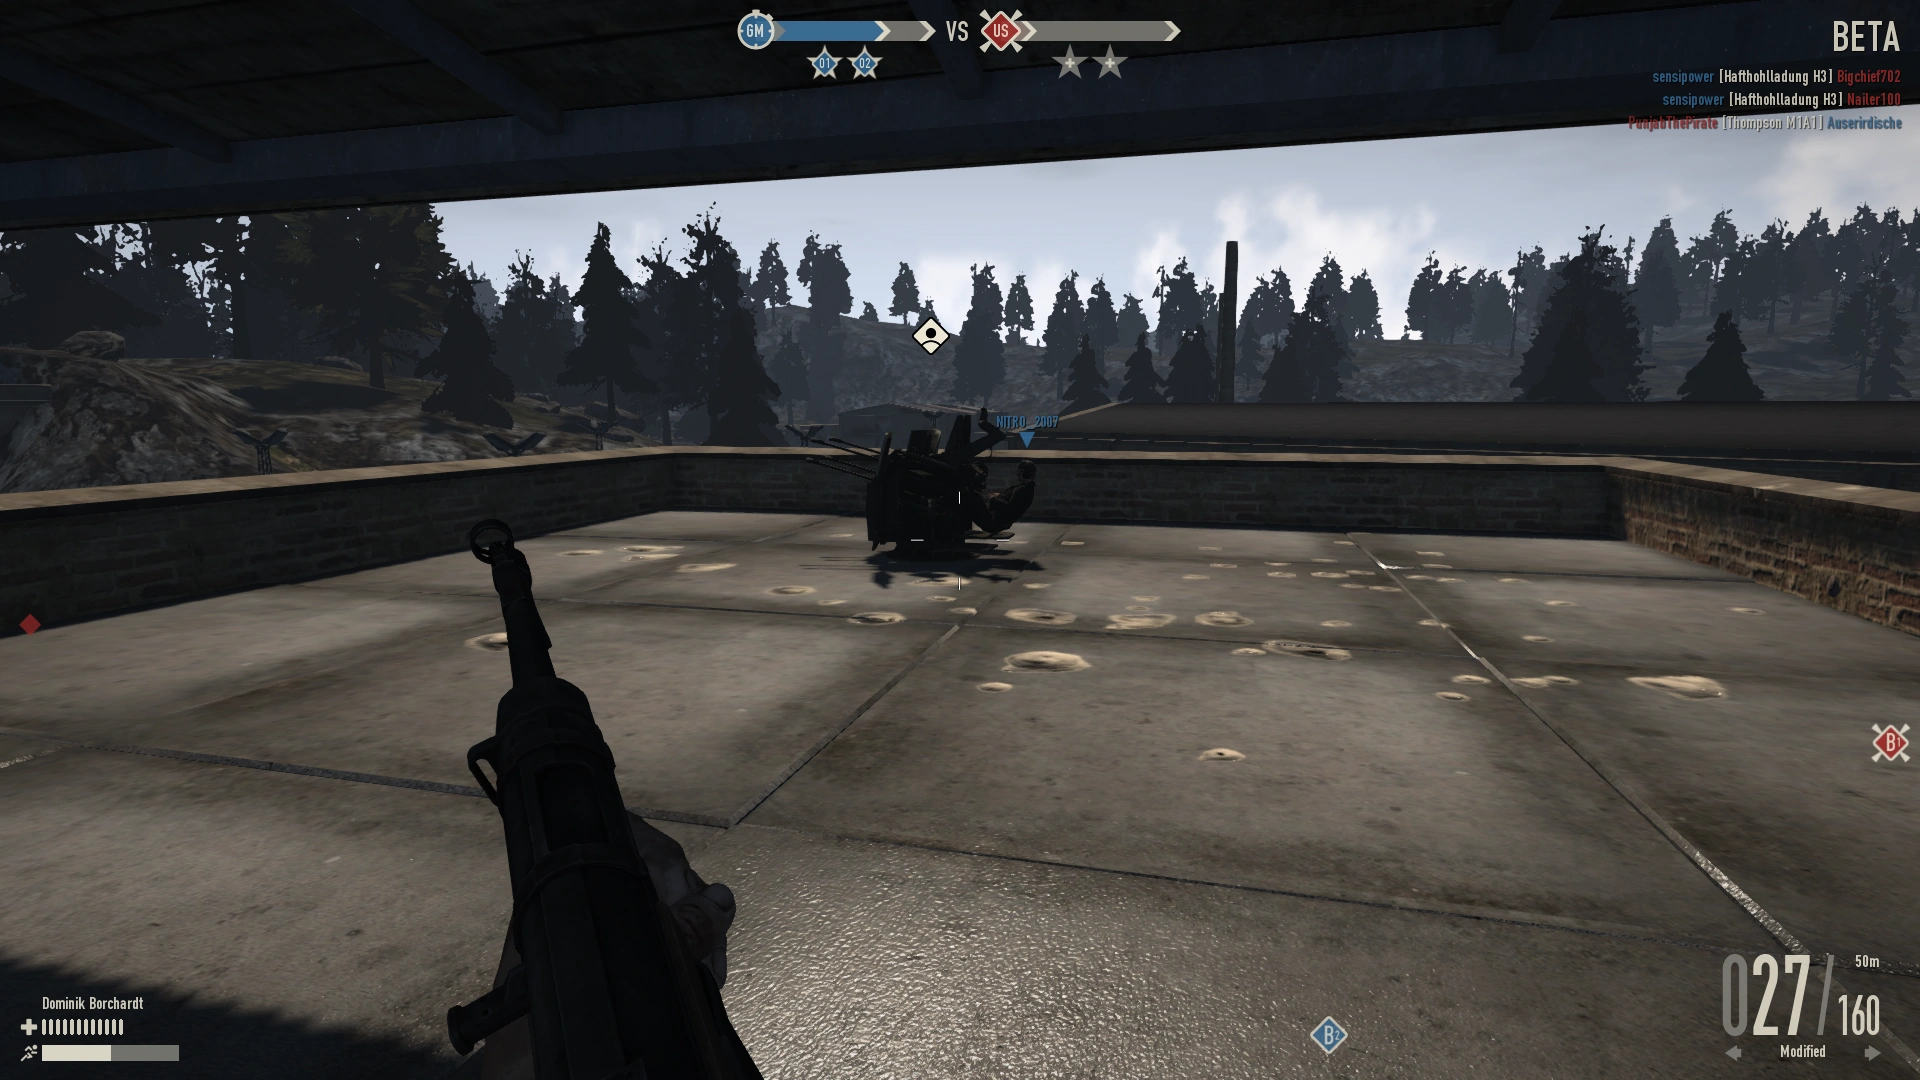
The factory is a linear city map that has only two supply points connected to it, one from each side. The factory map is unique in terms that the maps star points (O1 and O2) are connected together through a series of large factory like buildings with multiple floors and roof access. This makes for some interesting infantry play and paratroopers can easily access and flank defended positions from the roof tops. Throughout the map there are three anti-aircraft guns that players can use to shoot down planes. The points lay in a valley surrounded by higher hills, which maps sniping both from infantry and tanks a problem for defenders and attackers. There are bicycles scattered throughout the map for infantry to use to move around. One unique thing with the factory map is that on the rooftops of O1 and O2 there are Panzerfaust 60s spread across the ledges.
A Line[ | ]

A1[ | ]
The A line starts players out in a small area with a small barn and a shack for protection. There is a railway that runs parallel along the road towards the next point A2 that players can weave in and out of to gain some cover. However, this also makes it difficult for vehicles to cross over the railroad since it is extruded above the ground, and there are only a few crossing points past A2. As usual, there is a supply crate and a Panzerfaust 60 supply crate for players to grab some anti-tank equipment and health before heading off if needed. At A1 there are also a few bicycles for players to use to move around the map with. Quite often, players will run up the large hill on the side of A1 and begin sniping, this can often be damaging to the assaulting team that needs many bodies pushing the point. Tanks will also often camp on these hills as they give them a huge height advantage and makes shooting other tanks and players rather easy. Some of the best strategy is just rushing to A2 as fast as possible, as this point provides much more cover. If you give the enemy team time to setup defense, you will most likely get stuck in a stalemate between A1 and A2. .
Highlights
- Bicycles
- Little cover for infantry

A1 Shacks
A1 Equipment

A1 Sniper hill

Capture area as of Garman update.
A2[ | ]
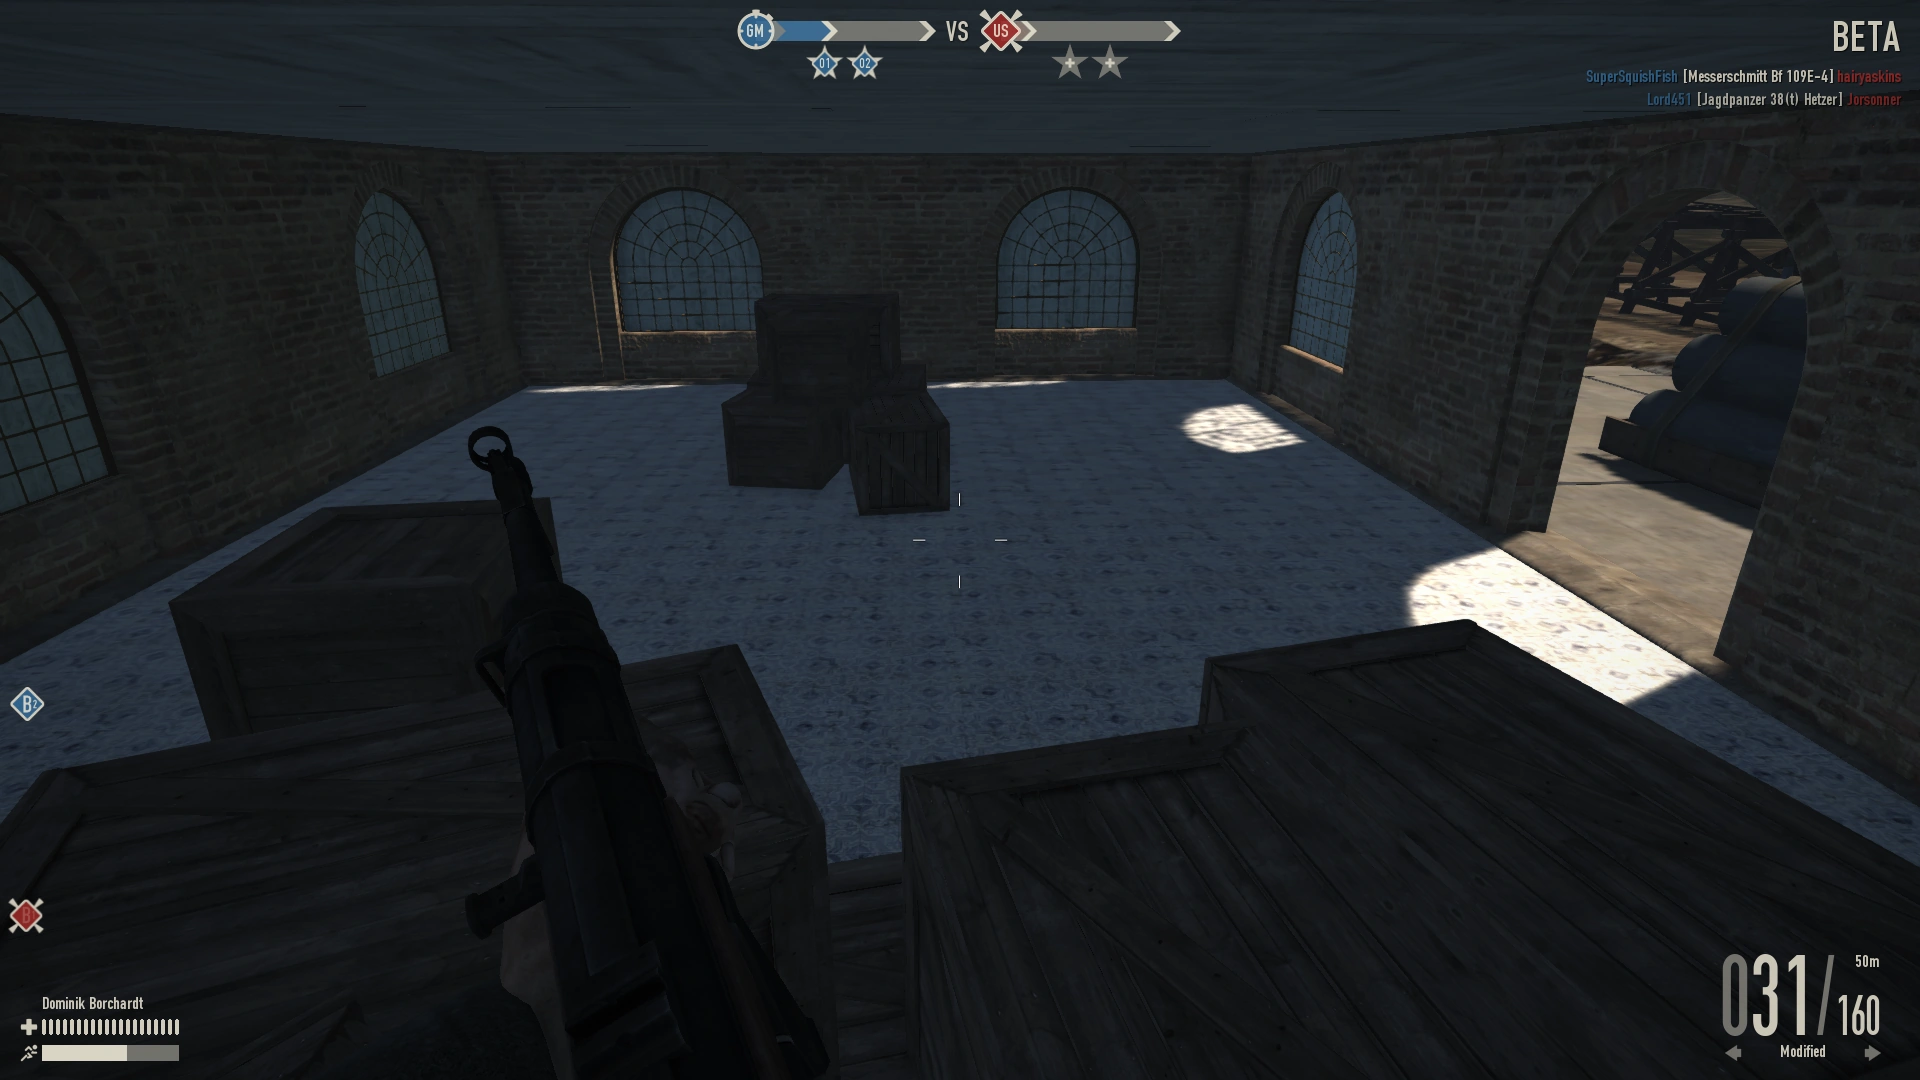
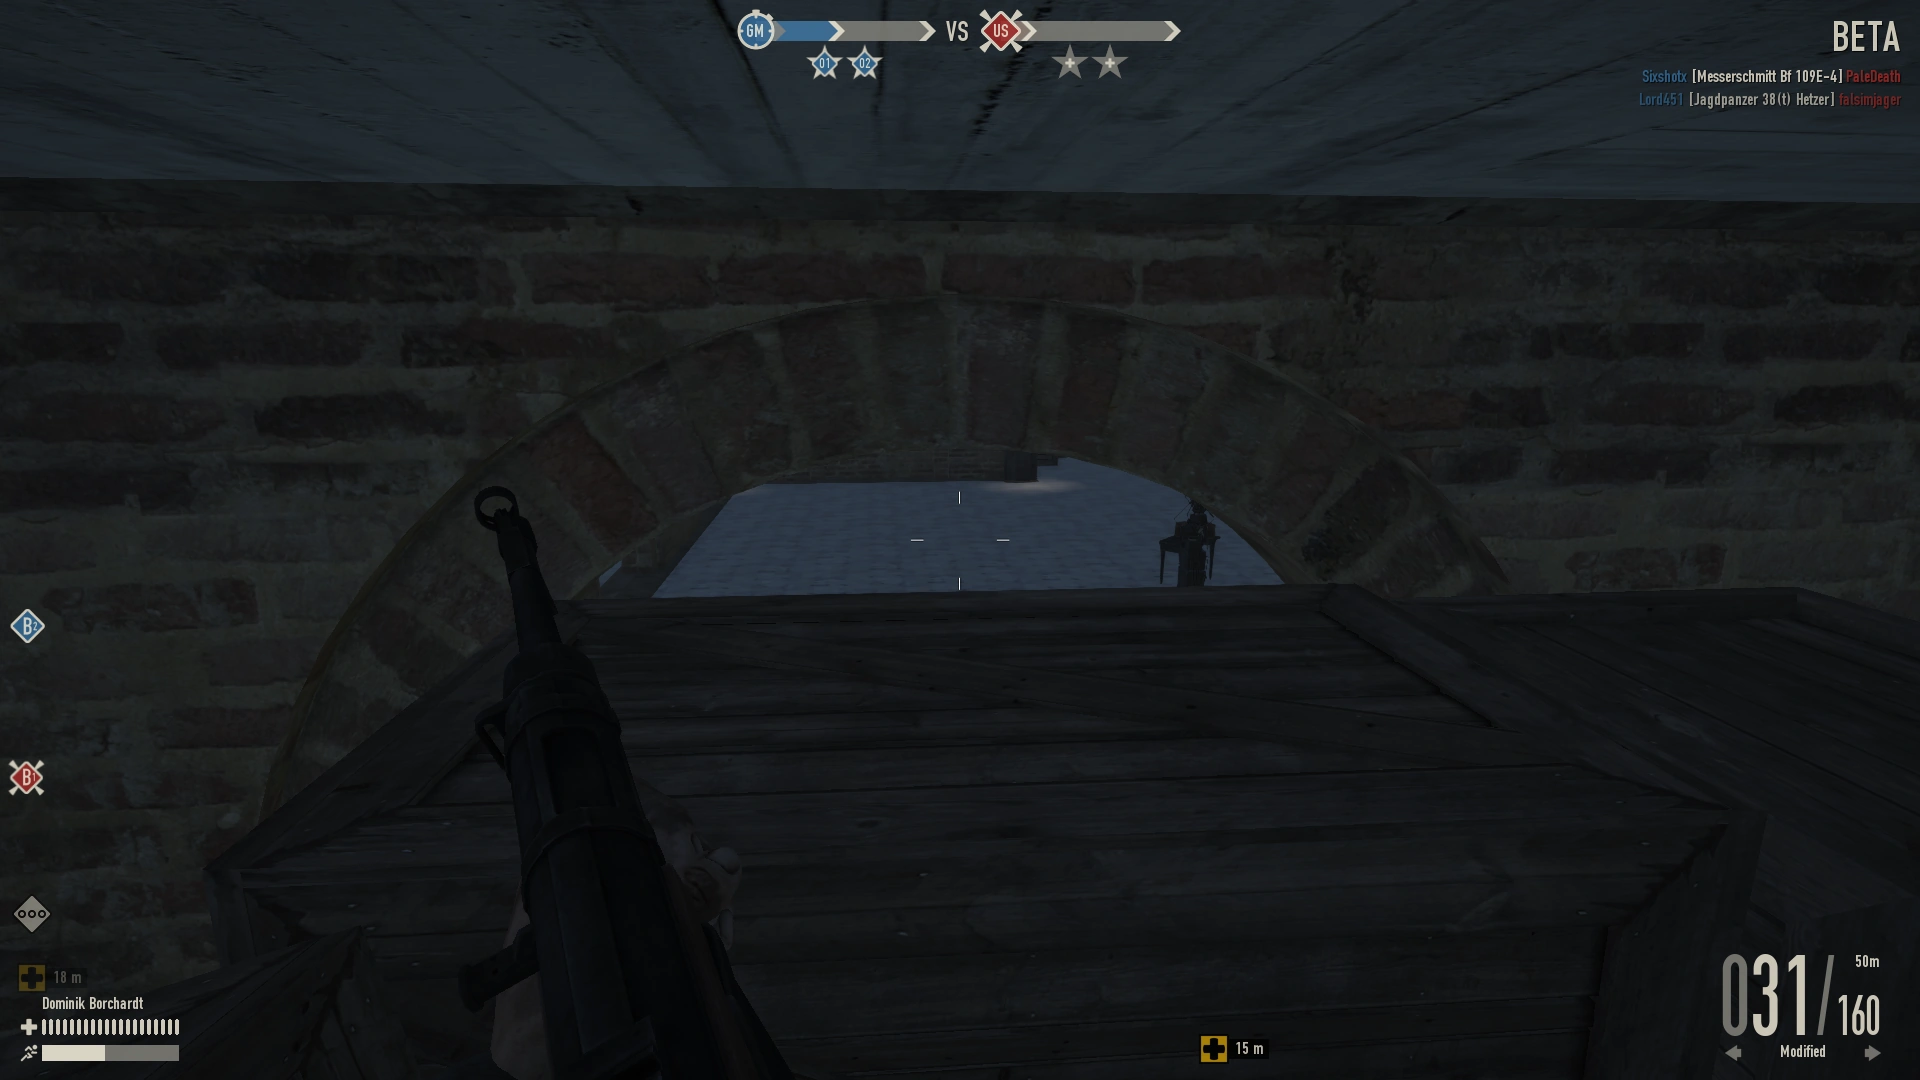
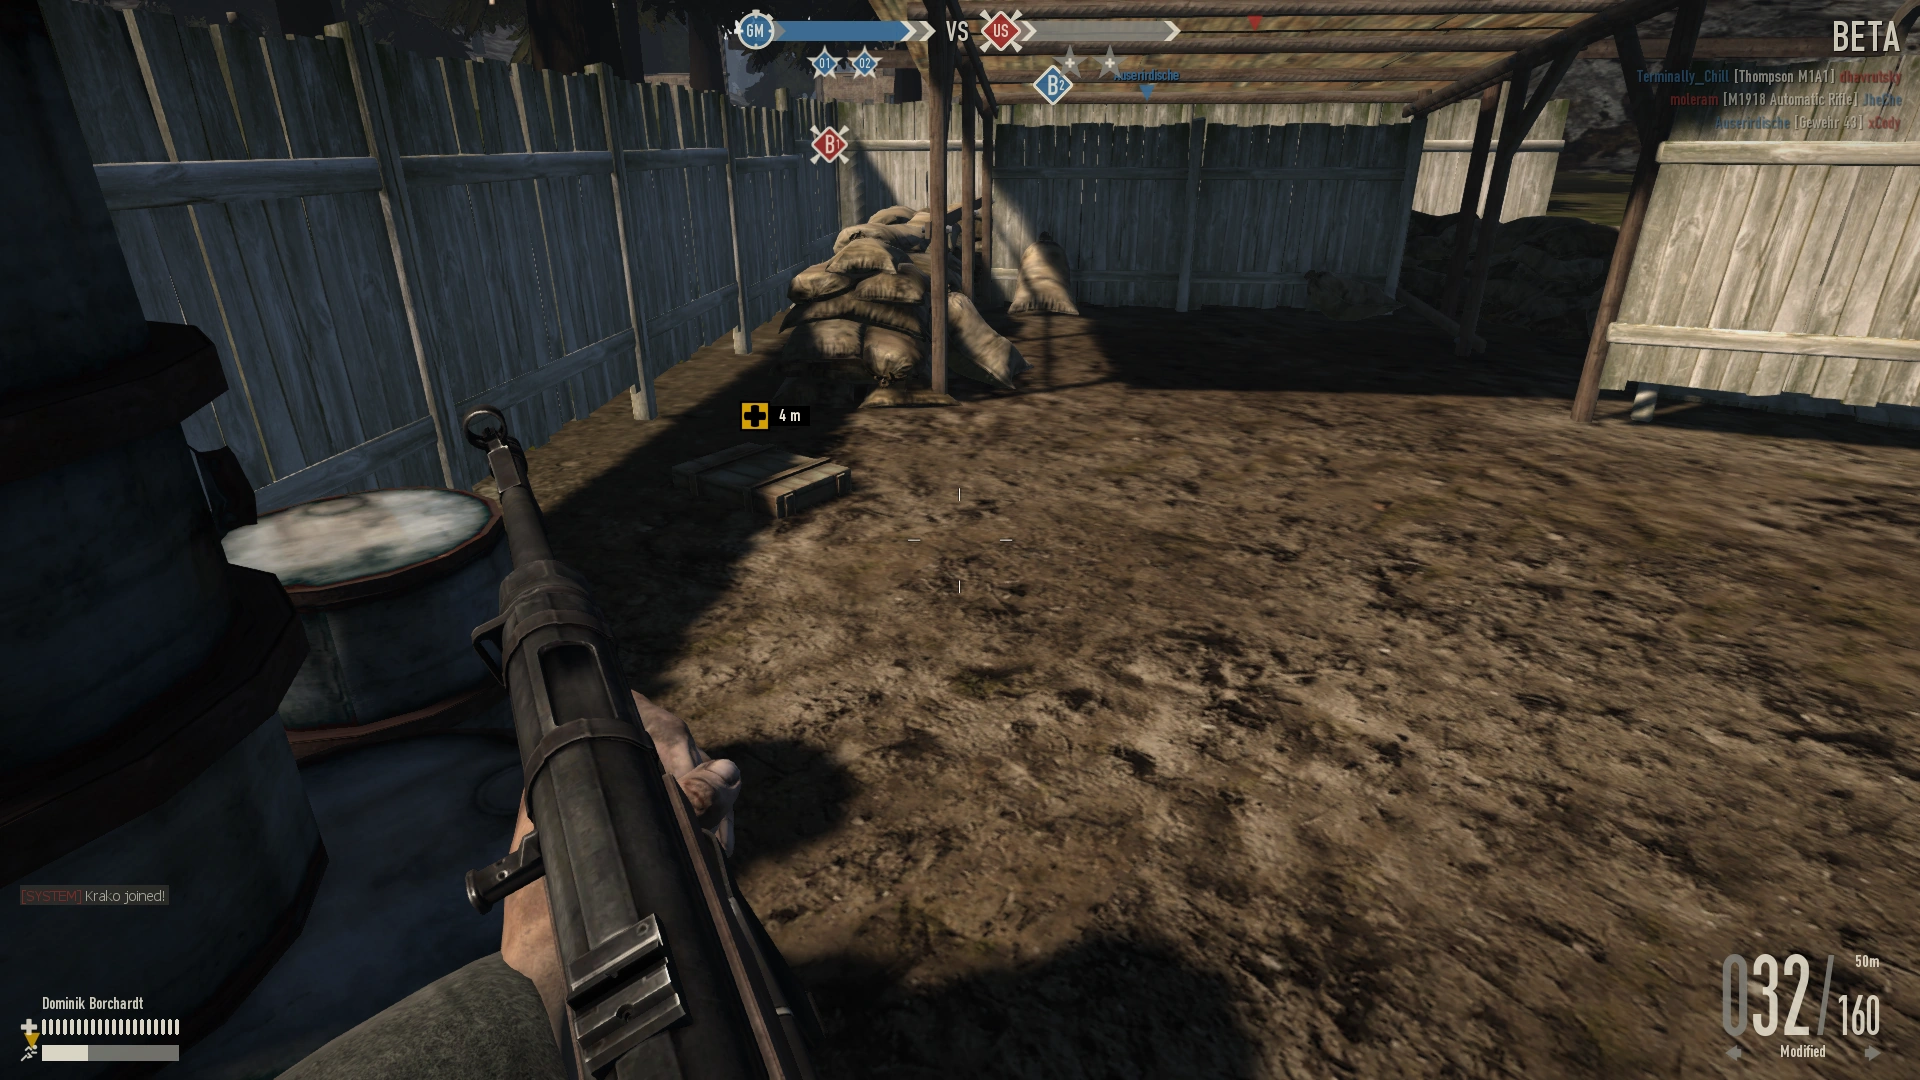
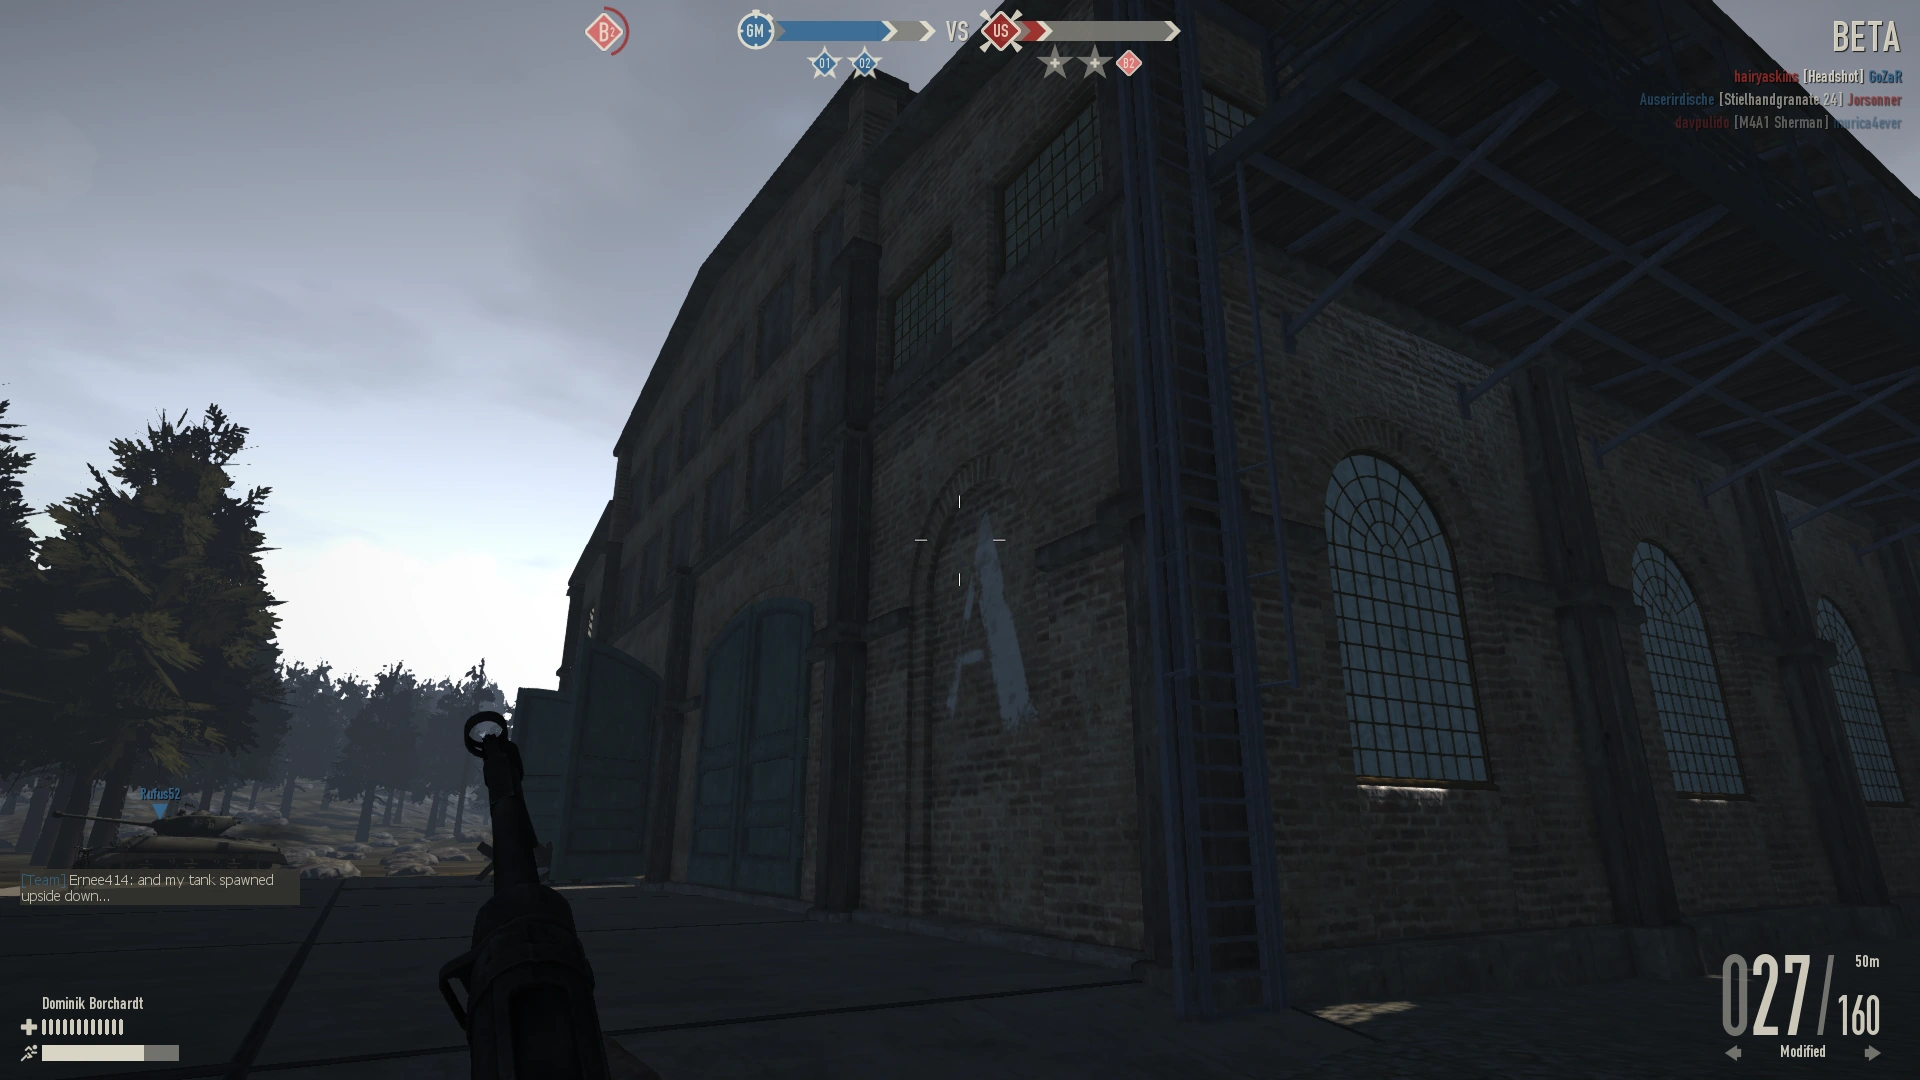
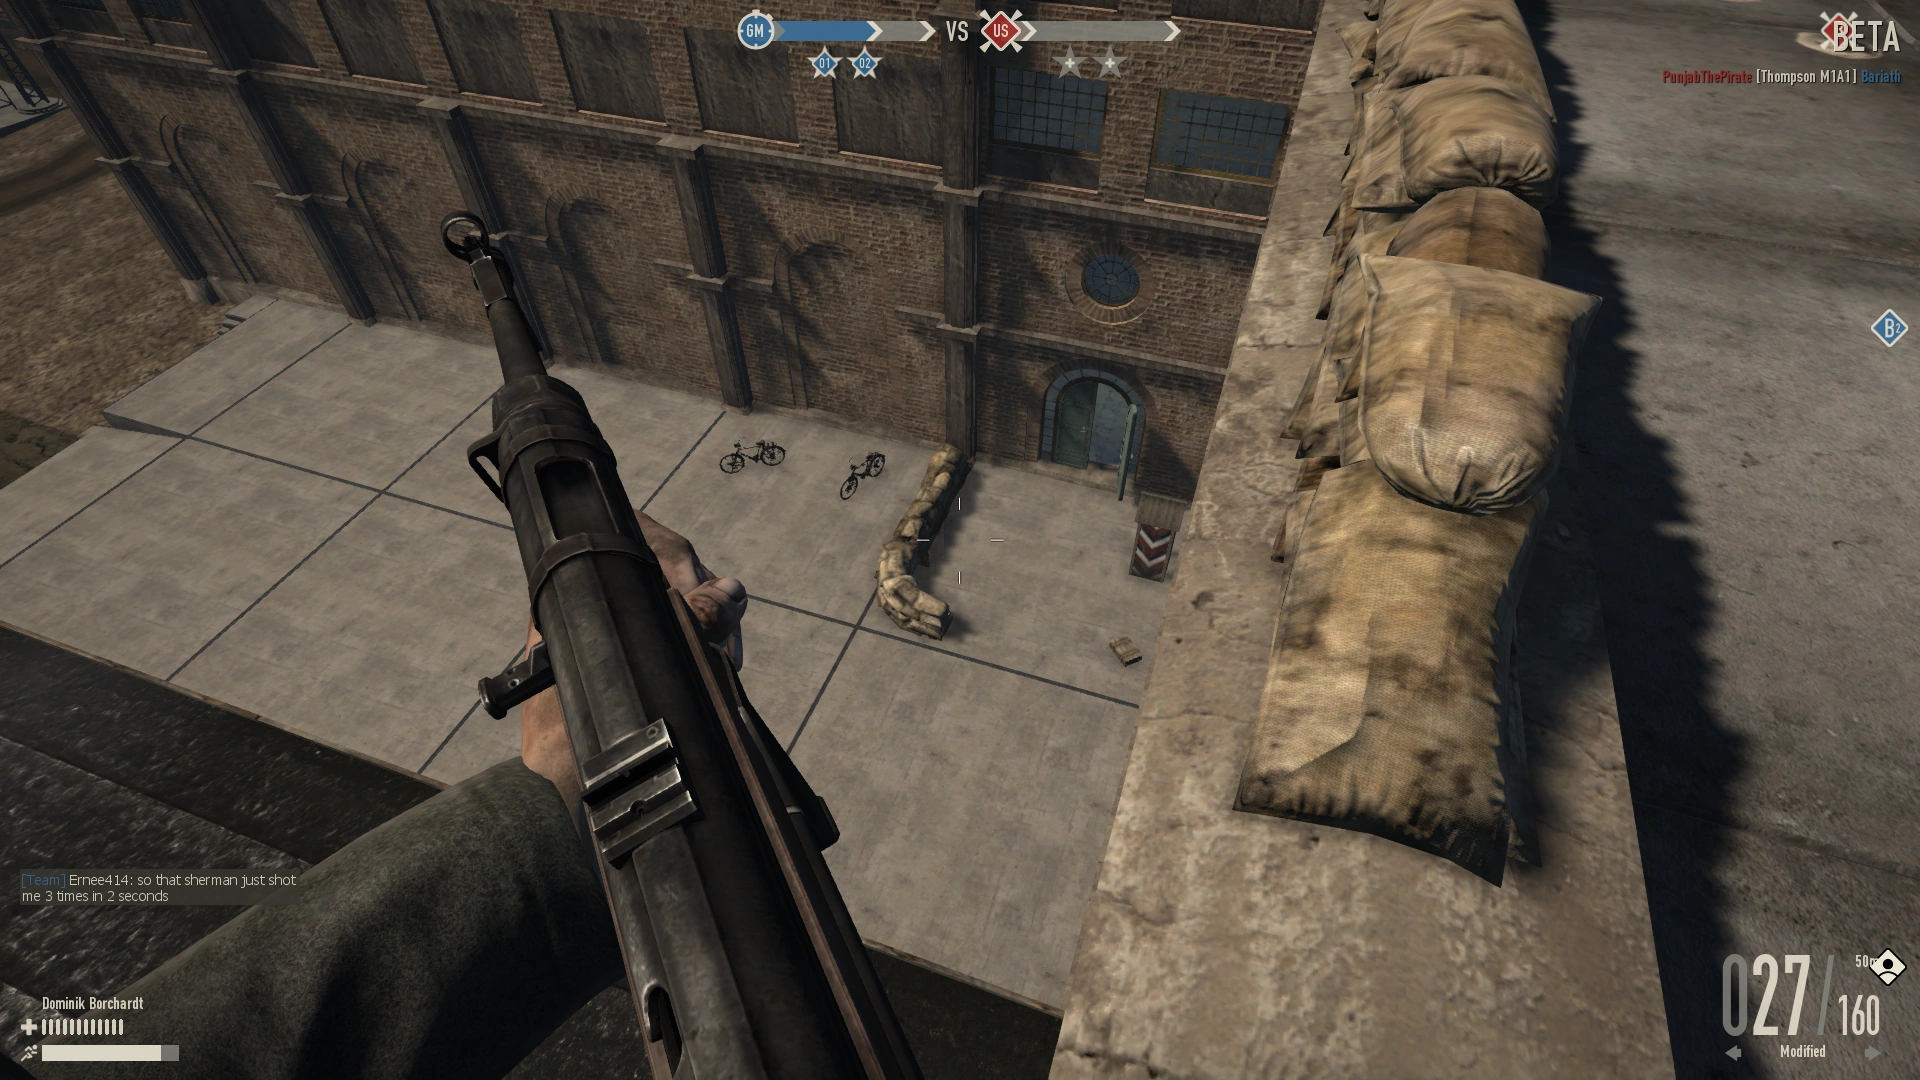
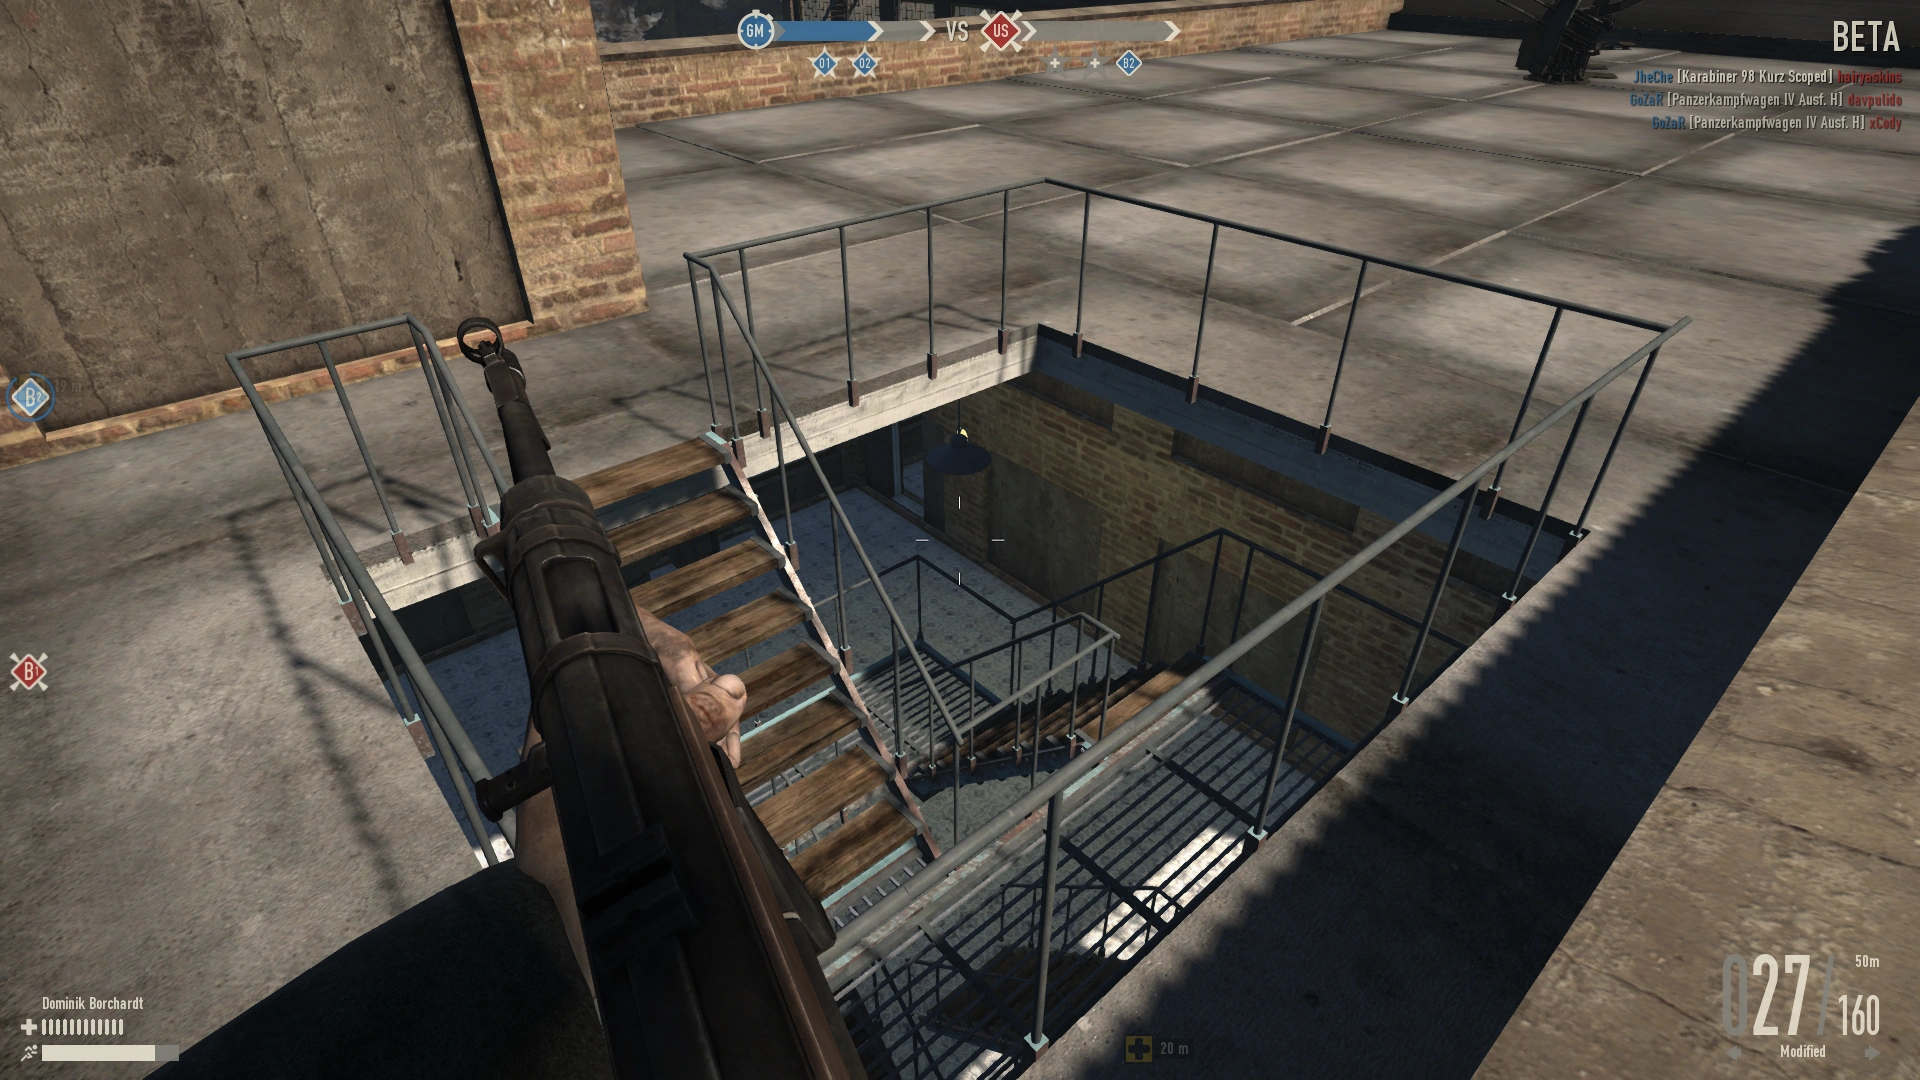
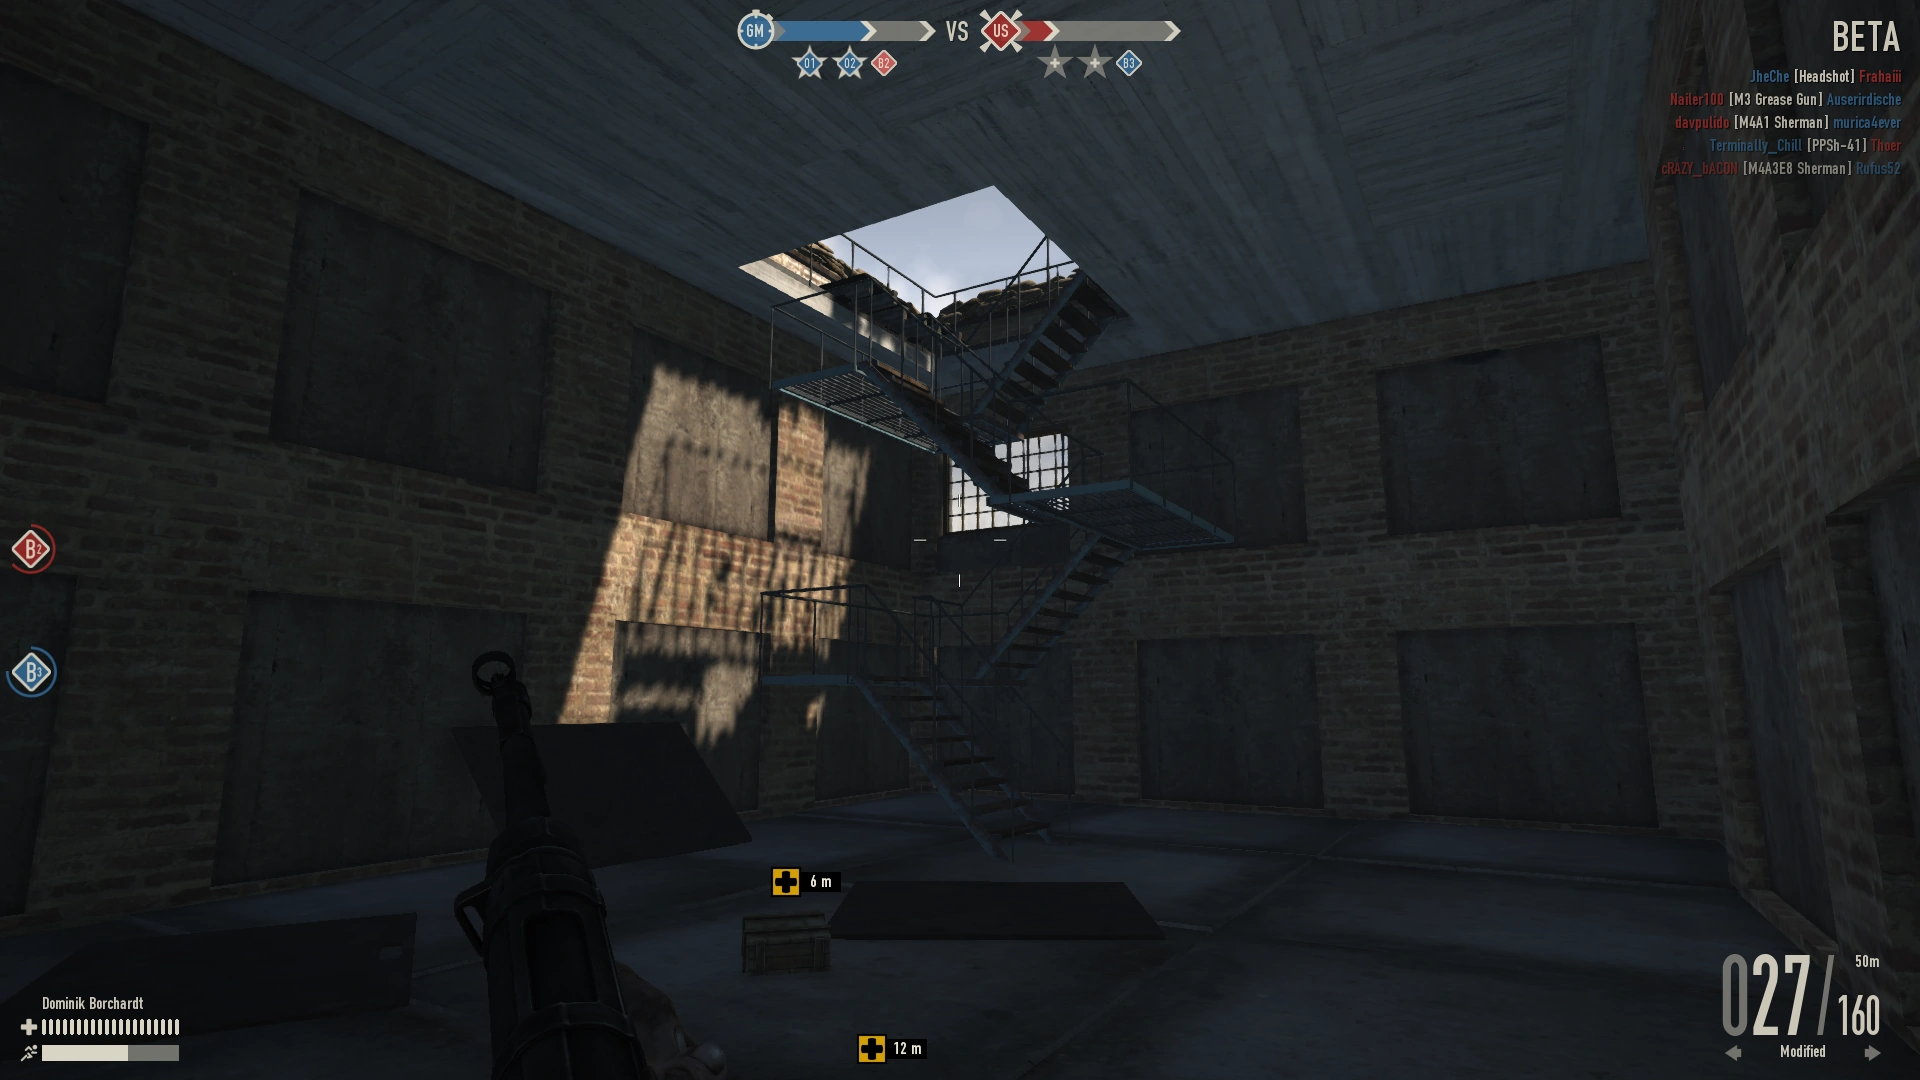
The next point in the A line is an important point for attackers to take quickly. This building provides a significant amount of cover with two stories and balconies to snipe from. When assaulting/defending the point, there are three entry ways for normal ground infantry to enter through. There are two doors on the A1 side of the line and one entry closer to A3 side of the line. Inside the point it is rather easy to defend as there is lots of cover inside, with multiple floors, and the doors entering into the building are blocked from the outside with some boxes and pipes that make it difficult for Recon and tanks to shoot rounds into the building. Another method of getting in the building is through paratroopers, there is a hole in the roof of the building that is inaccessible by normal infantry. The paratroopers can also land on the balconies and approach from the second floor to surprise the defenders. One thing to note about the A2 point, there is a side room that is blocked with boxes that attackers/defenders can use to surprise players in the room where the radio is. In that room there is also a supply crate. There are no Panzerfaust 60 supply crates at the A2 point. Bicycles spawn near the back entry closer to A3. Other then paratroopers, there is no way to access the second floors from outside the building (no ladders or climbable features)
Highlights
- Bicycles
- Lots of cover for infantry
- Protection again tanks
- Supply crate in adjacent room
- Easy to defend
A2 Building Entry
A2 Building Entry
A2 Inside Area
A2 Boxes blocking the two rooms
A2 Supply crate in the room blocked by boxes
A2 2nd Floor Balcony One side of the buildings balcony
A2 2nd Floor Balcony Other side of the buildings balcony
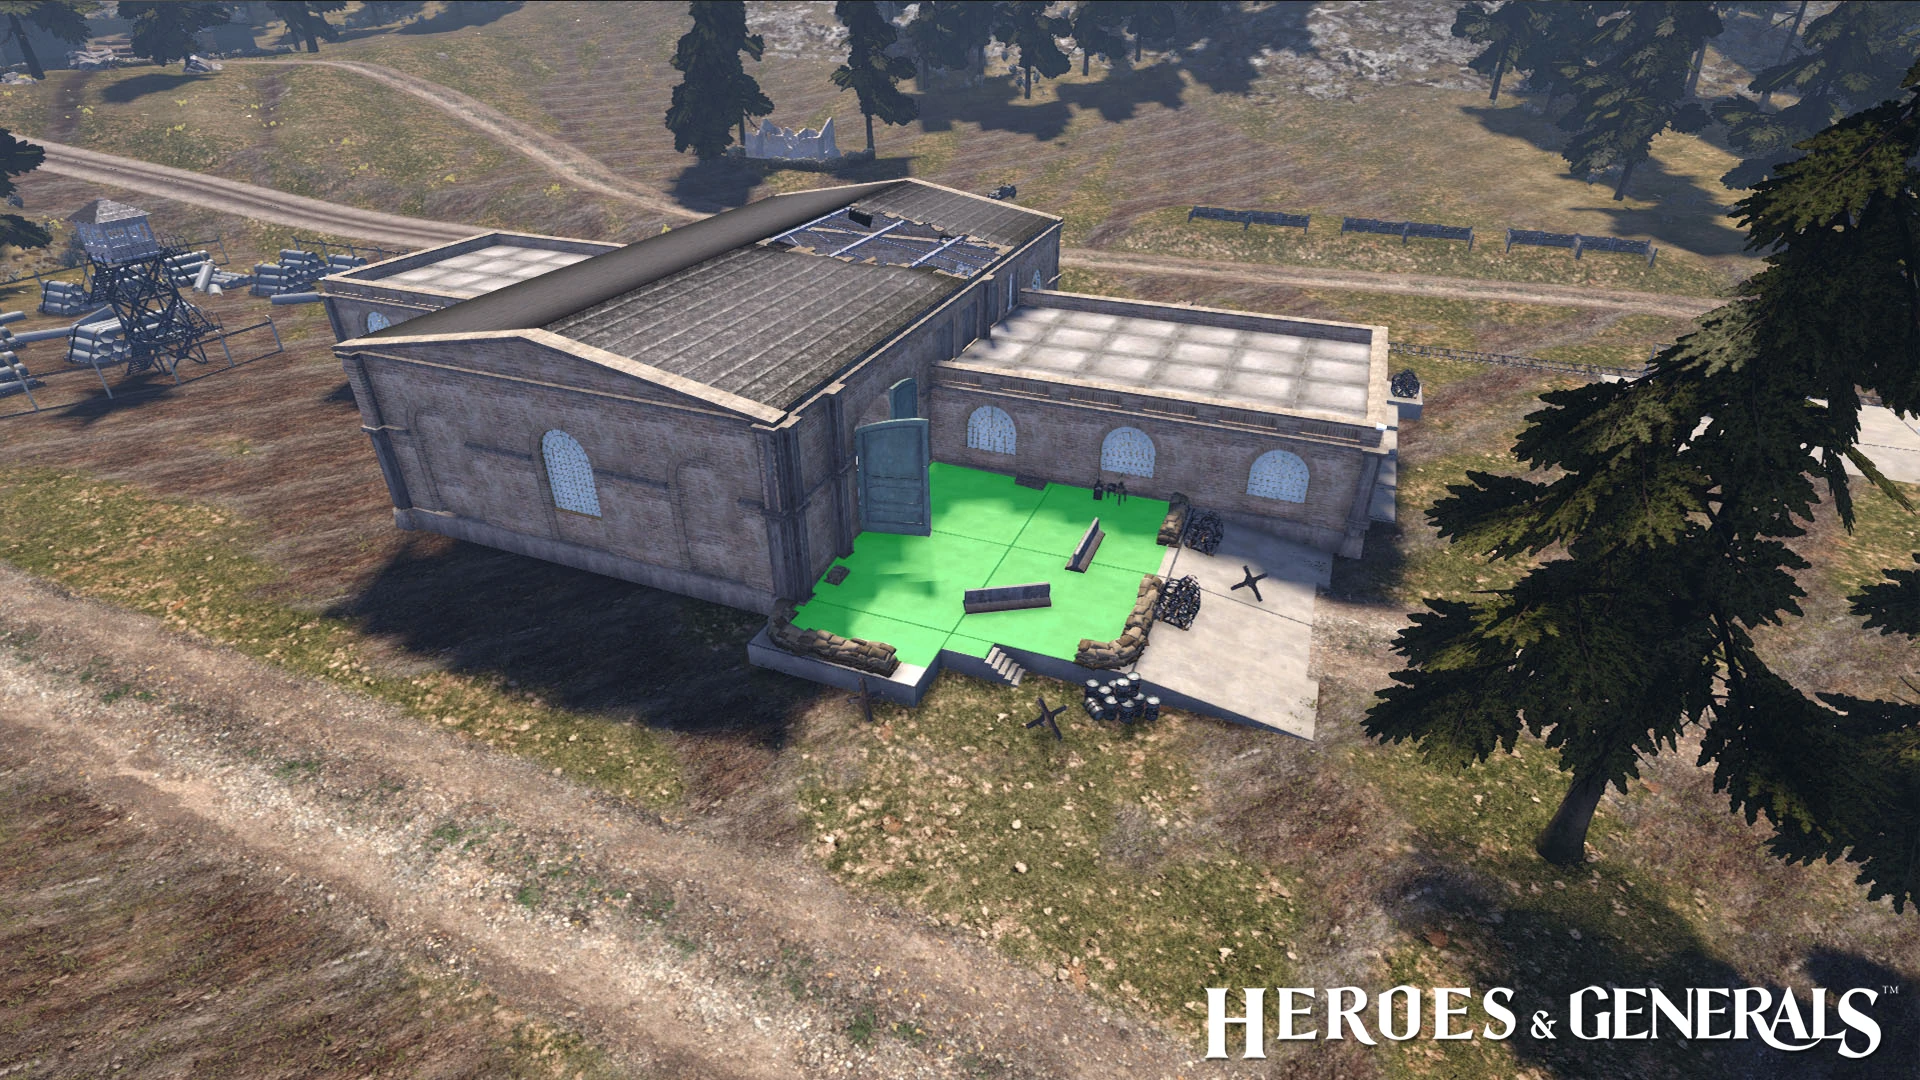
Capture area as of Garman update.
Ditto, from the back.
A3[ | ]
The final point in the A line can be rather tricky to get to from A2. There is not much cover between the two points and Recon, machine gunners, and tanks will make it very hard to approach directly. The A3 point has three (technically four) total entry points in which normal infantry can access. There is one closer to the A2 side, one closer to the O2 side, and finally there is a ladder that players can use on the side of the building to access the second floor of A2. The fourth entry point is on the roof of the building where there is a hole. You can survive the fall if you have full health, but it will likely cause you to die if you don't. The hole in the roof can be used by players to defend the point or kill defending enemy infantry in the point efficiently. Entering the building from the A2 side is very hard as there is lots of cover inside the building itself so you will likely get killed by defenders inside. The most efficient way to take over this point is to the flank by the ladder of the rear entry and catch the defenders by surprise. If you take the ladder and get on the second floor, inside there is a window hole that you can view most of the first floor of A3 and kill defenders camping in the corners of the doorway closest to A2. There are some bicycles that spawn on the side closer to O2. There is a supply crate in the adjacent building next to A3 closer to O2. There are plenty of boxes and pipes that cover you from the A3 point to the supply crate. Inside the building itself provides a decent amount of cover as it is flooded with boxes and pipes to hide behind and on top of. Being on the roof of the building will most likely get you shot by Recon camping on the hills between A2 and A3, and this is pretty common camping spot for Recon and tanks to hide.
Highlights
- Bicycles
- Cover for infantry
- Protection against tanks
- Supply crate in adjacent building
- Easy to defend
A3 One of the entry points
A3 Another of the entry points
A3 Inside with cover
A3 2nd floor over looking the point and one entry
A3 How to get on the roof
A3 Hole in the roof to shoot near the point
A3 Where Recon typically are found
A3 Supply crate in building next to A3

C Line[ | ]

C1[ | ]
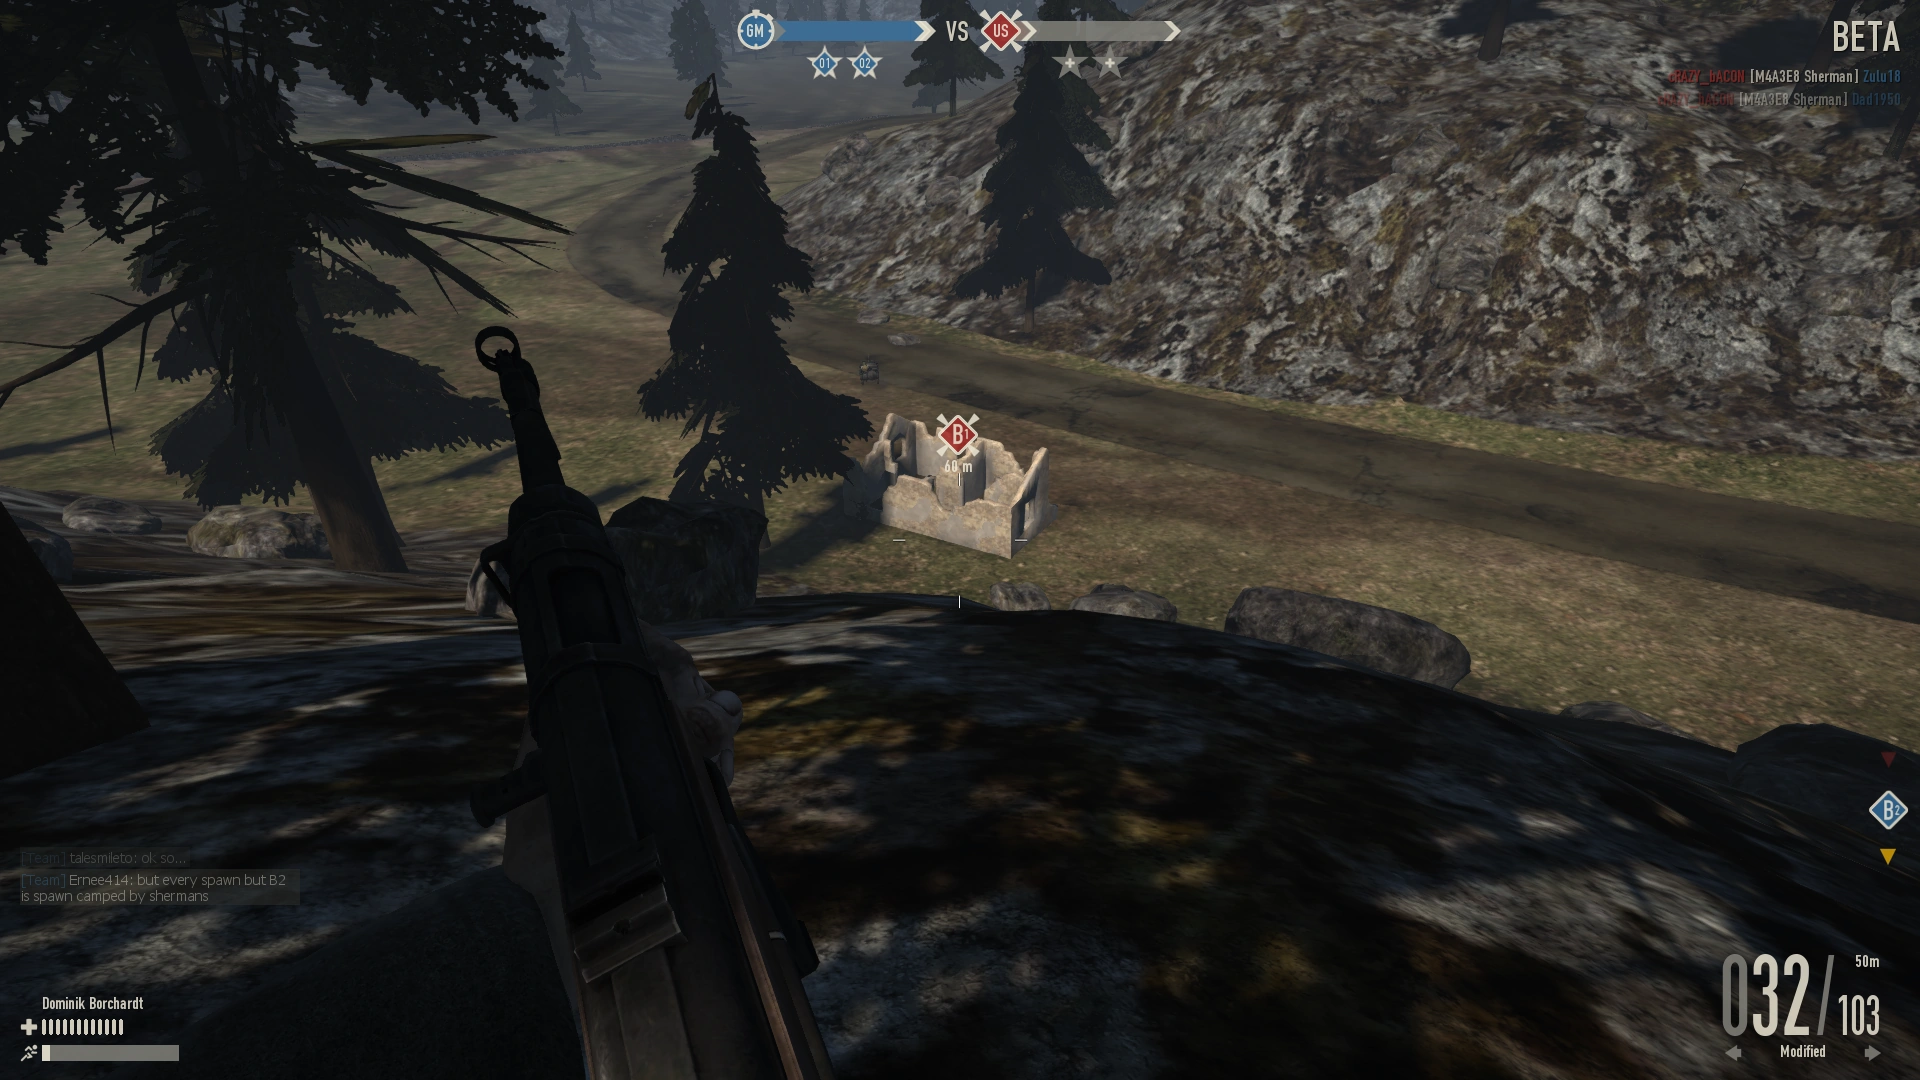
C1 is a tough point to start from. This point is sunk in a valley with hills on either side with a decent amount of foliage and rocks for players and tanks to camp on. Vehicles are mostly first to rush to C2 to try to avoid getting stuck in a stalemate match between C1 and C2. As usual, there is a supply crate and a Panzerfaust 60 supply crate for players to grab some anti-tank equipment and health before heading off if needed. At C1 there are also a few bicycles for players to use to move around the map with. A lot of players tend to run up the hills and camp instead of trying to rush into the next point. It is suggested that players should attempt to rush C2 and maintain that building as it provides a significant amount of cover against tanks, planes, and Recon. Tanks will often climb the hills and camp from the top which gives them a height advantage to shoot other tanks and enemies. While approaching C2, there is a wall and a large building that provide a decent amount of cover from enemies if you can get to those points quickly. You don't want to get stuck in the valley as you are an easy target for Recon and tanks.
Highlights
- Bicycles
- Little cover for infantry
- Hard for enemy take to take C1
- Lots of hills surrounding the point where tanks and Recon are camouflaged
C1 Small destroyed building in a valley
C2[ | ]
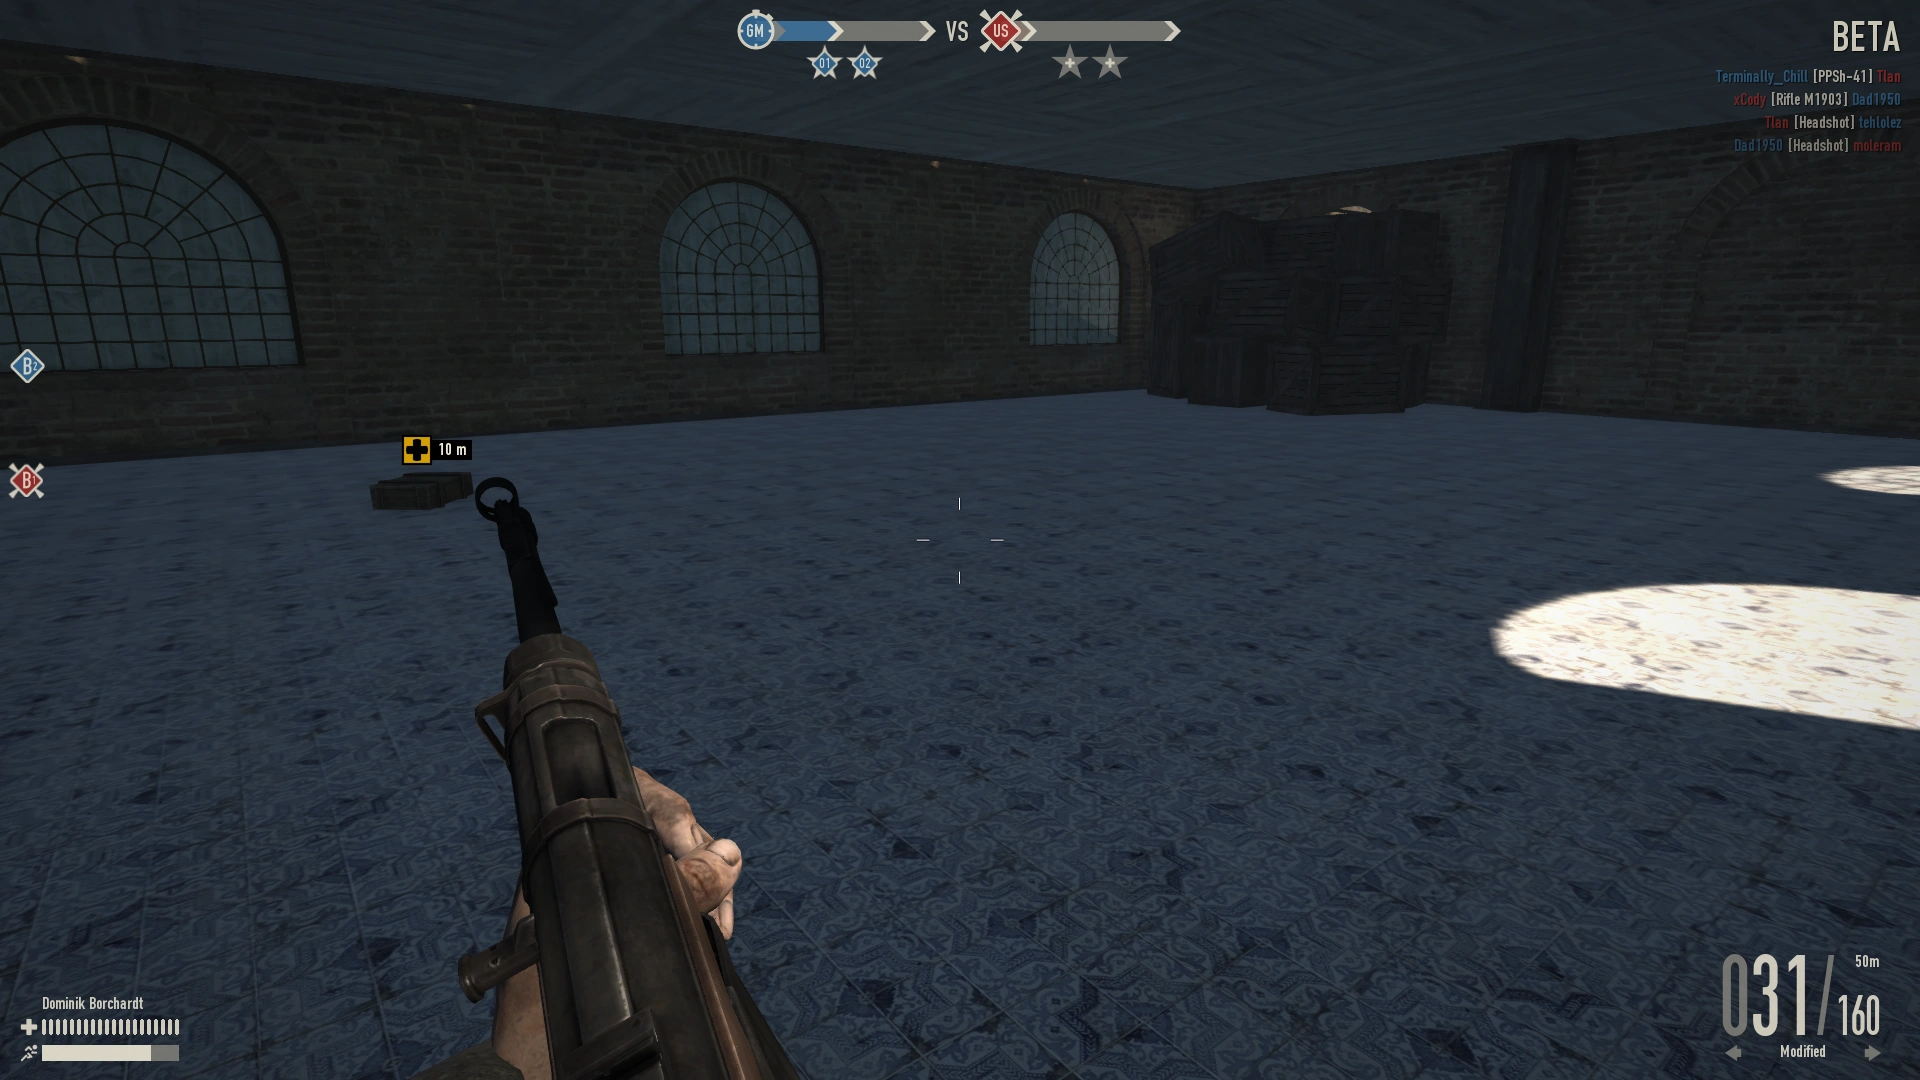
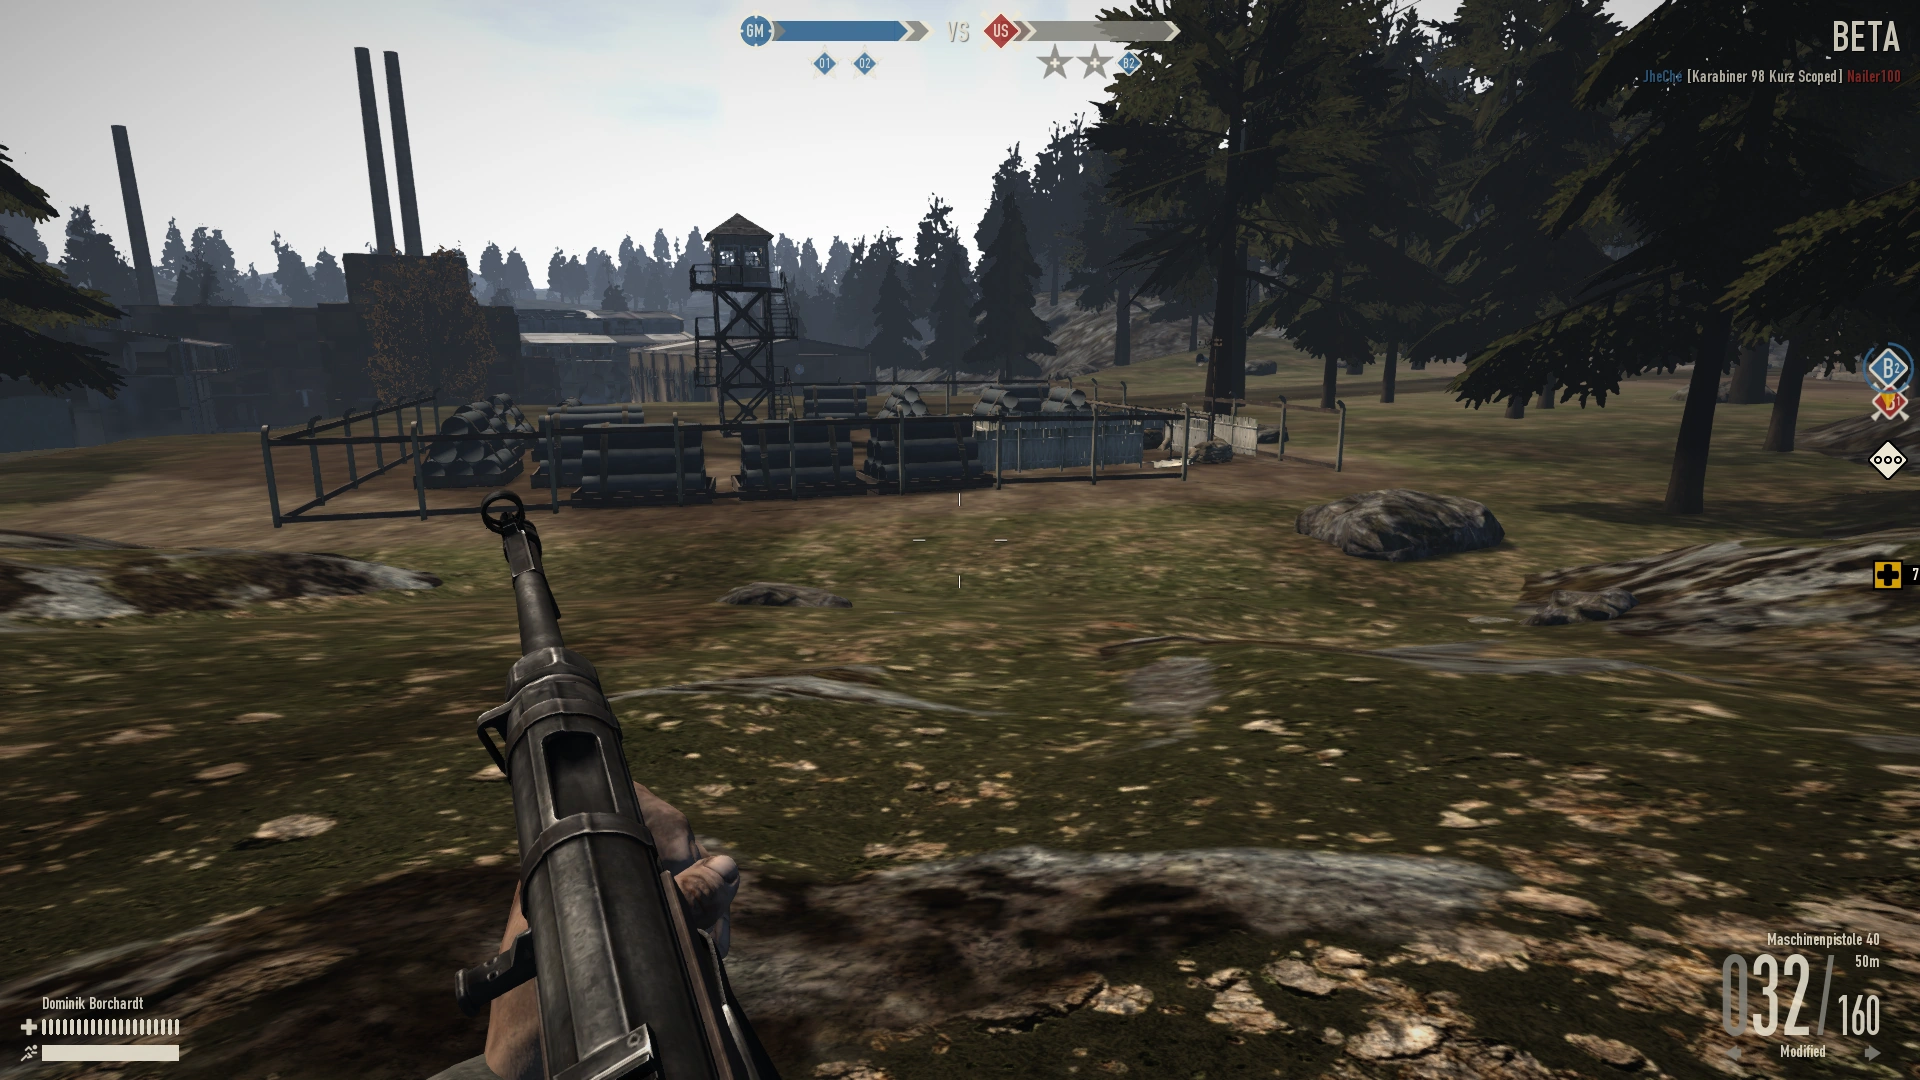
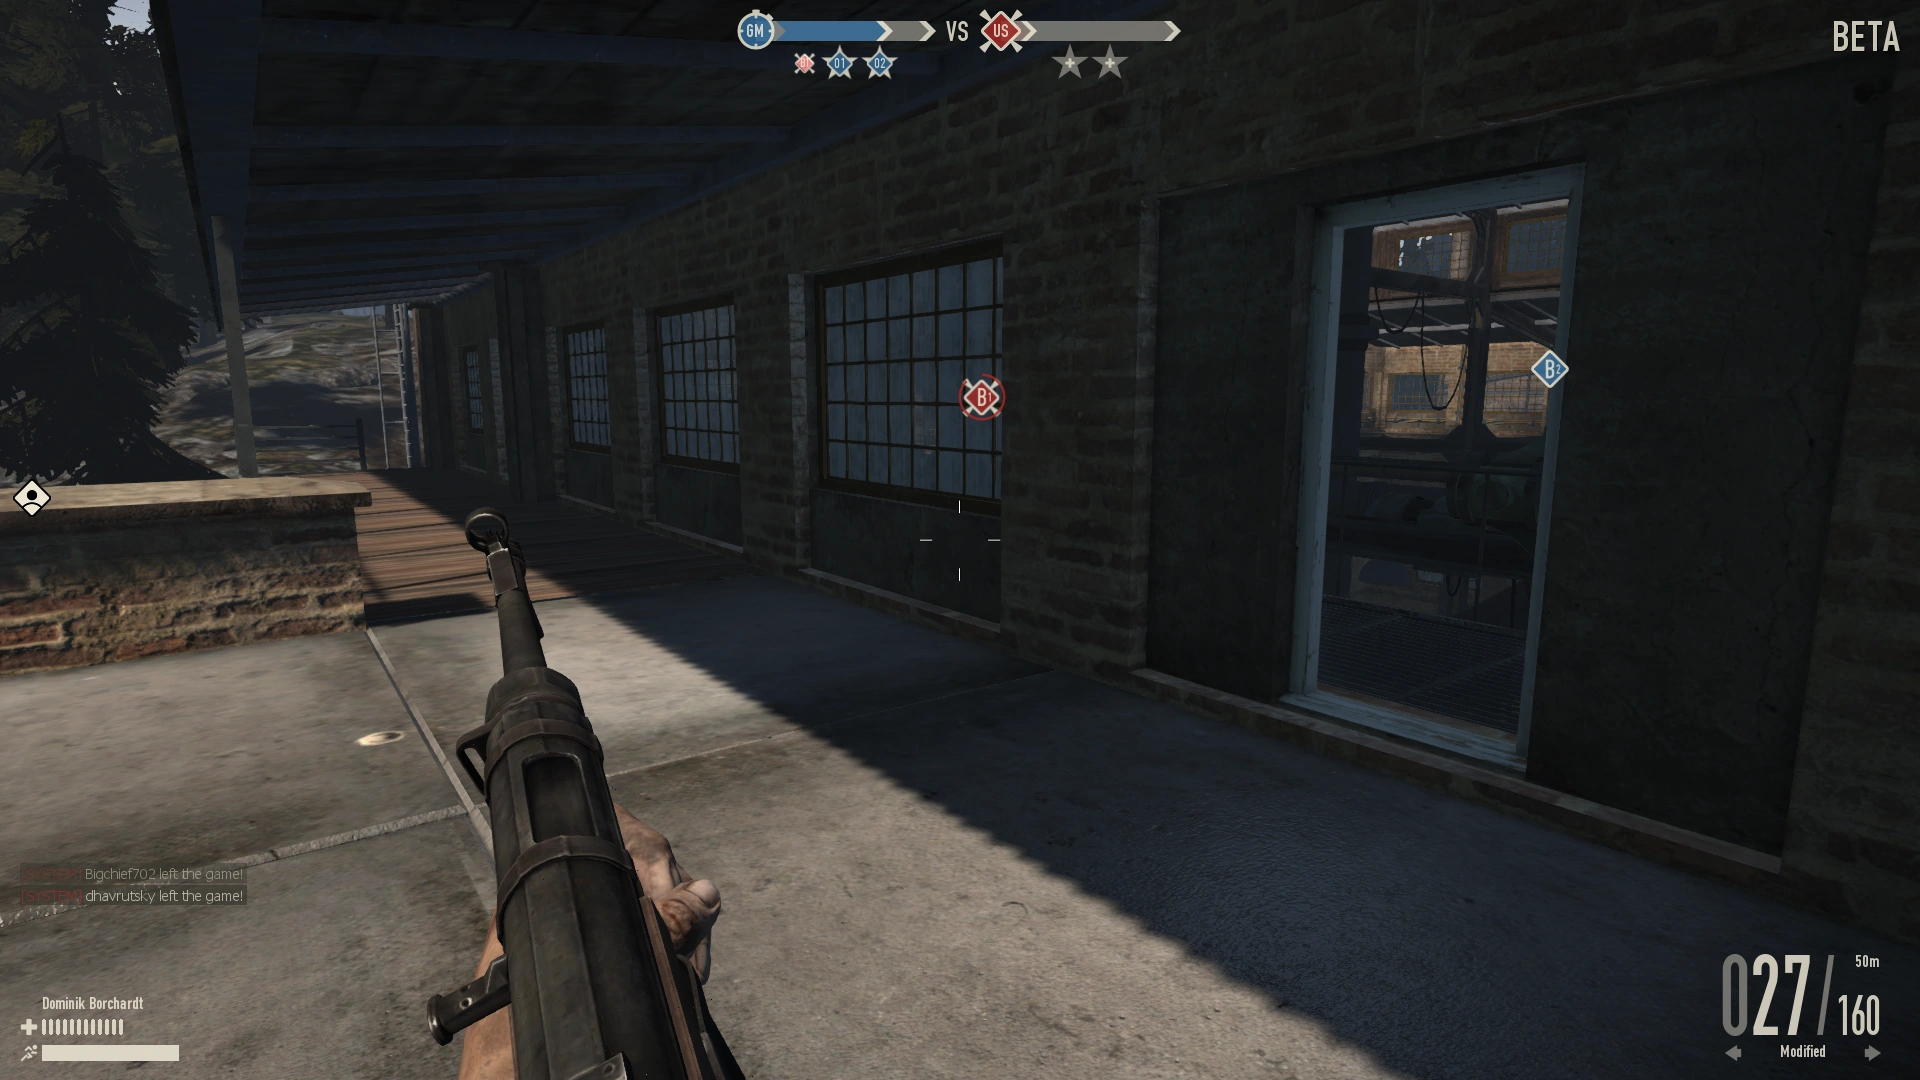
C2 is a unique building. It is a three story building with a garage connected to it. There are three main entry points intoC2, and as usual paratroopers can land on the rooftops and enter from the roof. C2 has a supply crate on the second floor and an anti-aircraft gun on the top of the roof. The point itself is hard to defend as there is very little cover in the buildings and the room with the radio is very exposed while trying to capture it. The first entry point is connected to the garage and is a small door way that is closer to the C1 line near the hill. The next entry point is next to the road, past the wall, which is a bit more difficult to enter from as players are exposed to tanks and gunfire rather easily as there is little cover. The last entry point is the garage doors which are closer to the C3 line, which requires players to run in front of enemies. Vehicles can actually get inside the building of C2 and camp inside there, which can make for some interesting tactics for defending/attacking. There are a few bicycles spawns here as well for players to use to get to the next point.
Highlights
- Bicycles
- Good cover for infantry
- Anti-aircraft gun on the roof
- Supply crate on the second floor
C2 Not much cover in the garage
C2 Not much cover on the point
C2 Supply crate on the second floor
C2 Anti-aircraft gun on the roof
Capture Area as of Garman update.
C3[ | ]
C3 is an open point. There is not much cover for infantry, and tanks and Recon tend to have a huge advantage in terms of defending this point. There is a supply crate on the point that players can use to get ammo/health. There is a bit of cover from the pipes, and the fence around the capture point is indestructible. However, that also leads to grenades being very effective when tossed on the point. It's best to try to take this point fast and move on to O1 quickly.
Highlights
- Some pipes for cover
- Recon can defend
- Supply crate
C3 Very open capture point, hard to take
C3 Supply crate on the point
D Line[ | ]
D3[ | ]
The Objective[ | ]


You need to capture or defend BOTH O1 and O2 to successfully defend or take over the Factory.
O1[ | ]
Assenbly Hall "Anton"
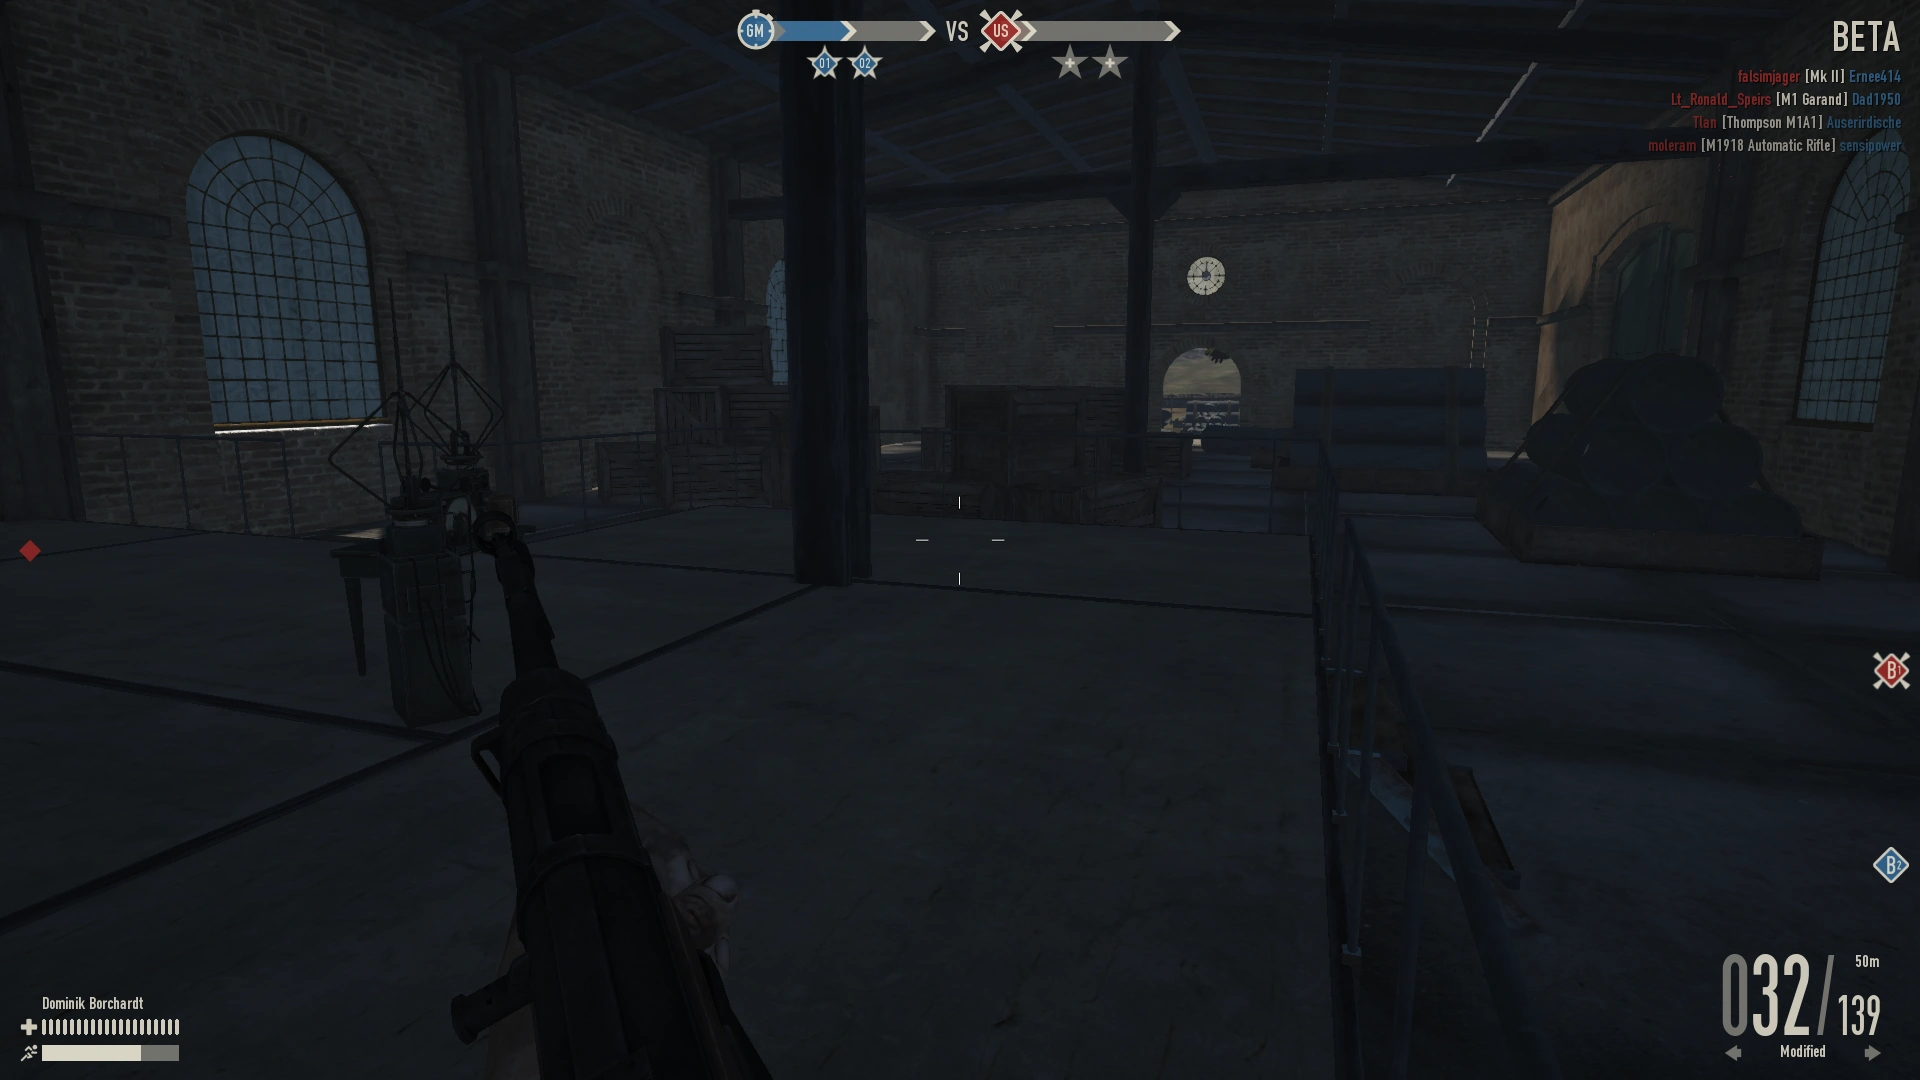
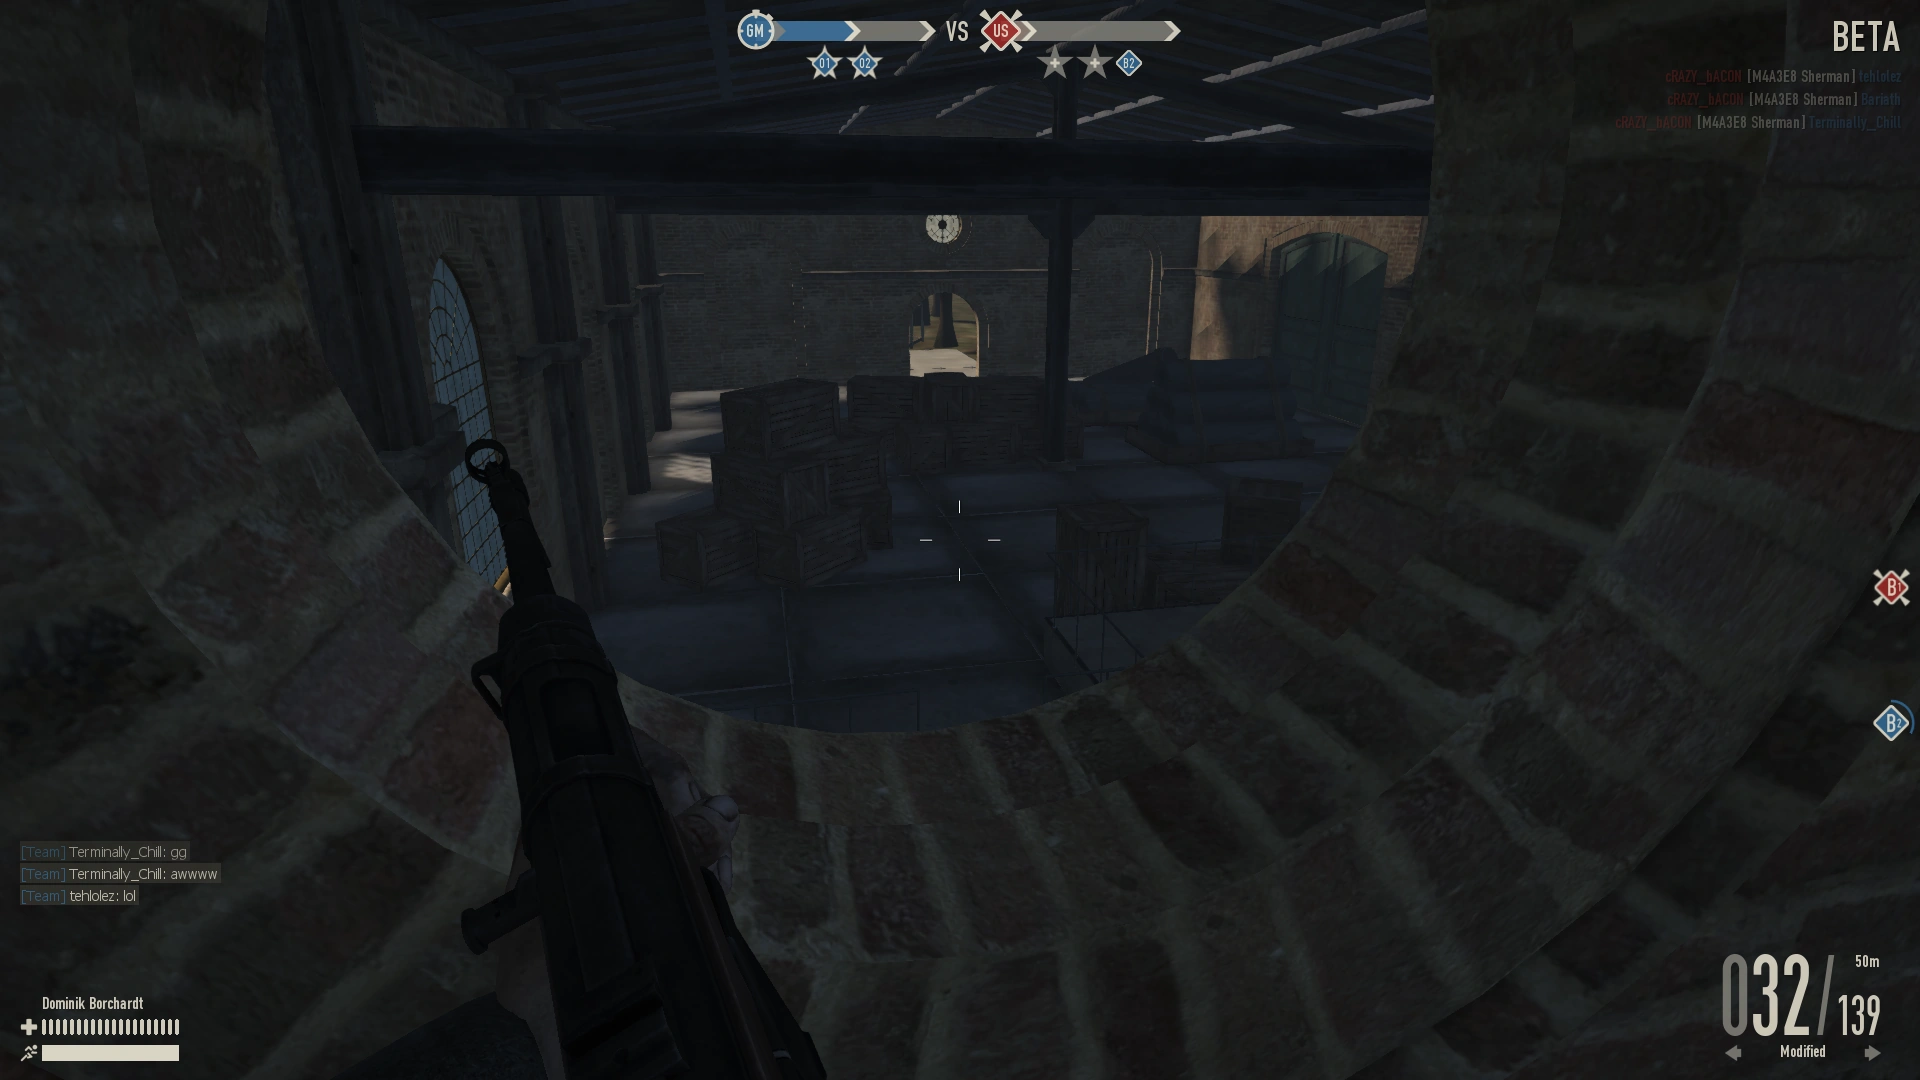
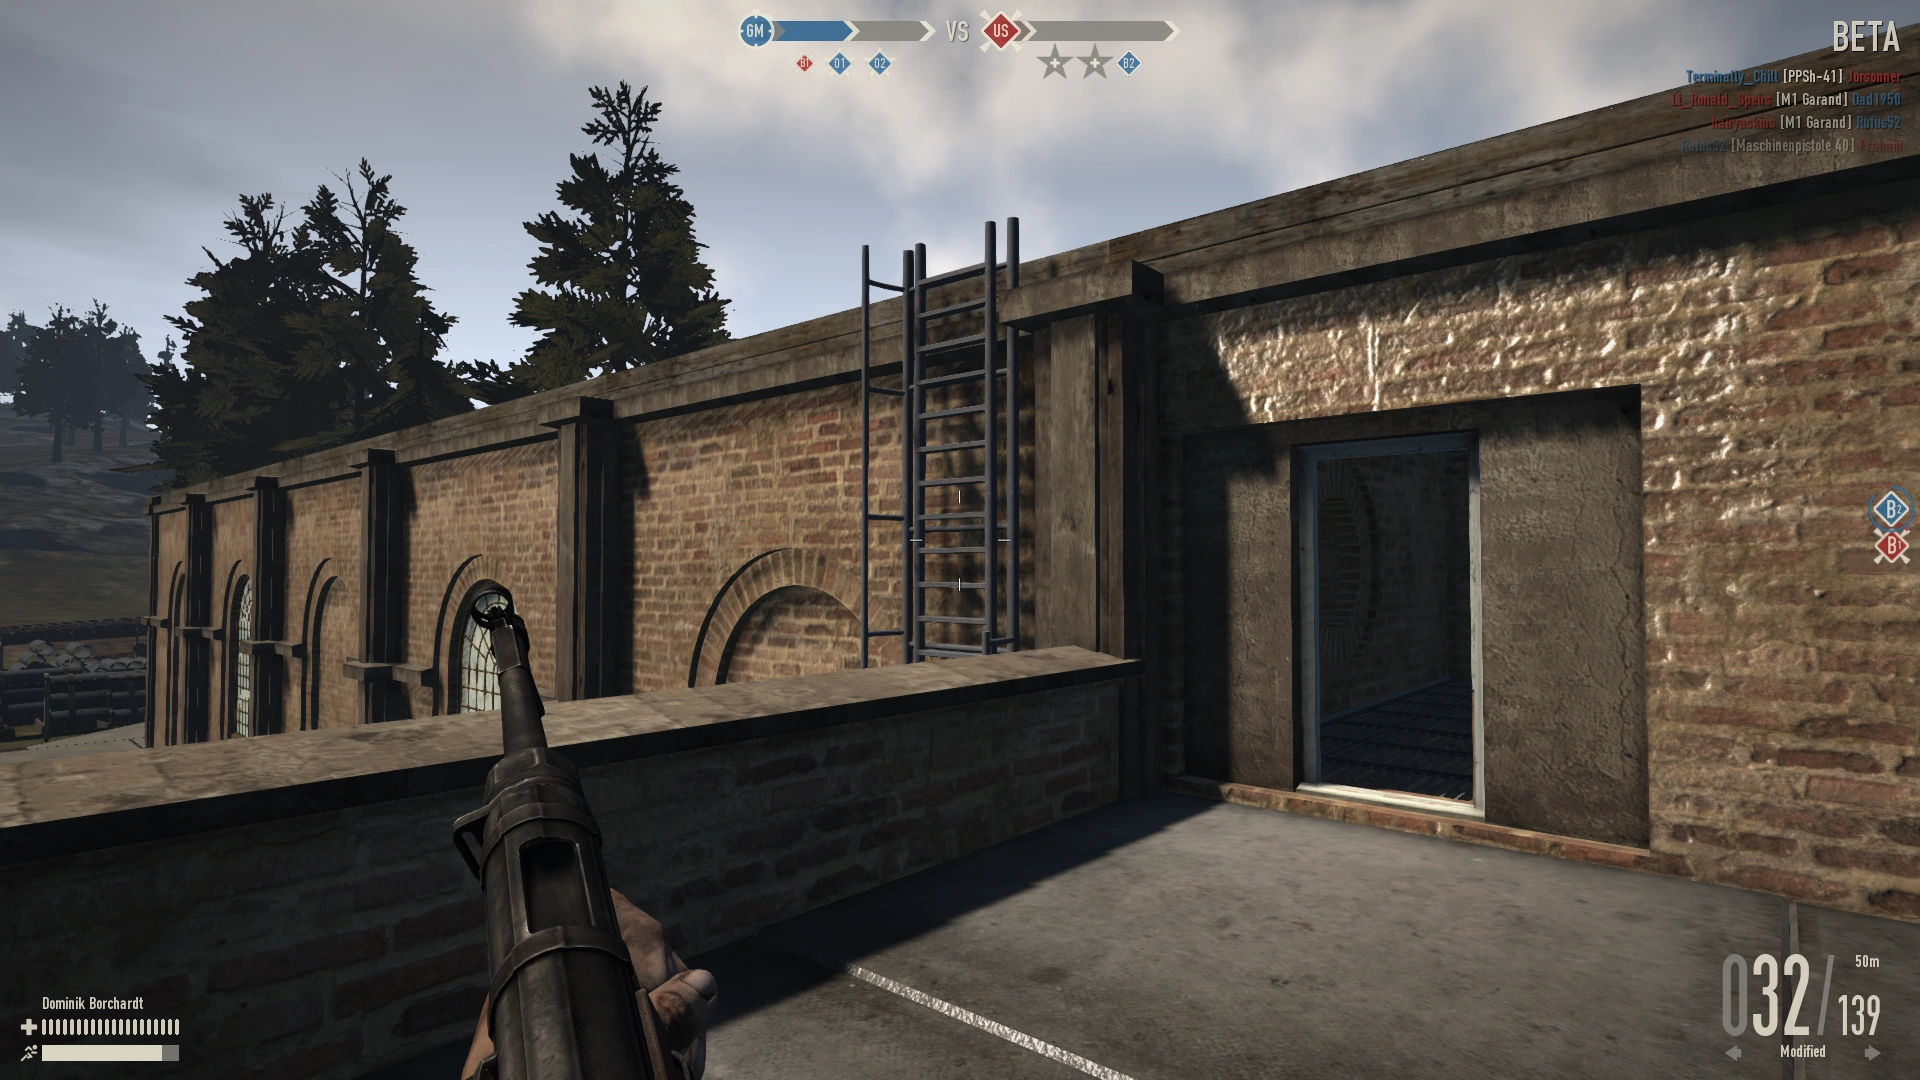
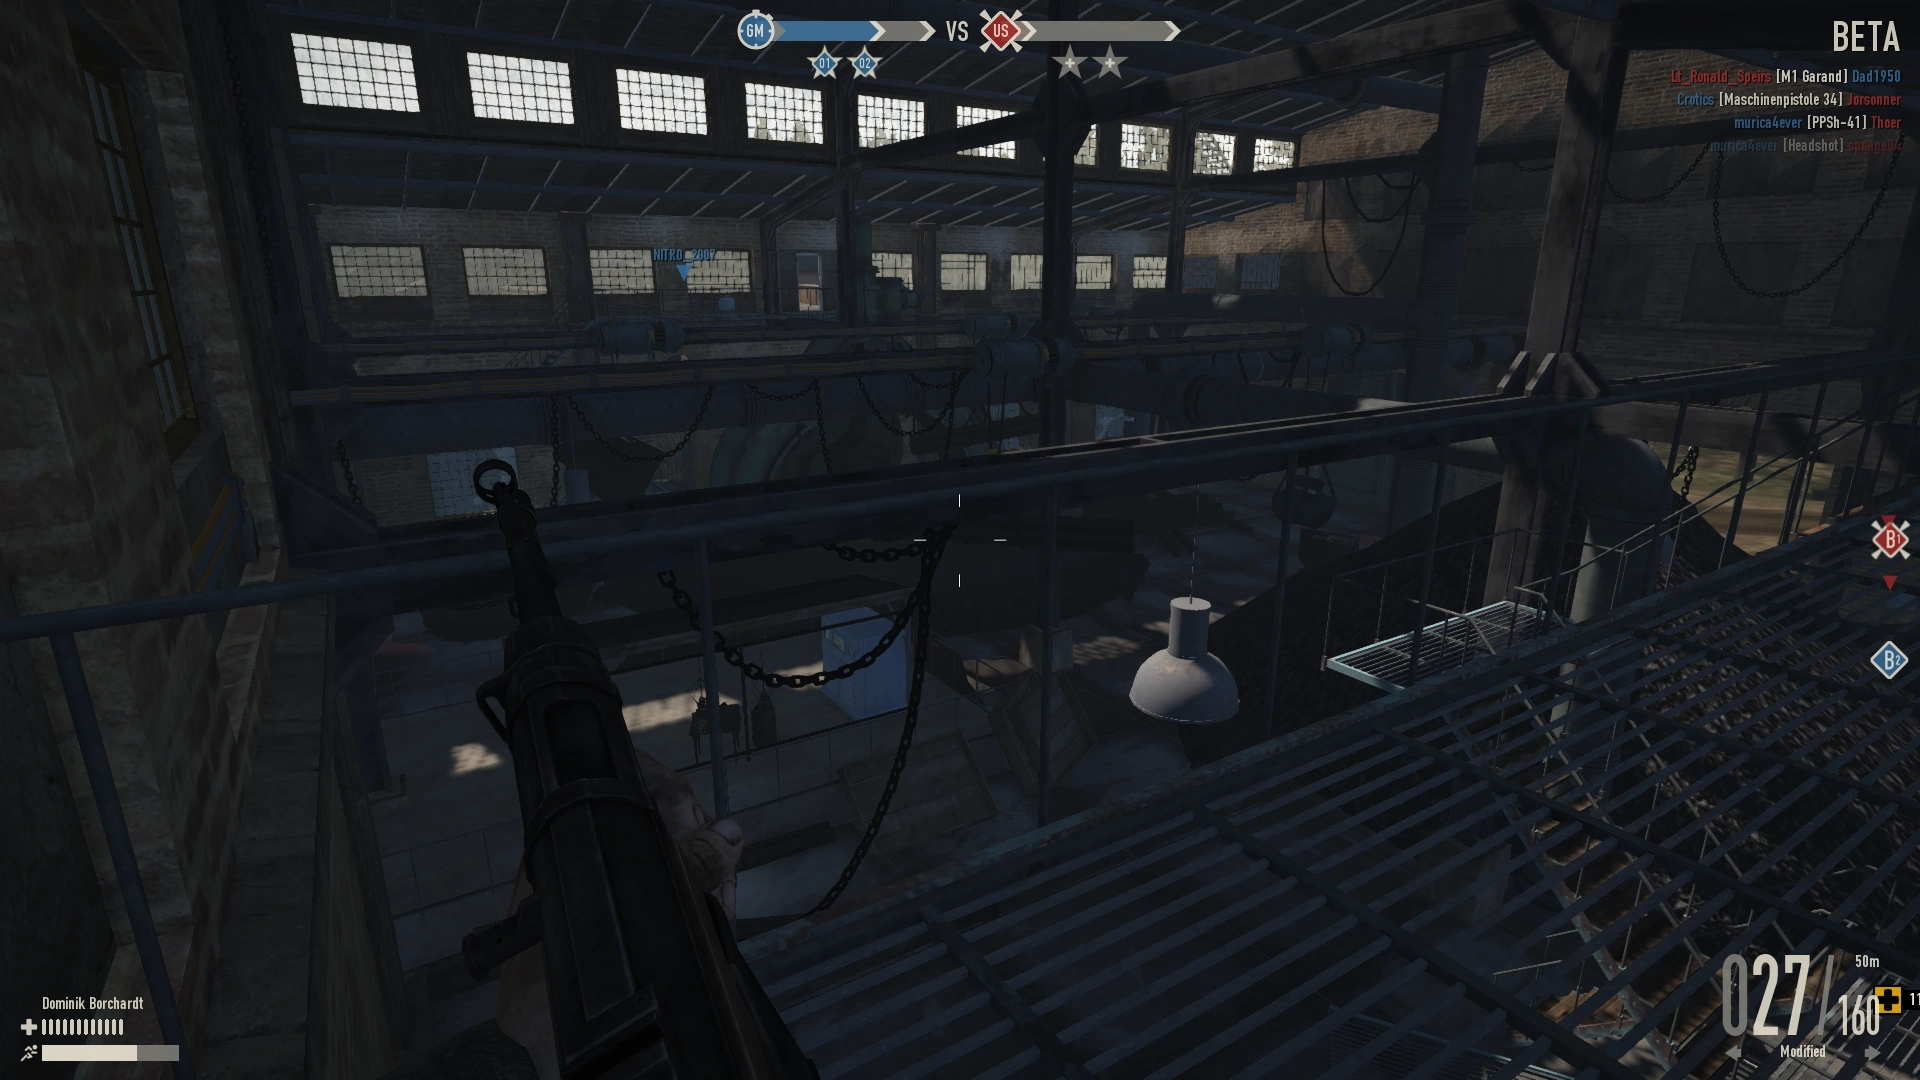
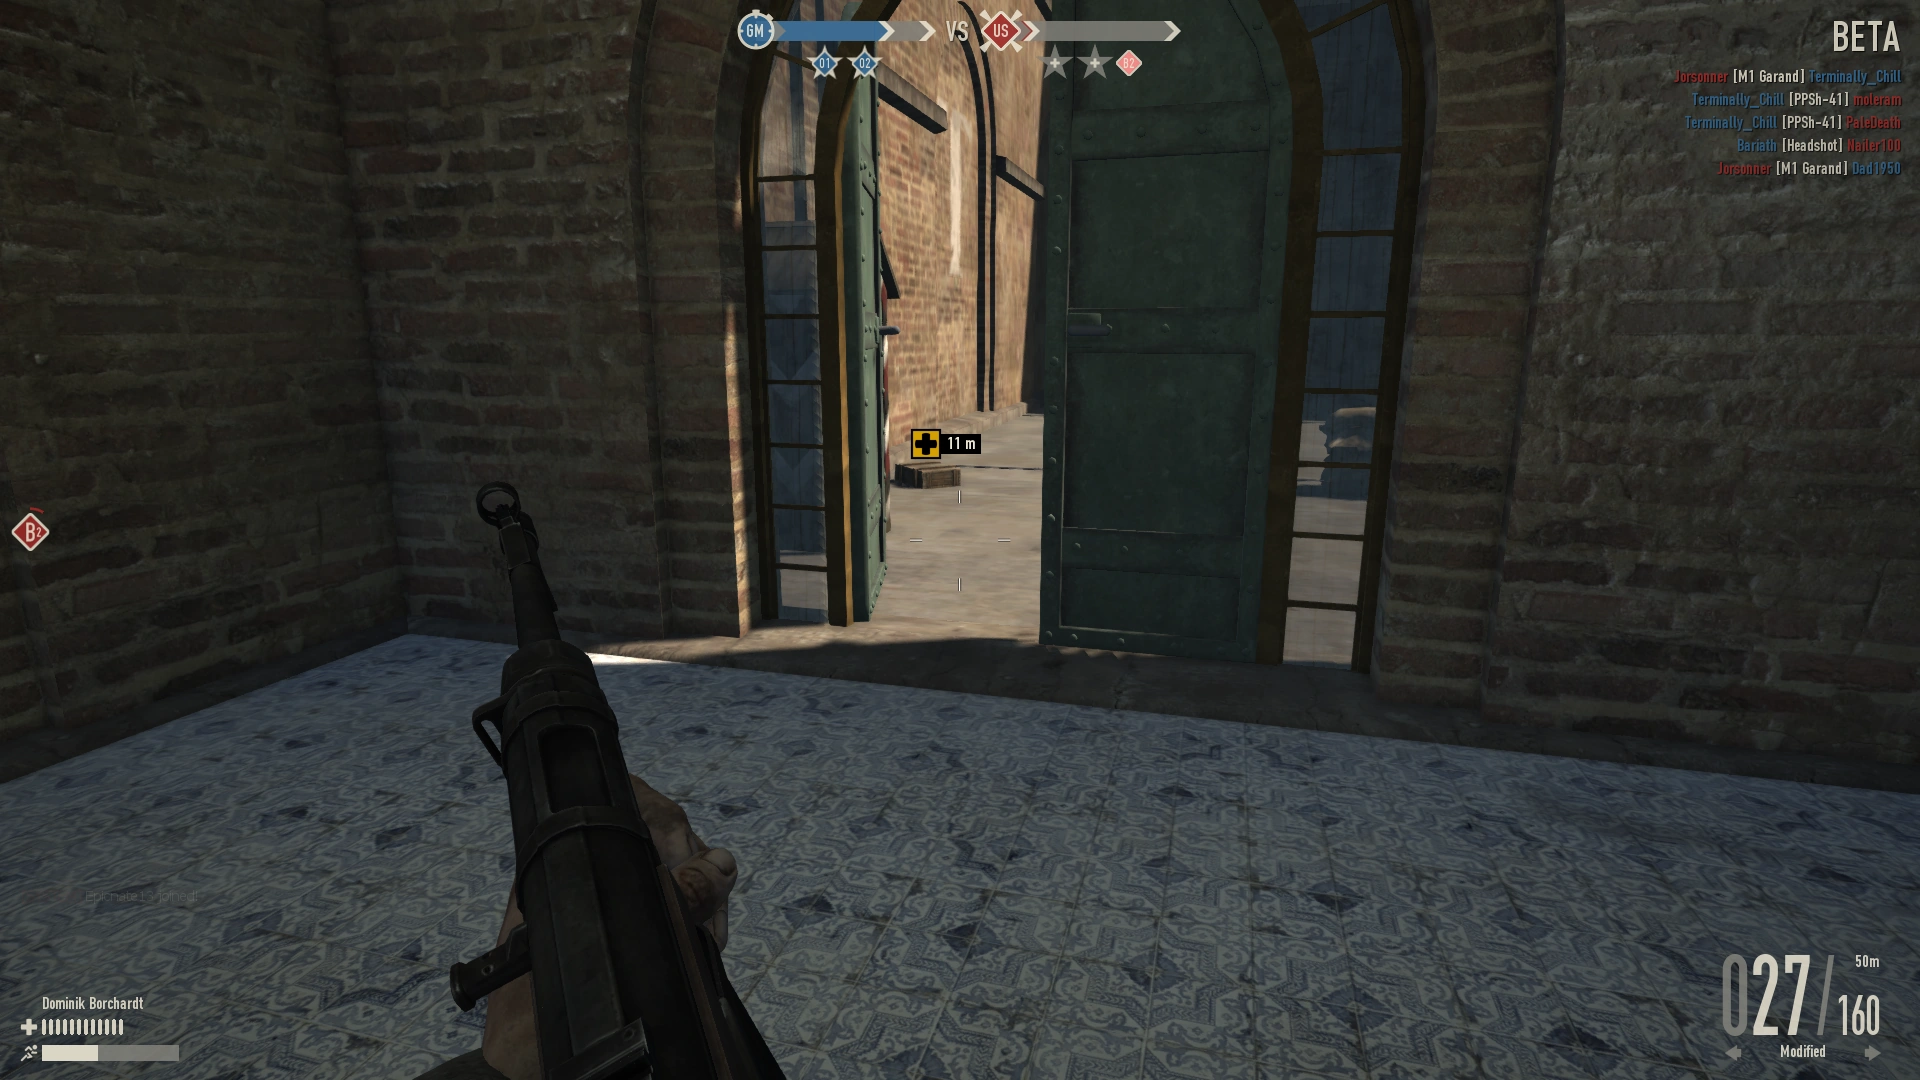
O1 is a large warehouse with a ton of boxes and conveyor belts. There are a lot of hiding spots and places to camp inside the building including the second floor scaffolding. There are three main entry points into O1. The first entry point is on the ground level closer to the C3 line side. There is a lot of cover when entering the building so its rather easy to enter the building if you can make it to the building in the first place. The gap between C3 and O1 is a very open area and tends to be common for Recon and tanks to fire upon. The next entry point is on the side of the building also on the C3 line side which involves climbing up a ladder to get to the second floor. Once on the second floor, there is a doorway you enter that leads to a scaffolding with some stairs down. Going in this route leaves you very vulnerable to fire from the first level as there is no cover and very open warehouse in terms of space. The last entry point is the connection to O2 through the second floor. There are two entry points from the O2 side that players can have a height advantage and see below in the boxes or toss grenades down. Players can also gain access to the rooftop of O1 through the ladders, where there are some windows you can shoot through. On the roof there is another entry point that leads you to the O2 connection hallways. On the roof there is a Panzerfaust 60 supply crate, a health supply crate, and an anti-aircraft gun shared between O1/O2 points. There is not much cover on the roof so you tend to get fired upon very easily by Recon on the hills near C3 or tanks.
Highlights
- Good cover inside
- Limited entry points
- Small capping radius that leaves you exposed to grenades
- Panzerfaust 60 supply crate on the roof
- Anti-aircraft gun on the roof
- Radio Building
- Radio

O2[ | ]
Assenbly Hall "Berta"
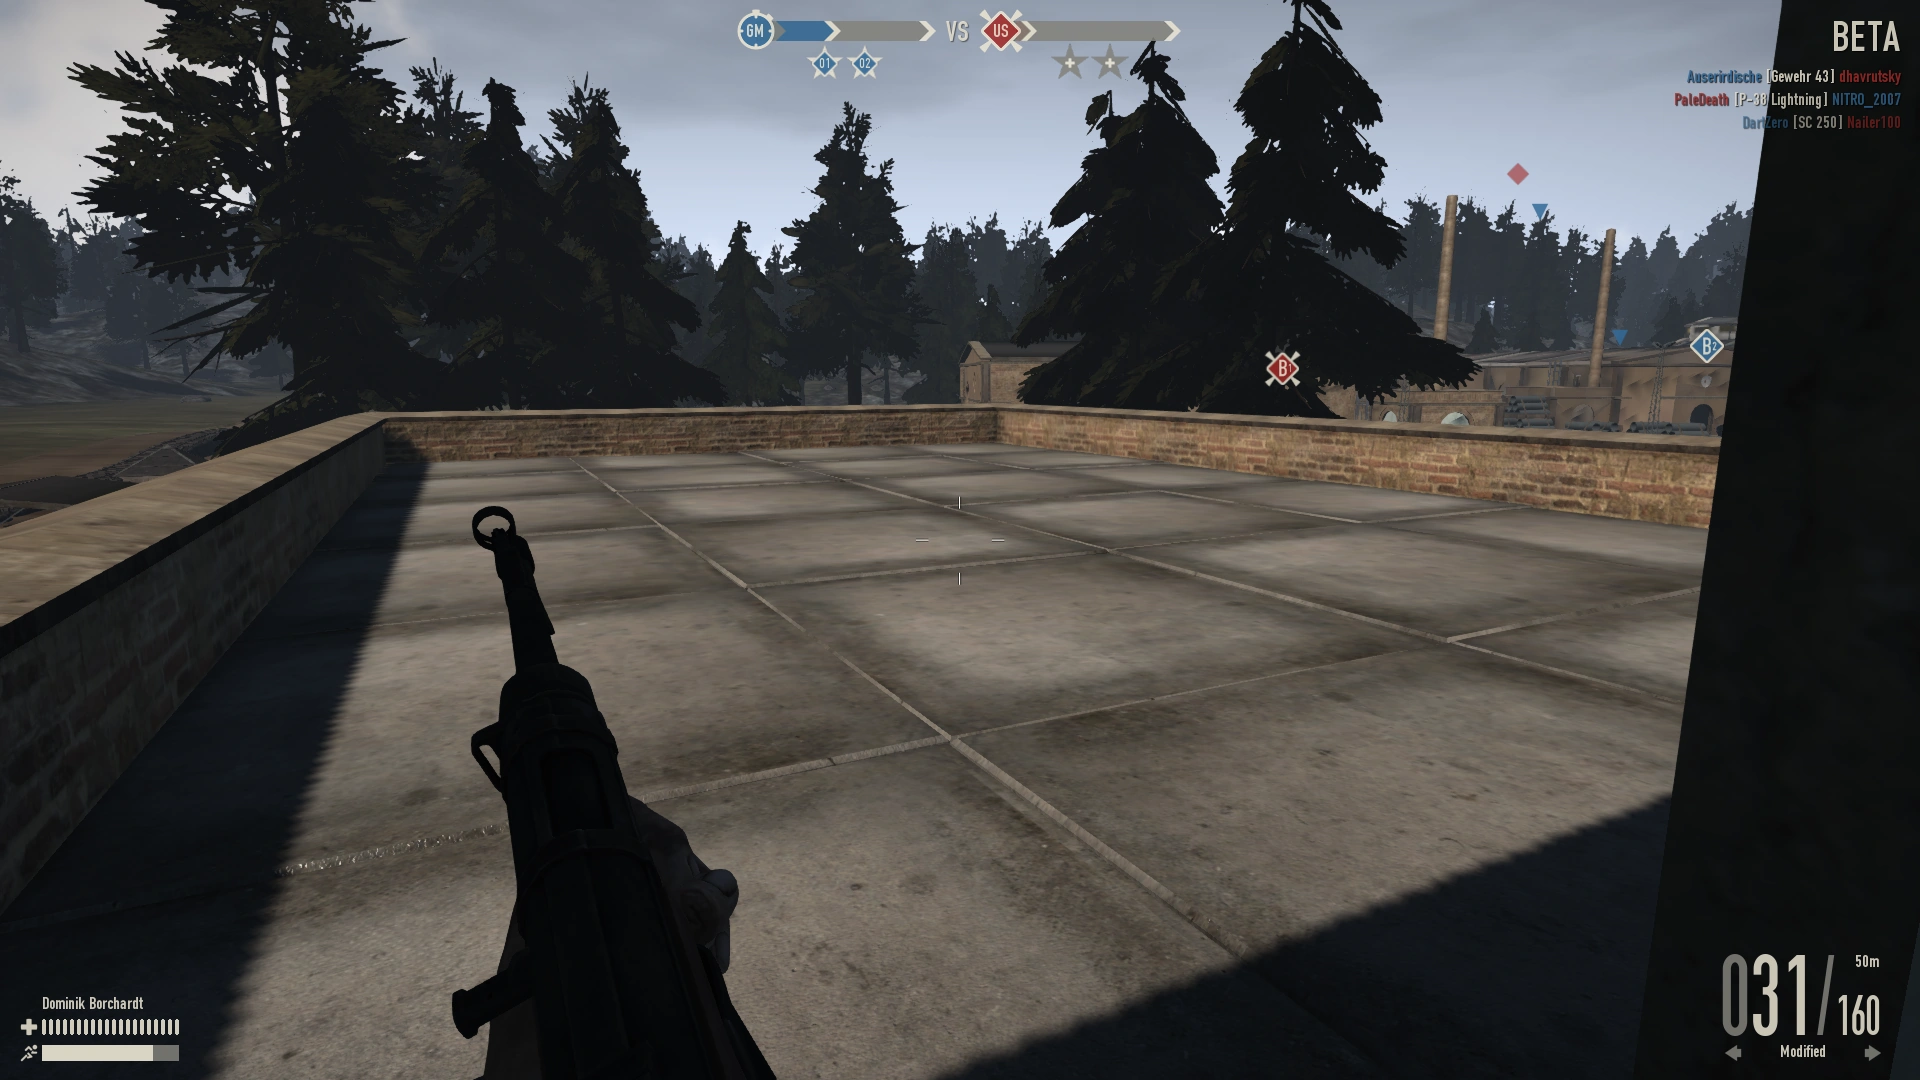
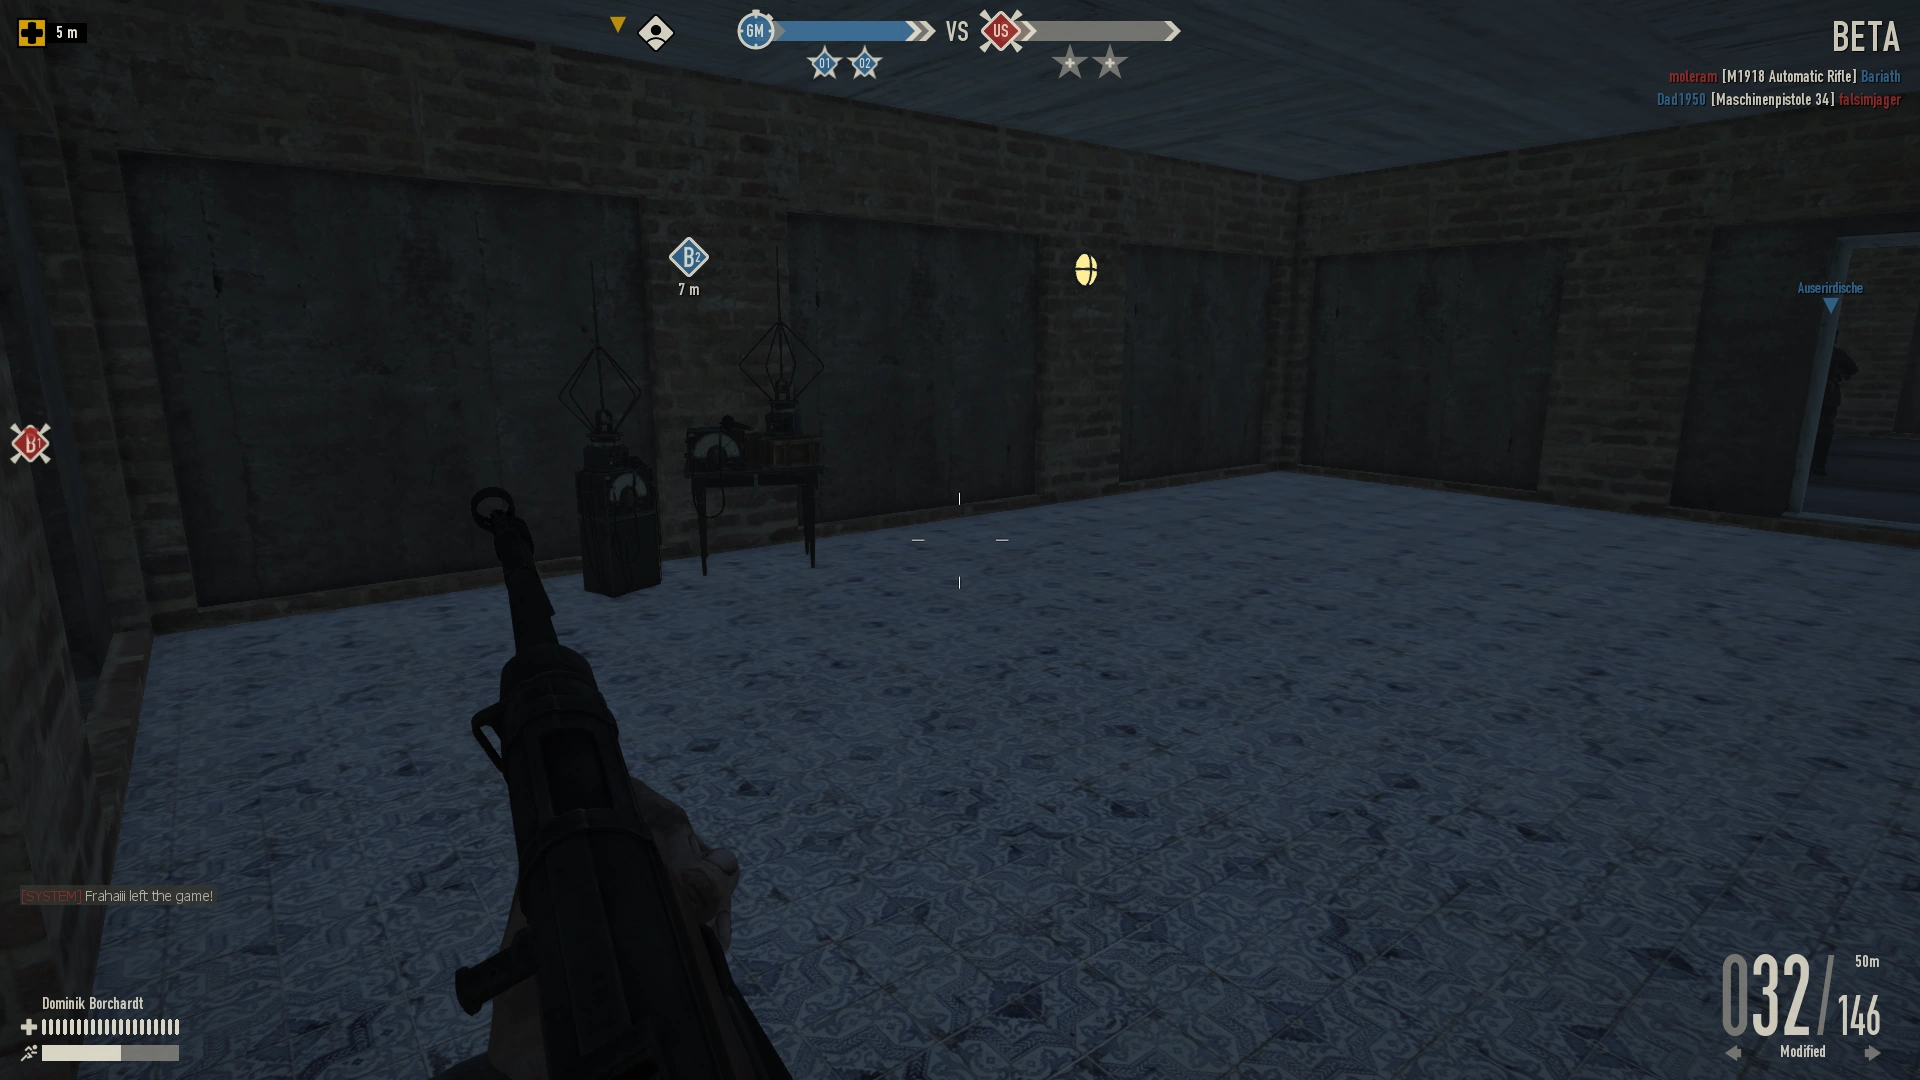
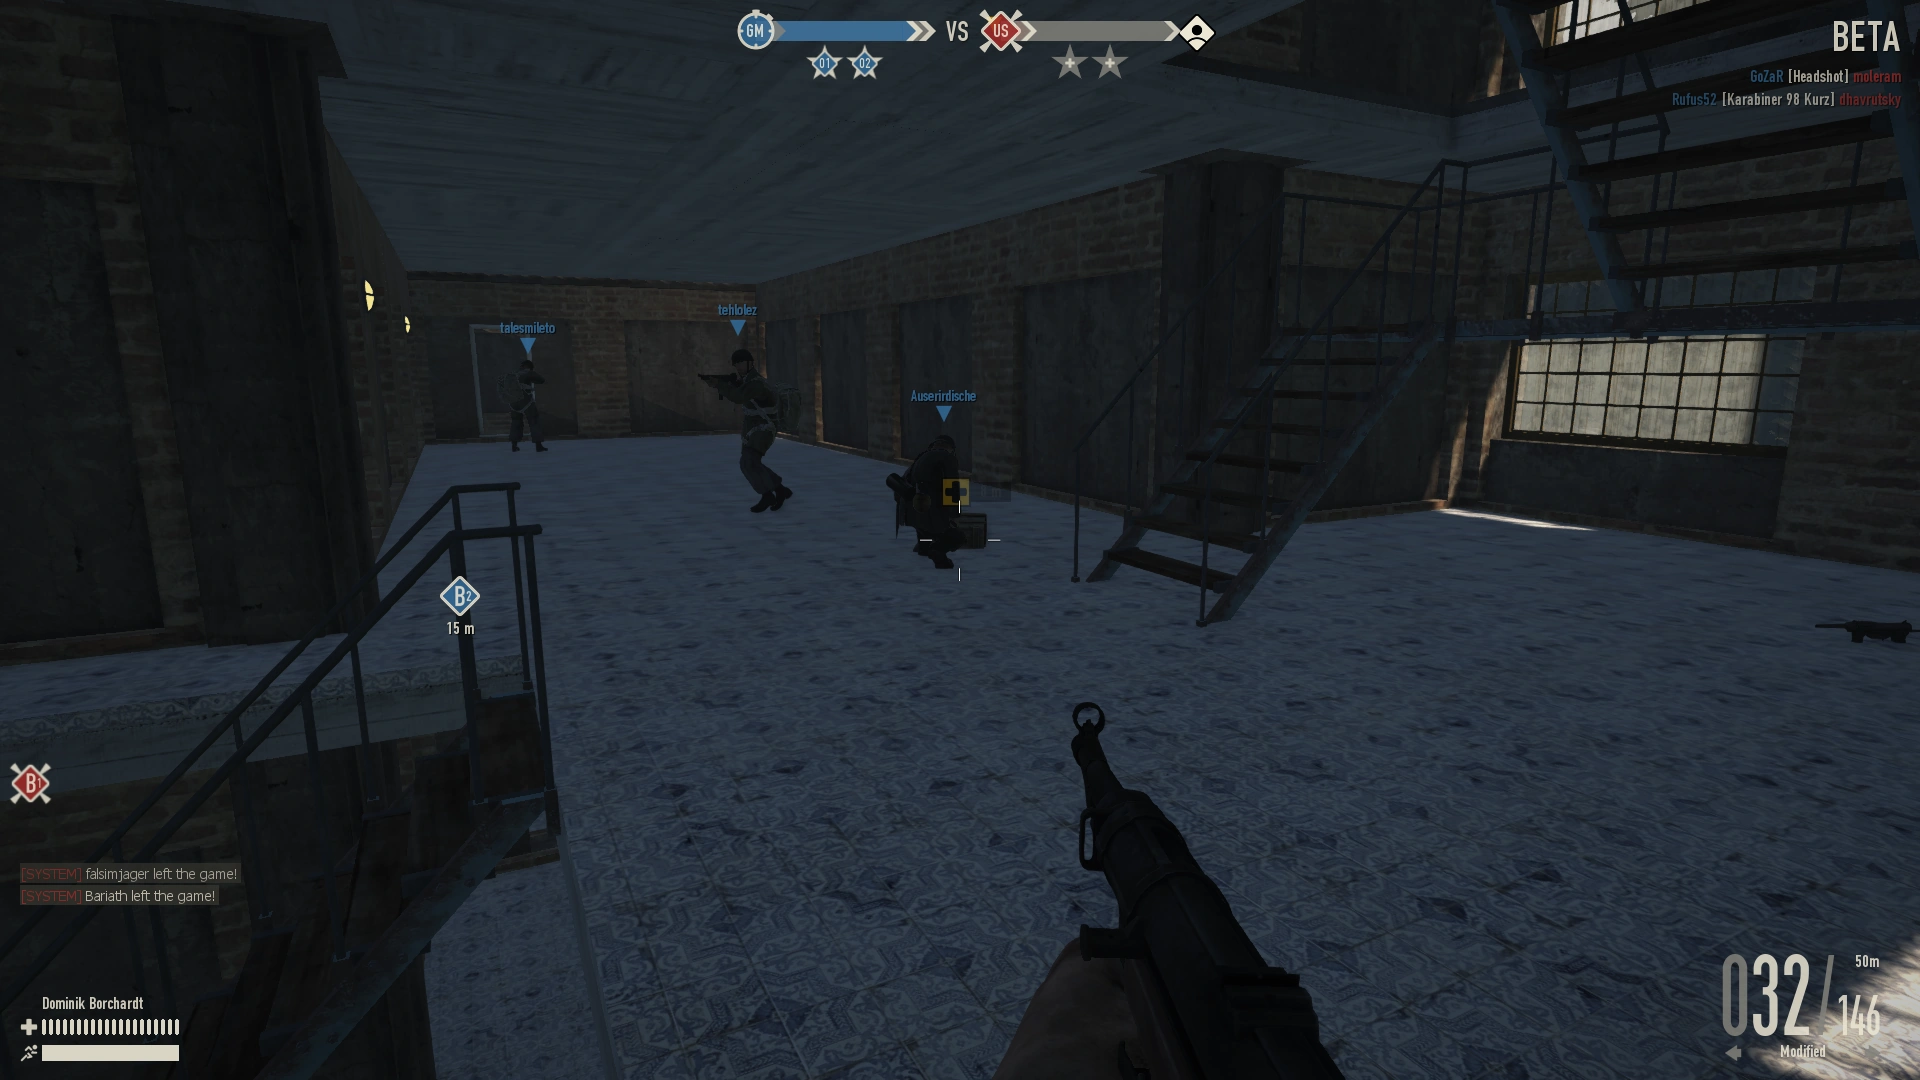
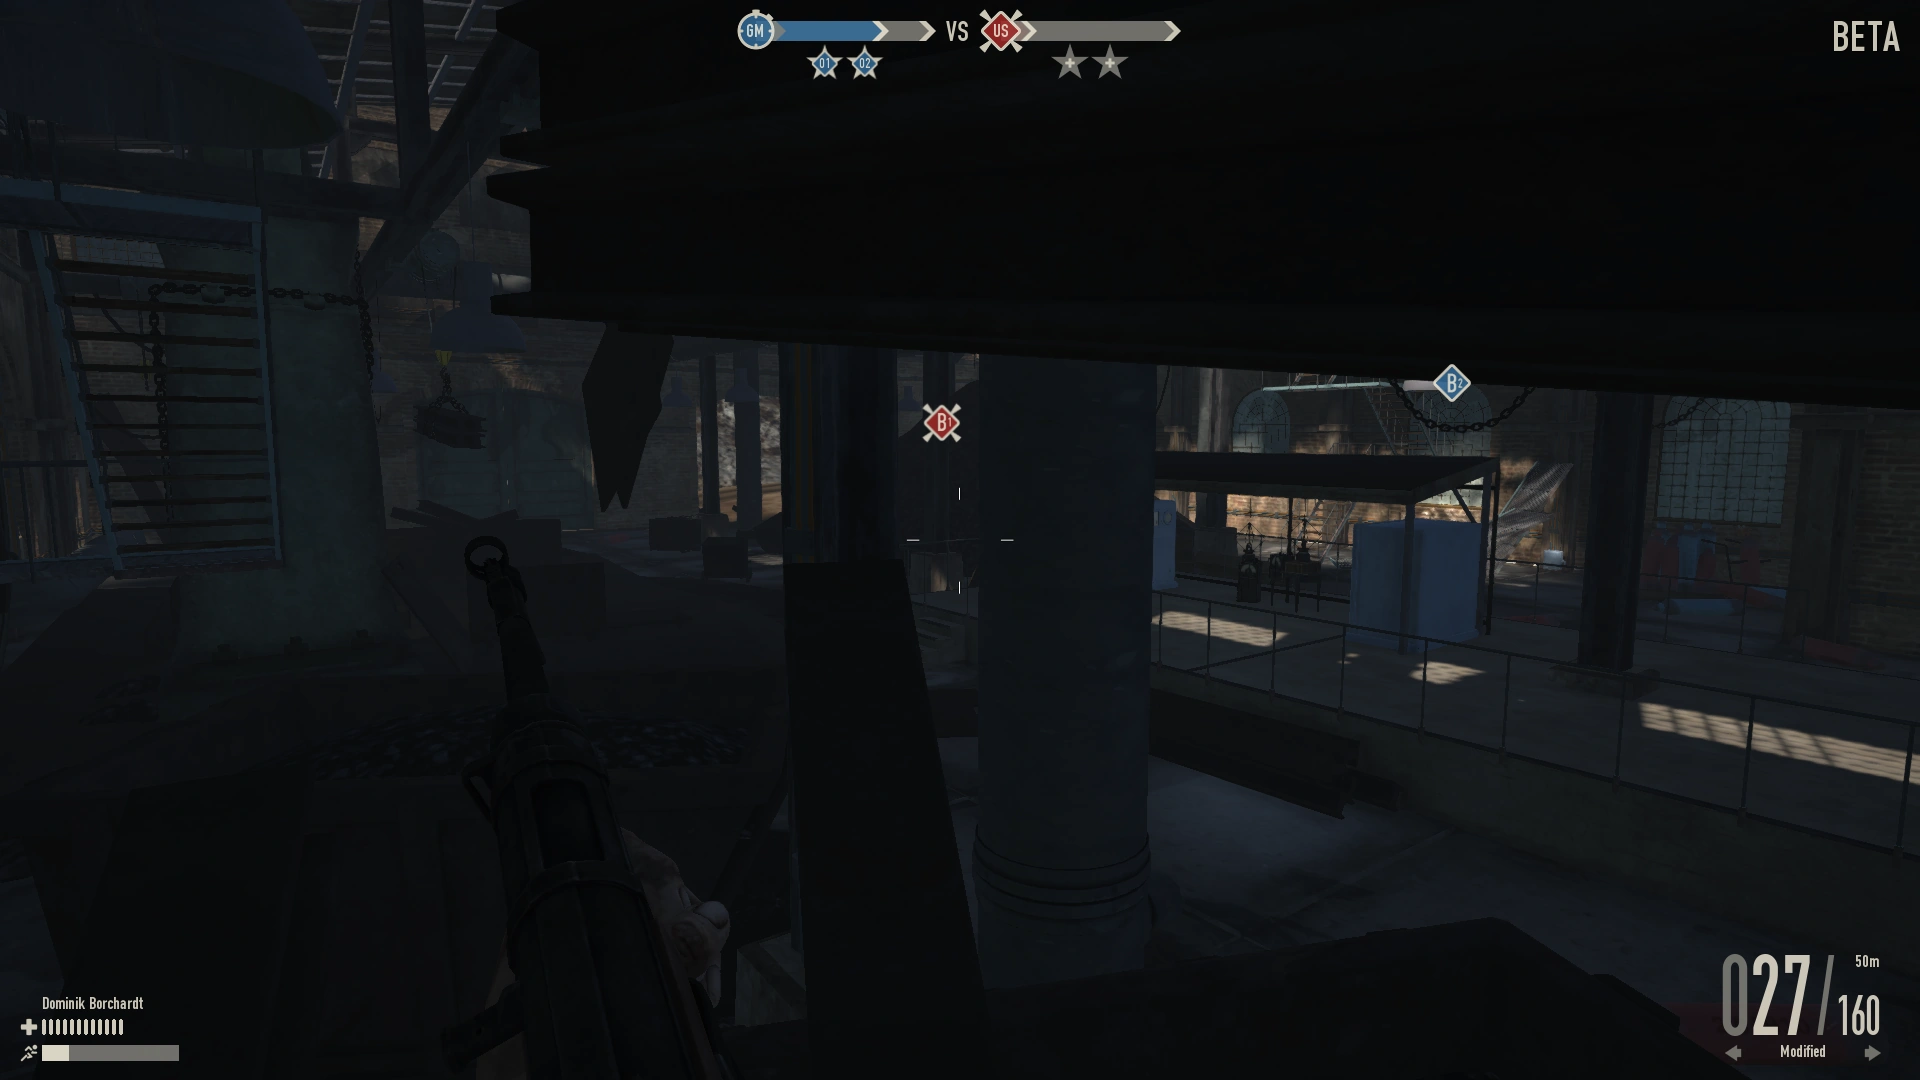
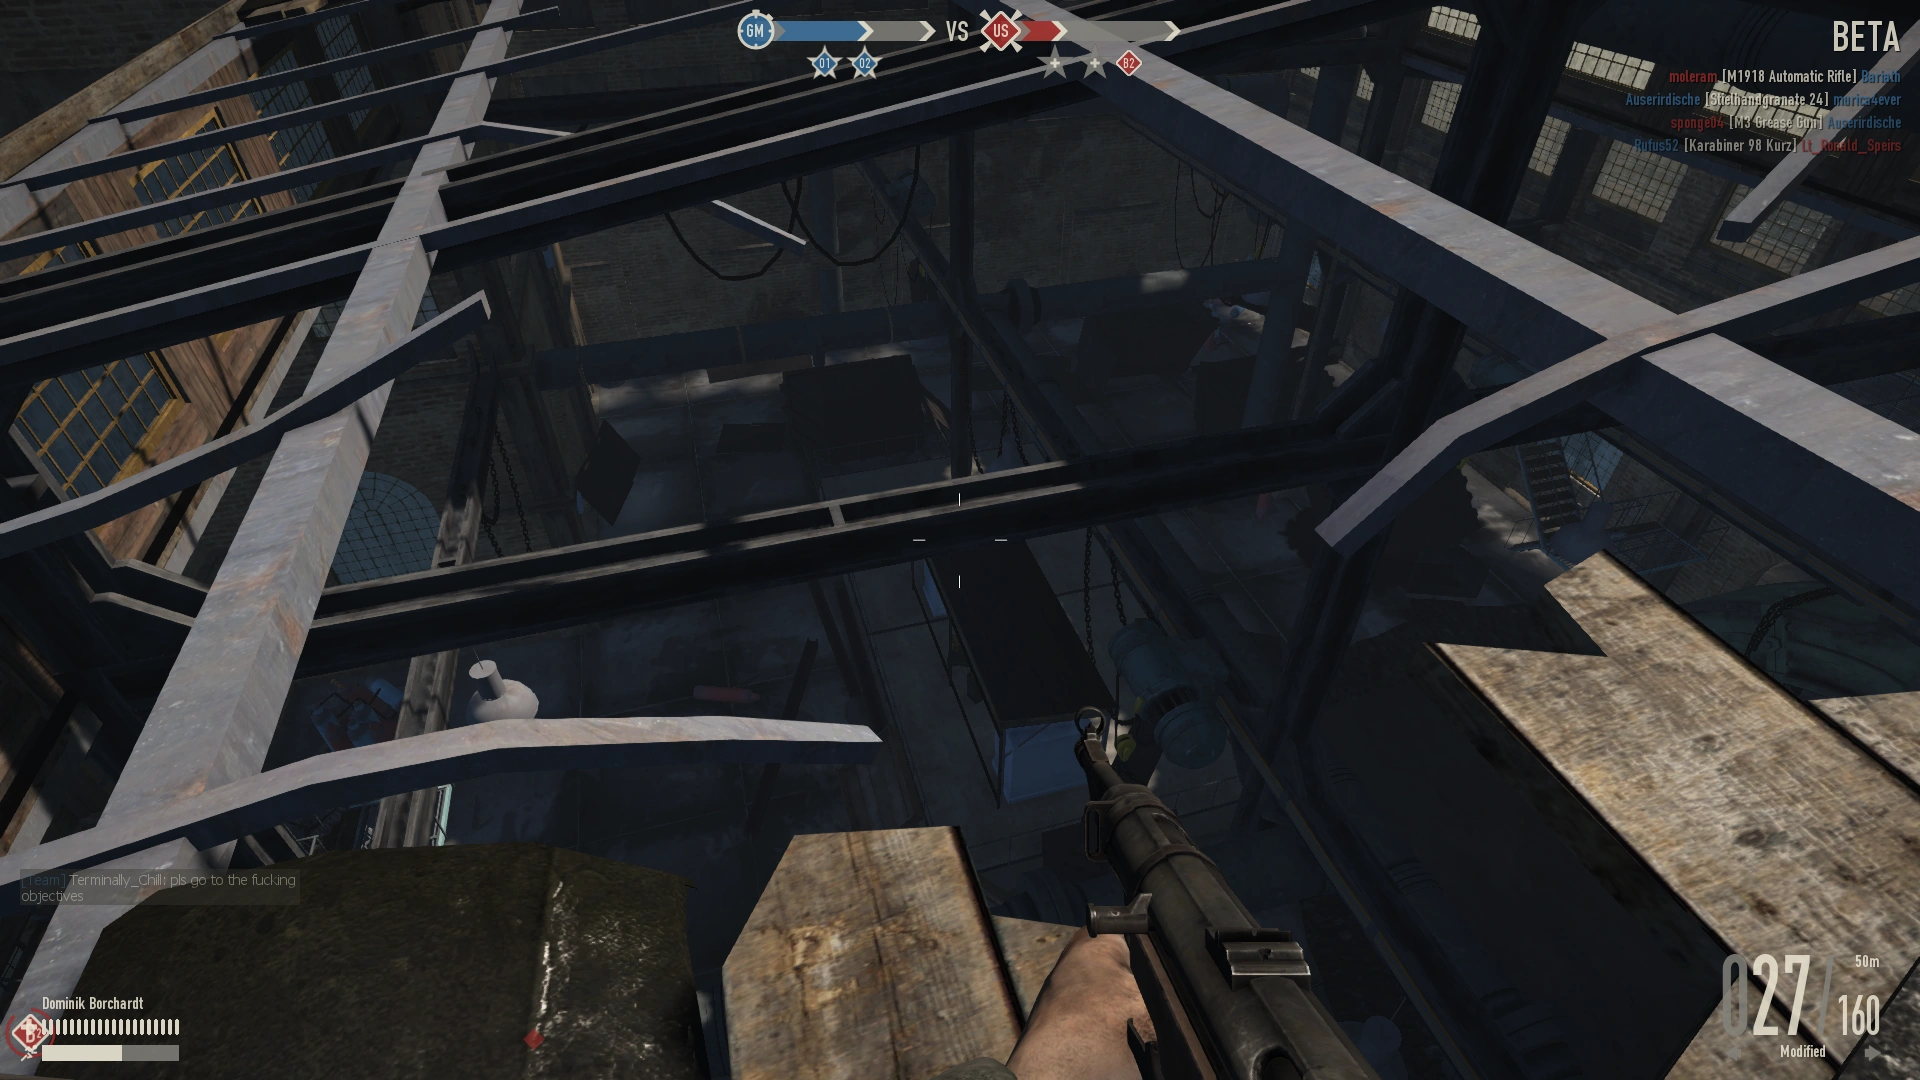
The center of the map contains the O2 and O1 points which are connected via series of linked factories which are multiple level. At O2, there are four main points of entry. The first entry point is located on the A3 line side. Entering through this route can prove difficult as defenders will often be encamped inside and there is a ton of cover inside the O2 point on both levels. The inside of O2 contains many machines, pipes, mounds of coal, scaffolding on the second floor, and a second floor room that links to the other factories. The next entry point is on the same side, the A3 line side, but involves climbing up a ladder. This leads to two pathways, you can get off on the first layer and enter the O2 point through a second floor doorway, located near where the anti-aircraft gun is located. You can climb up the roof which leads to an array of choices. When on the roof, there is a hole in the roof you can view down on the point to try to look where defenders are located and pick them off. Moving further down the roof, you can see another entry door on the lower scaffolding, this path leads to the interior that links to the second floor portion of the O2 and O1 points. The other option is to take the stairs on the very top of the roof near the second anti-air gun and take them all the way down to reach the second floor above the O2 point. There are actually two supply crates around the O2 point, one is located on the very top of the roof inside the small third story portion of the building, the other supply crate is located outside the final entry point to O2. The final entry point is located on the opposite side of the other entry points also located on the A3 line side of the map. On the roof of the O2 building you can find a Panzerfaust 60 supply crates scattered around the ledges that can be used to shoot players/tanks. There are also some bicycles all around the O2 point. Inside the O2 point there is plenty of cover to hide in, on, on top of, around. One thing to note, it is rather hard to take the point once on it, as the point capture radius is rather small and requires you to be in a bit of an open area with little cover and many ways enemies can enter from. Two of the three anti-aircraft guns are located above the O2 point and can be used to shoot down planes and paratroopers. The O2 point provides for a unique playing experience as tanks and planes become near useless and depends primarily on infantry fighting.
Highlights
- Mostly infantry fighting
- Lots of entry points
- Two supply crates
- Panzerfaust 60 supply crate on the roof
- Two anti-aircraft guns on the roof
- tanks become ineffective attacking/defending this point
O2 One entry point
O2 Another entry point
O2 Roof Access entry point
O2 Another roof Access entry point
O2 Another roof access entry point
O2 Second floor
O2 Lots of cover inside
O2 Hole in the roof of O2
O2 supply crate on the roof of O2
O2 supply crate outside first floor of an entry point
O2 Panzerfaust 60 supply crates scattered around on the roof
O2 One of two anti-aircraft guns
O2 One of two anti-aircraft guns
