NOTICE: This map has been removed and replaced with a completely revamped version. See Mountain Town/sandbox for a Work-in-Progress page for the new map.

Description[ | ]
A Mountain Town is a ![]() Map point that produces Infantry (Infantrymen) resources.
The faction in control of a Mountain Town controls the output and command (Strategic Command & Supreme Command) can use the resources produced to reinforce an Assault Team in need.
Map point that produces Infantry (Infantrymen) resources.
The faction in control of a Mountain Town controls the output and command (Strategic Command & Supreme Command) can use the resources produced to reinforce an Assault Team in need.
Layout[ | ]

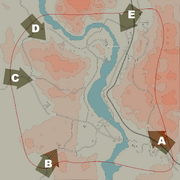
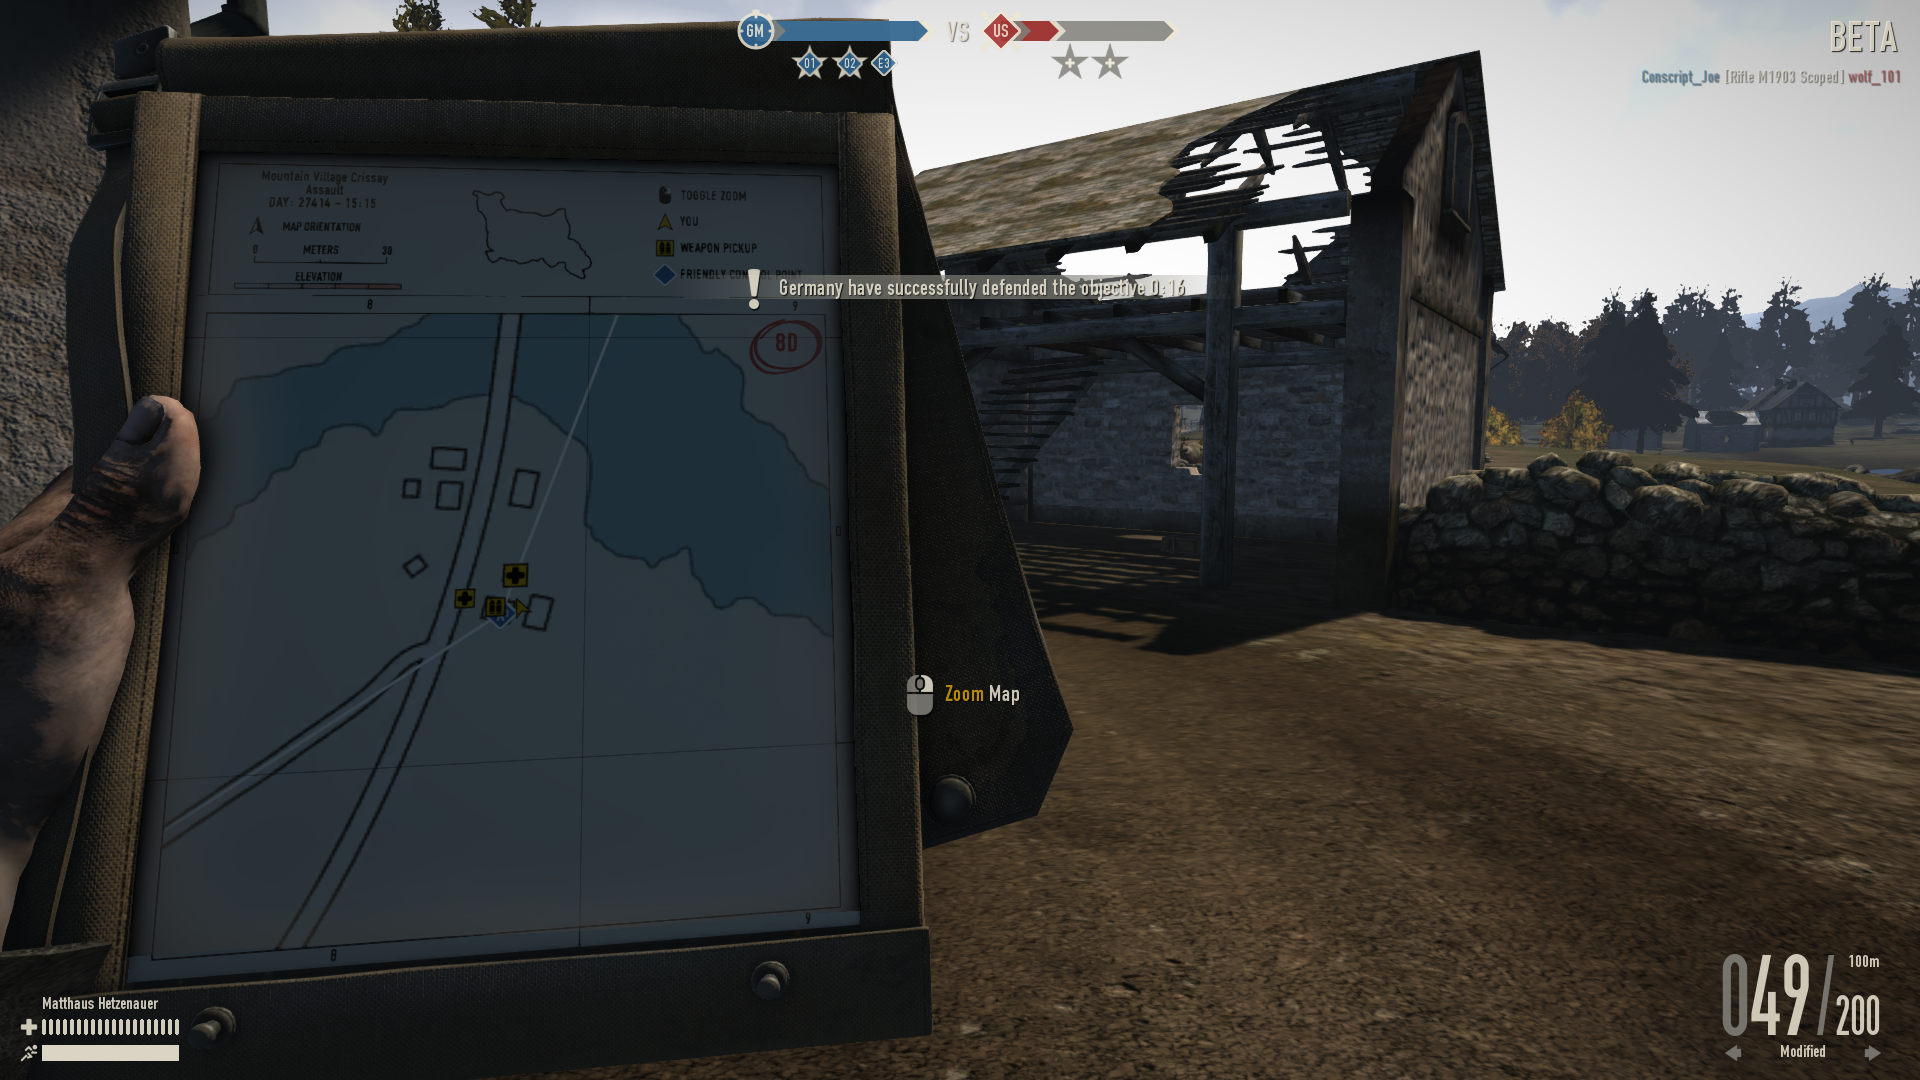
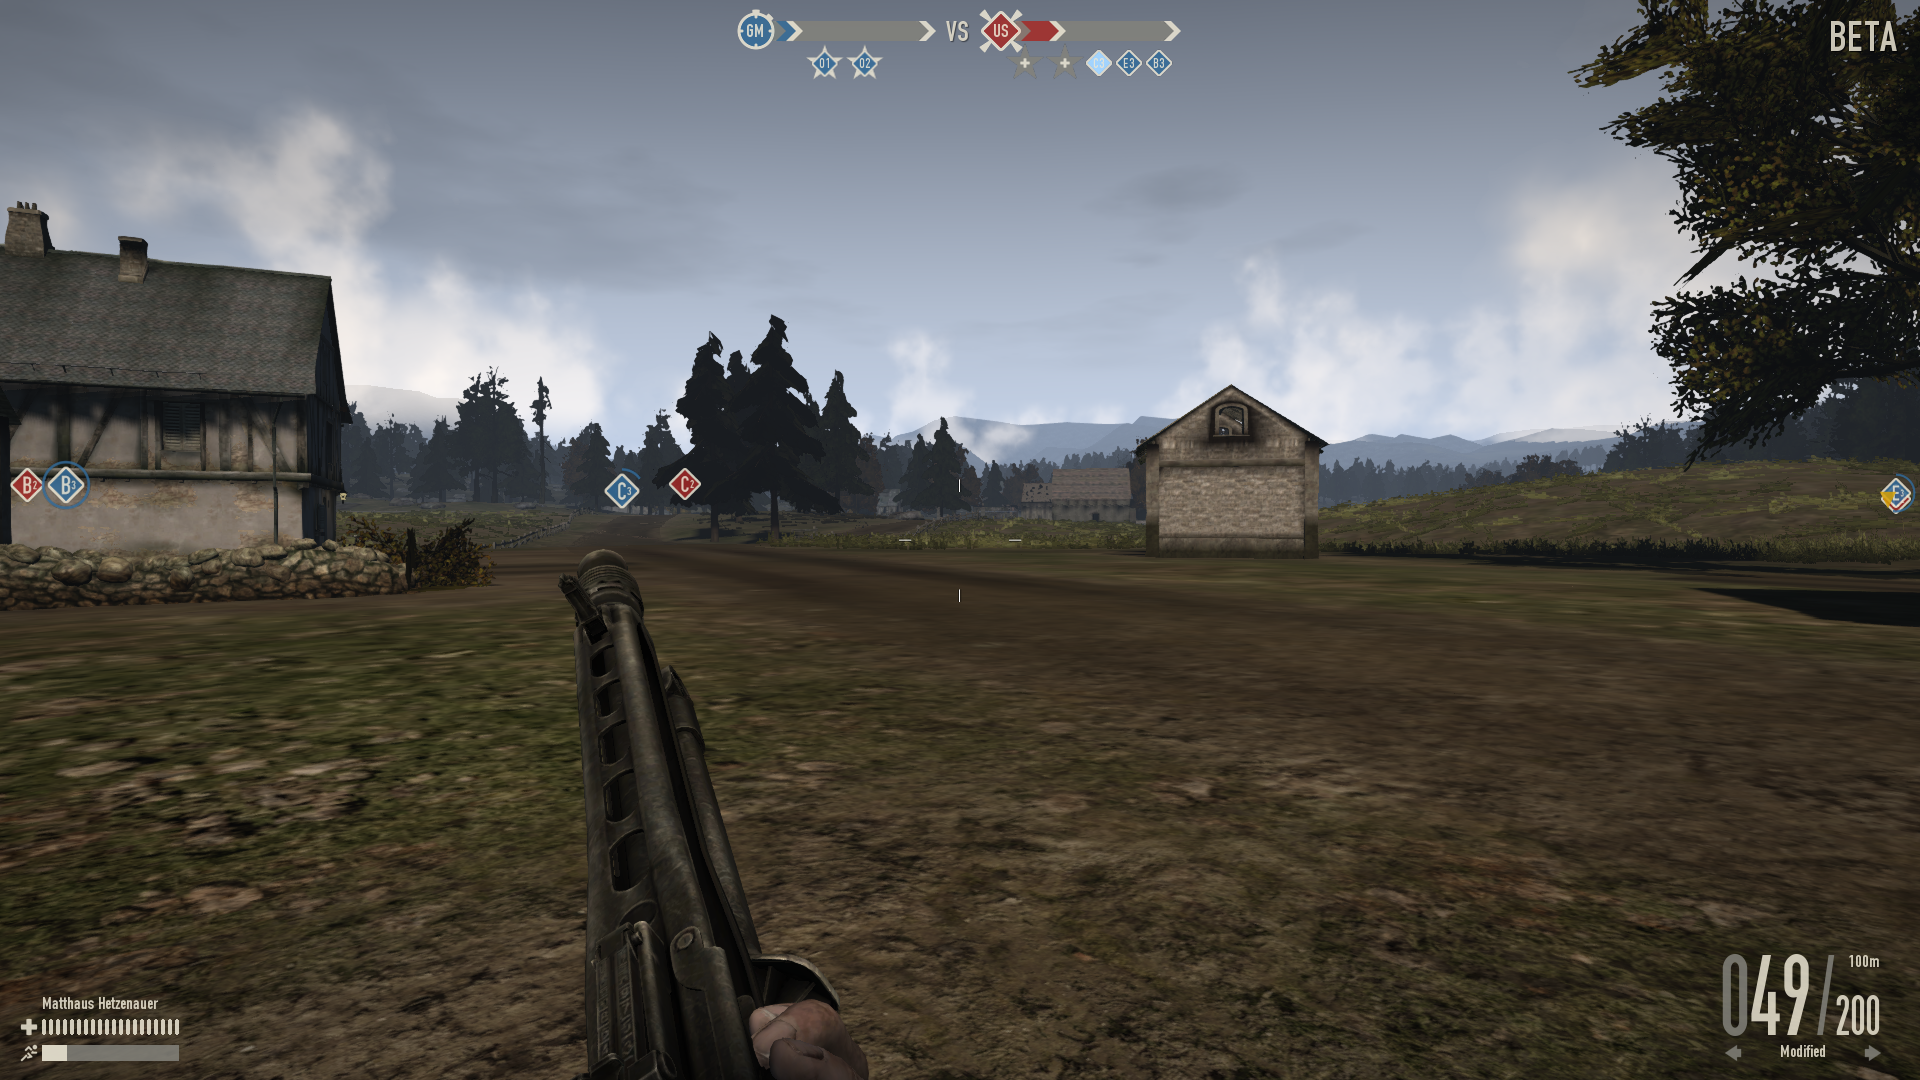
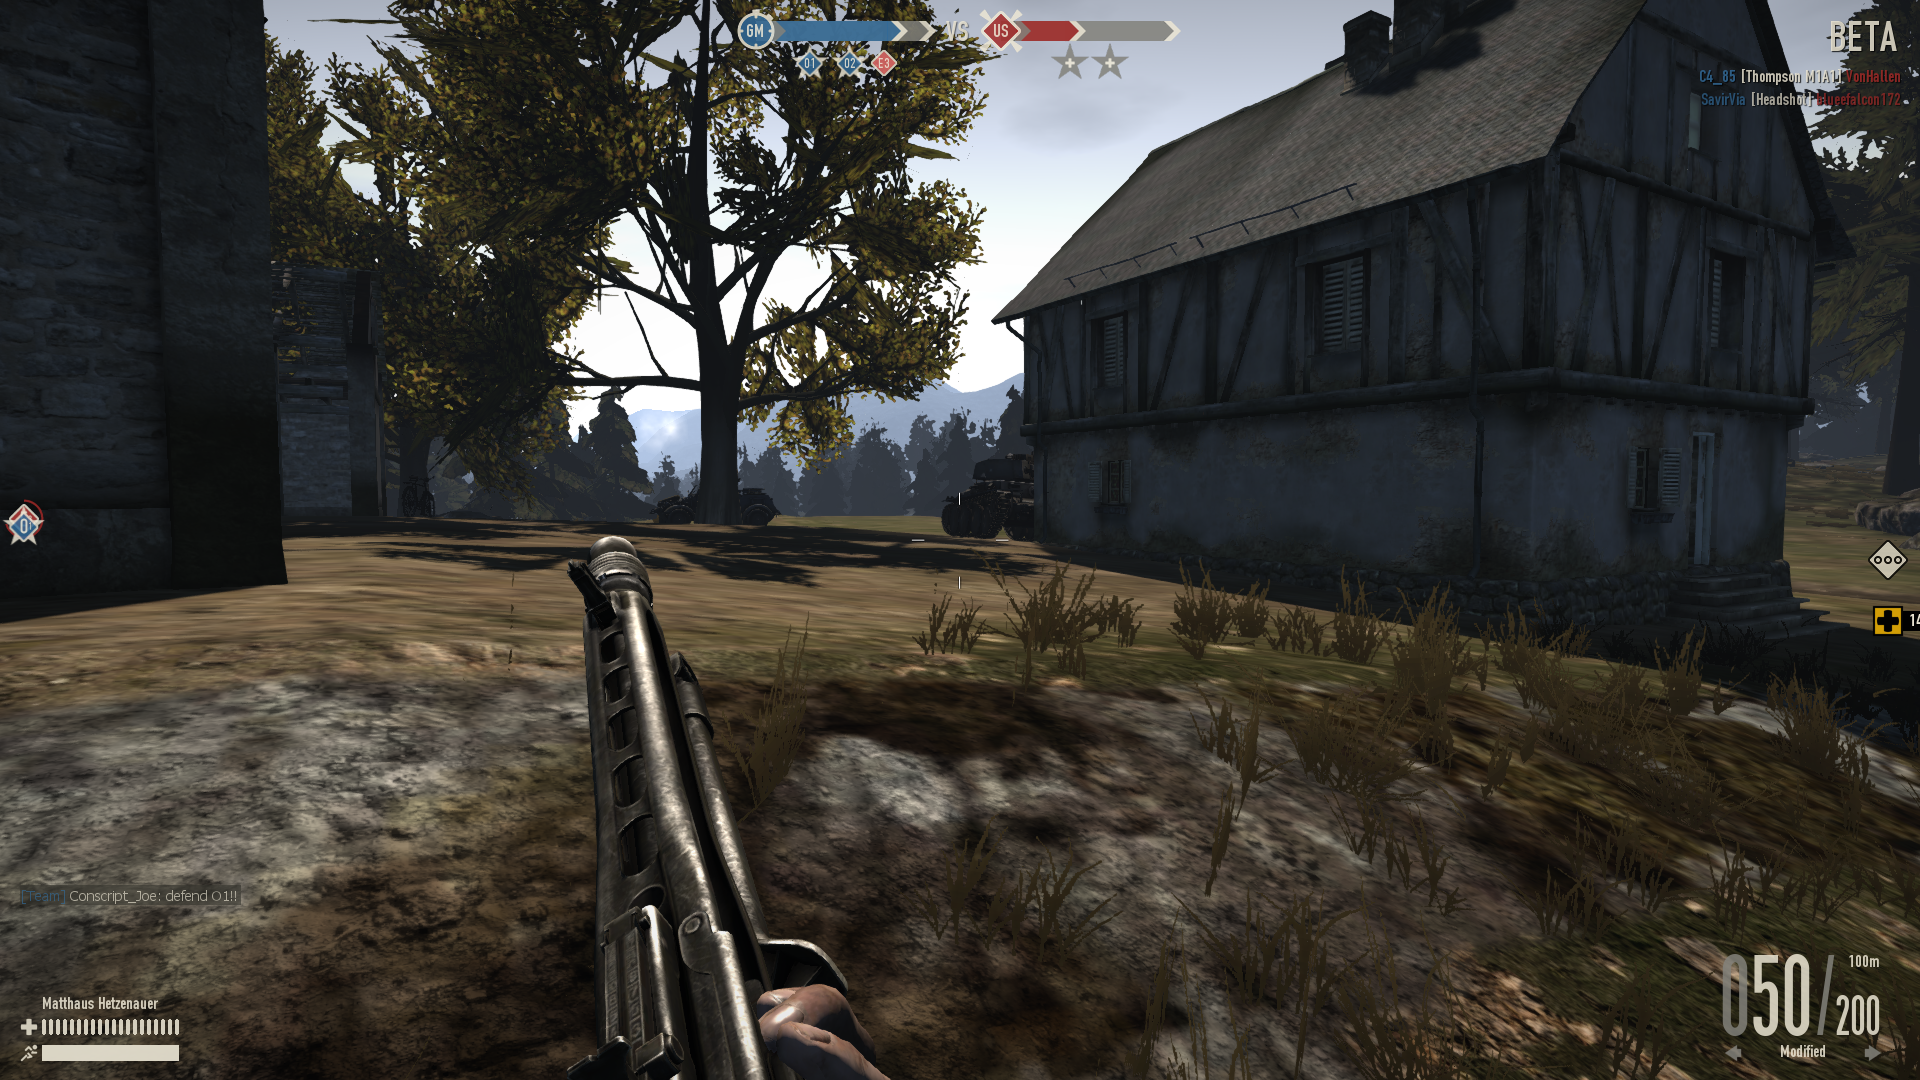
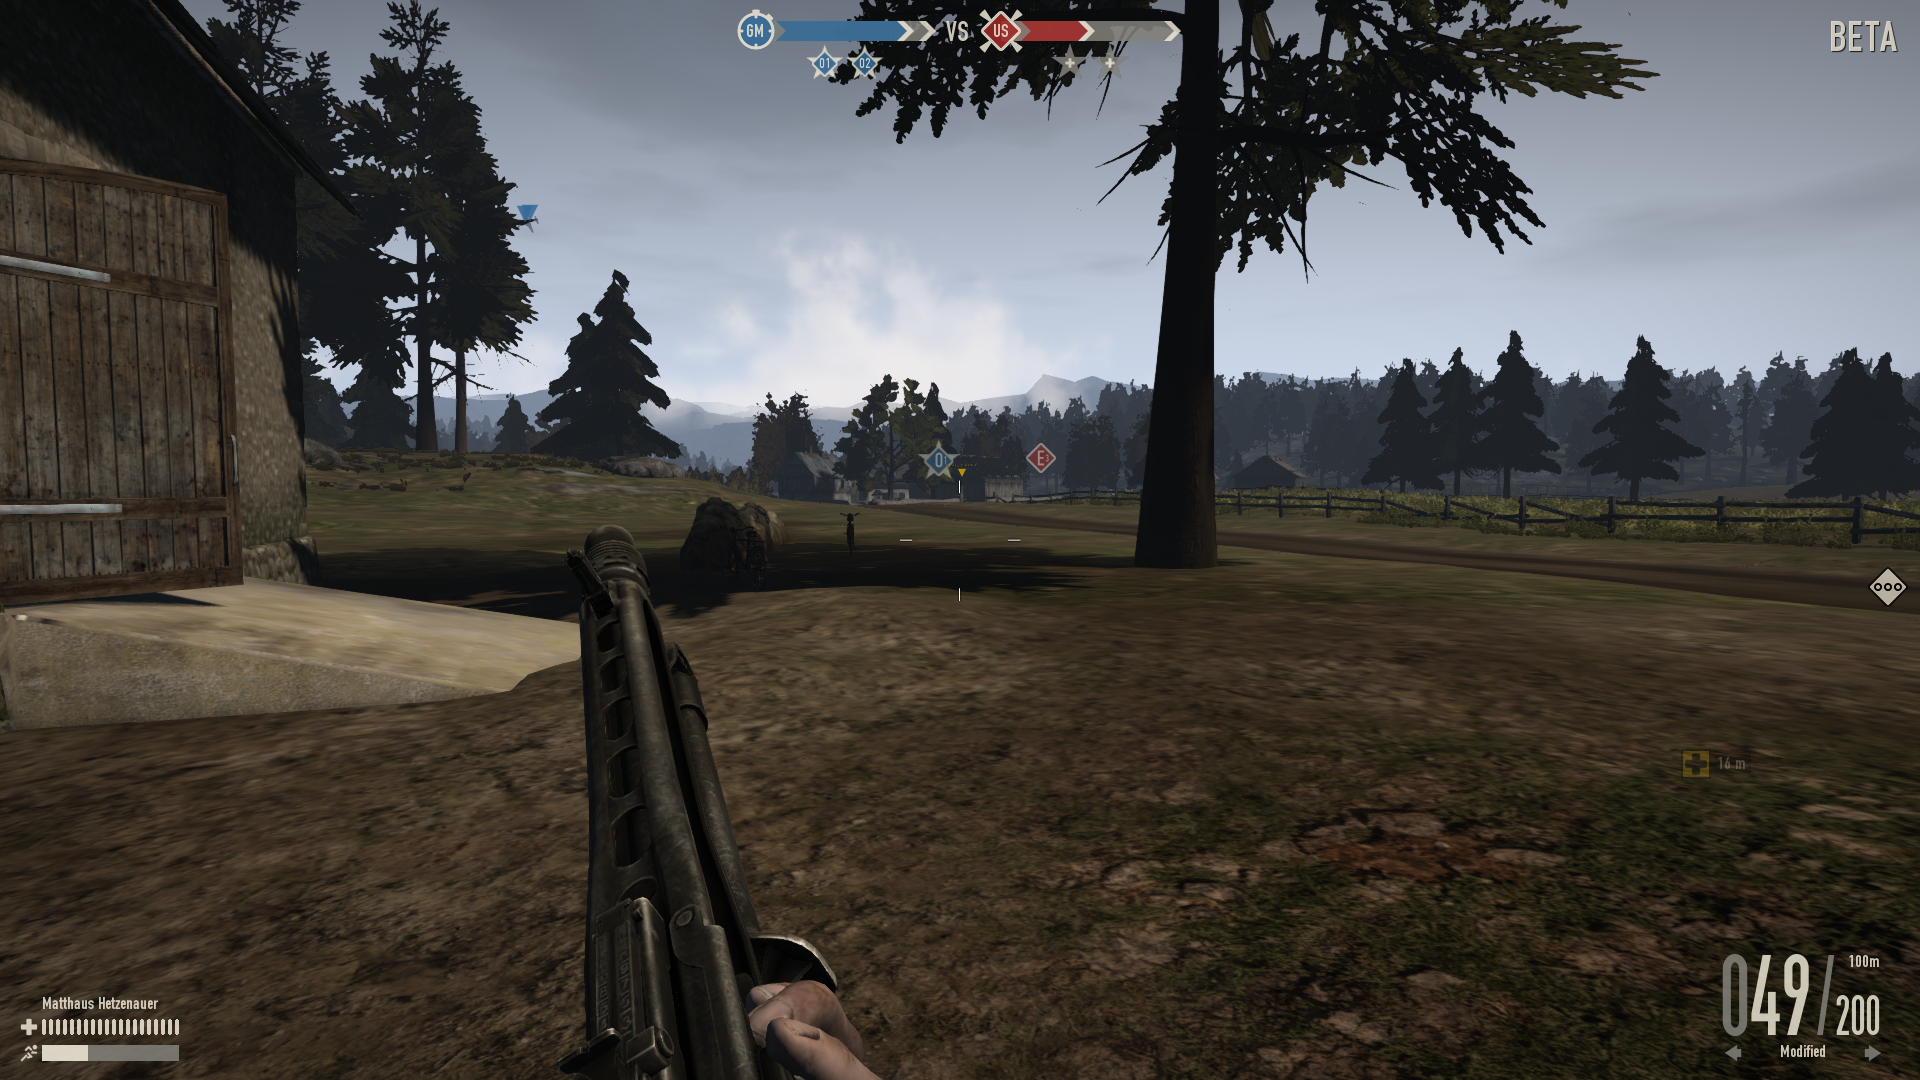
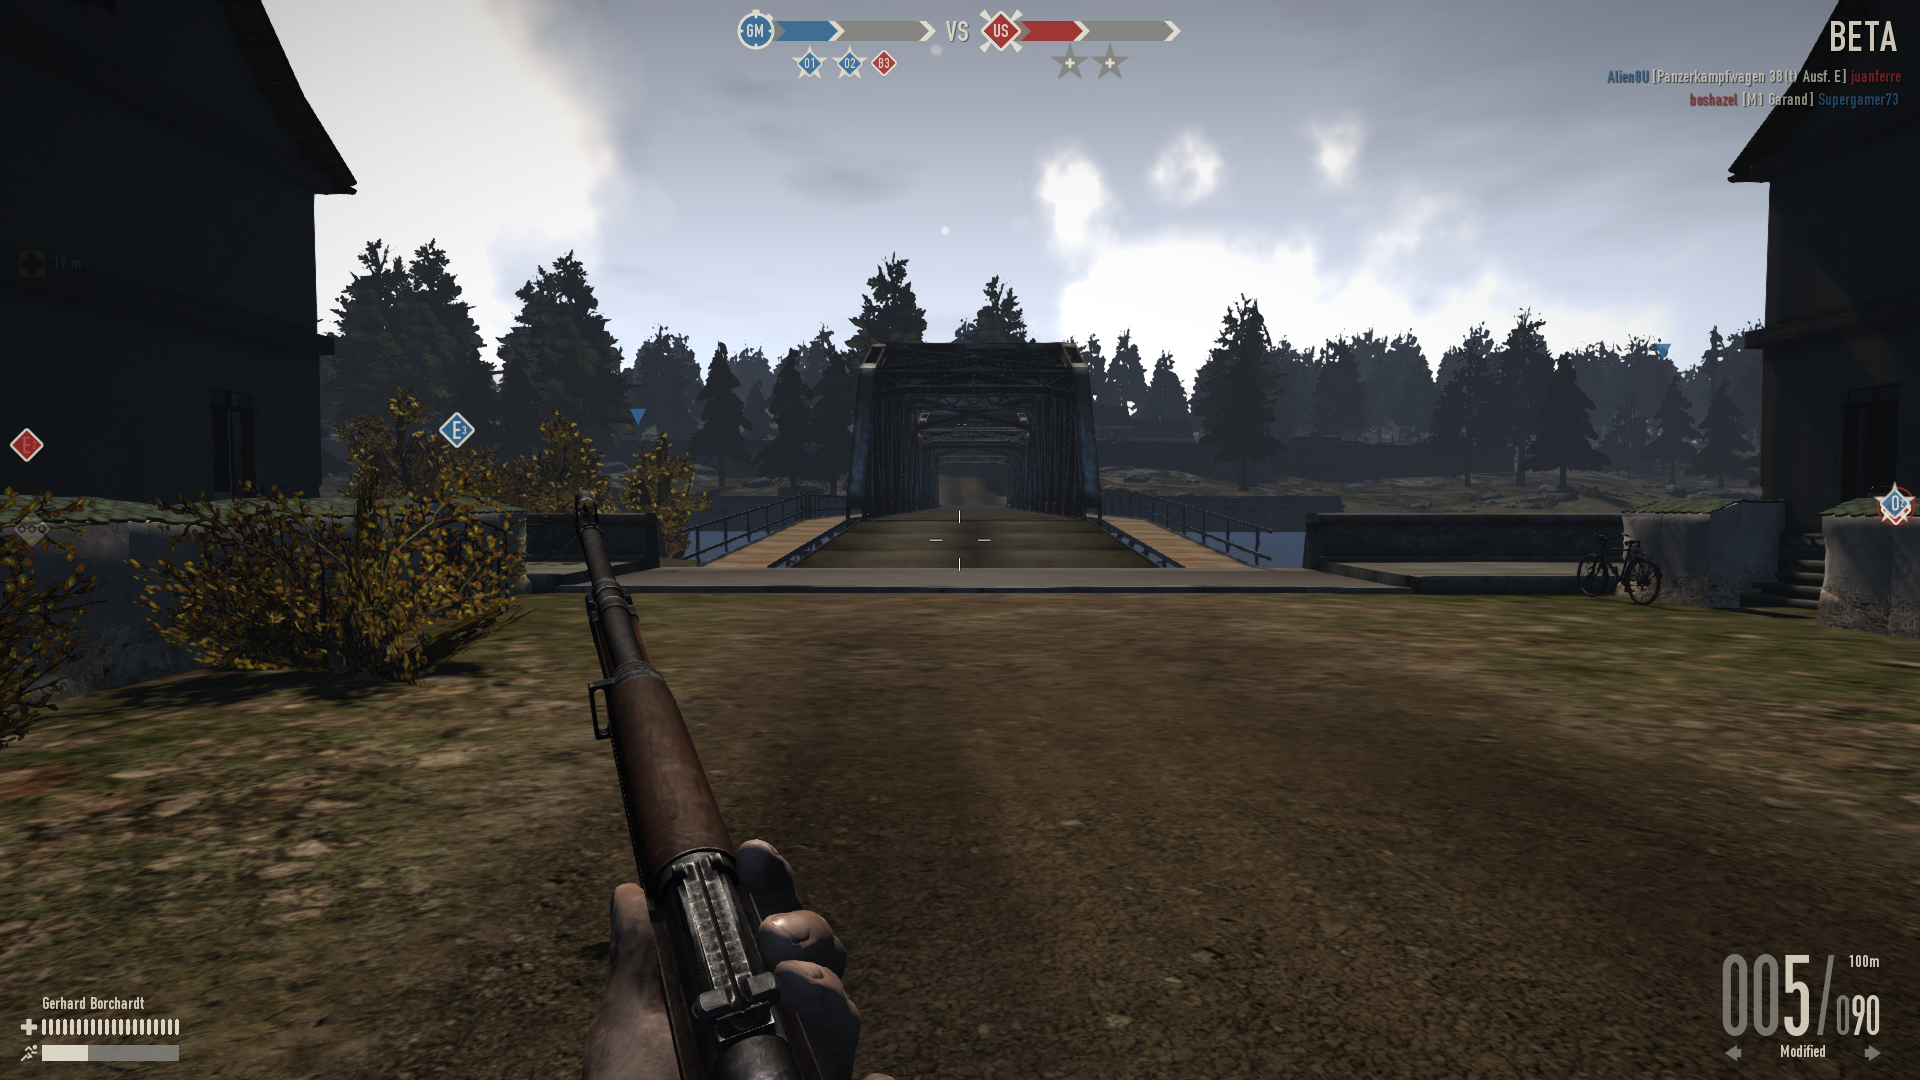
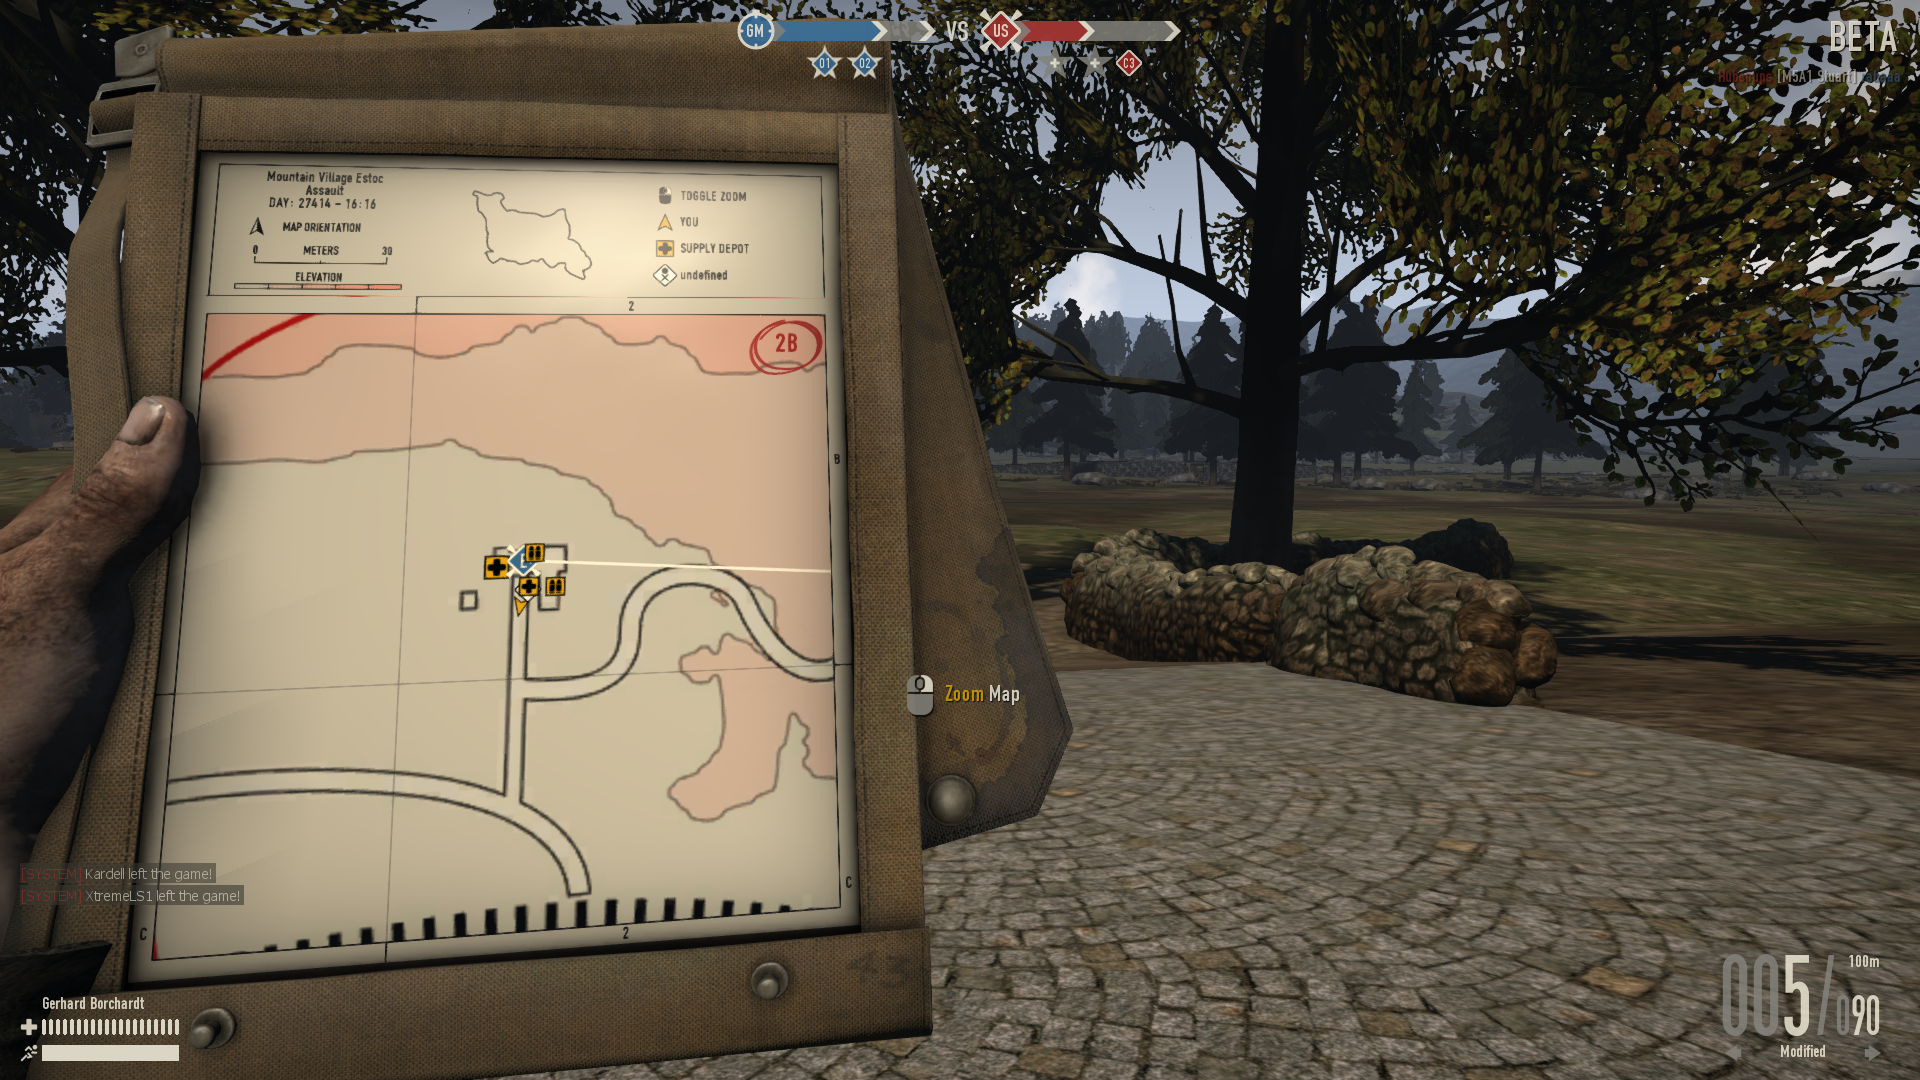
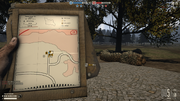
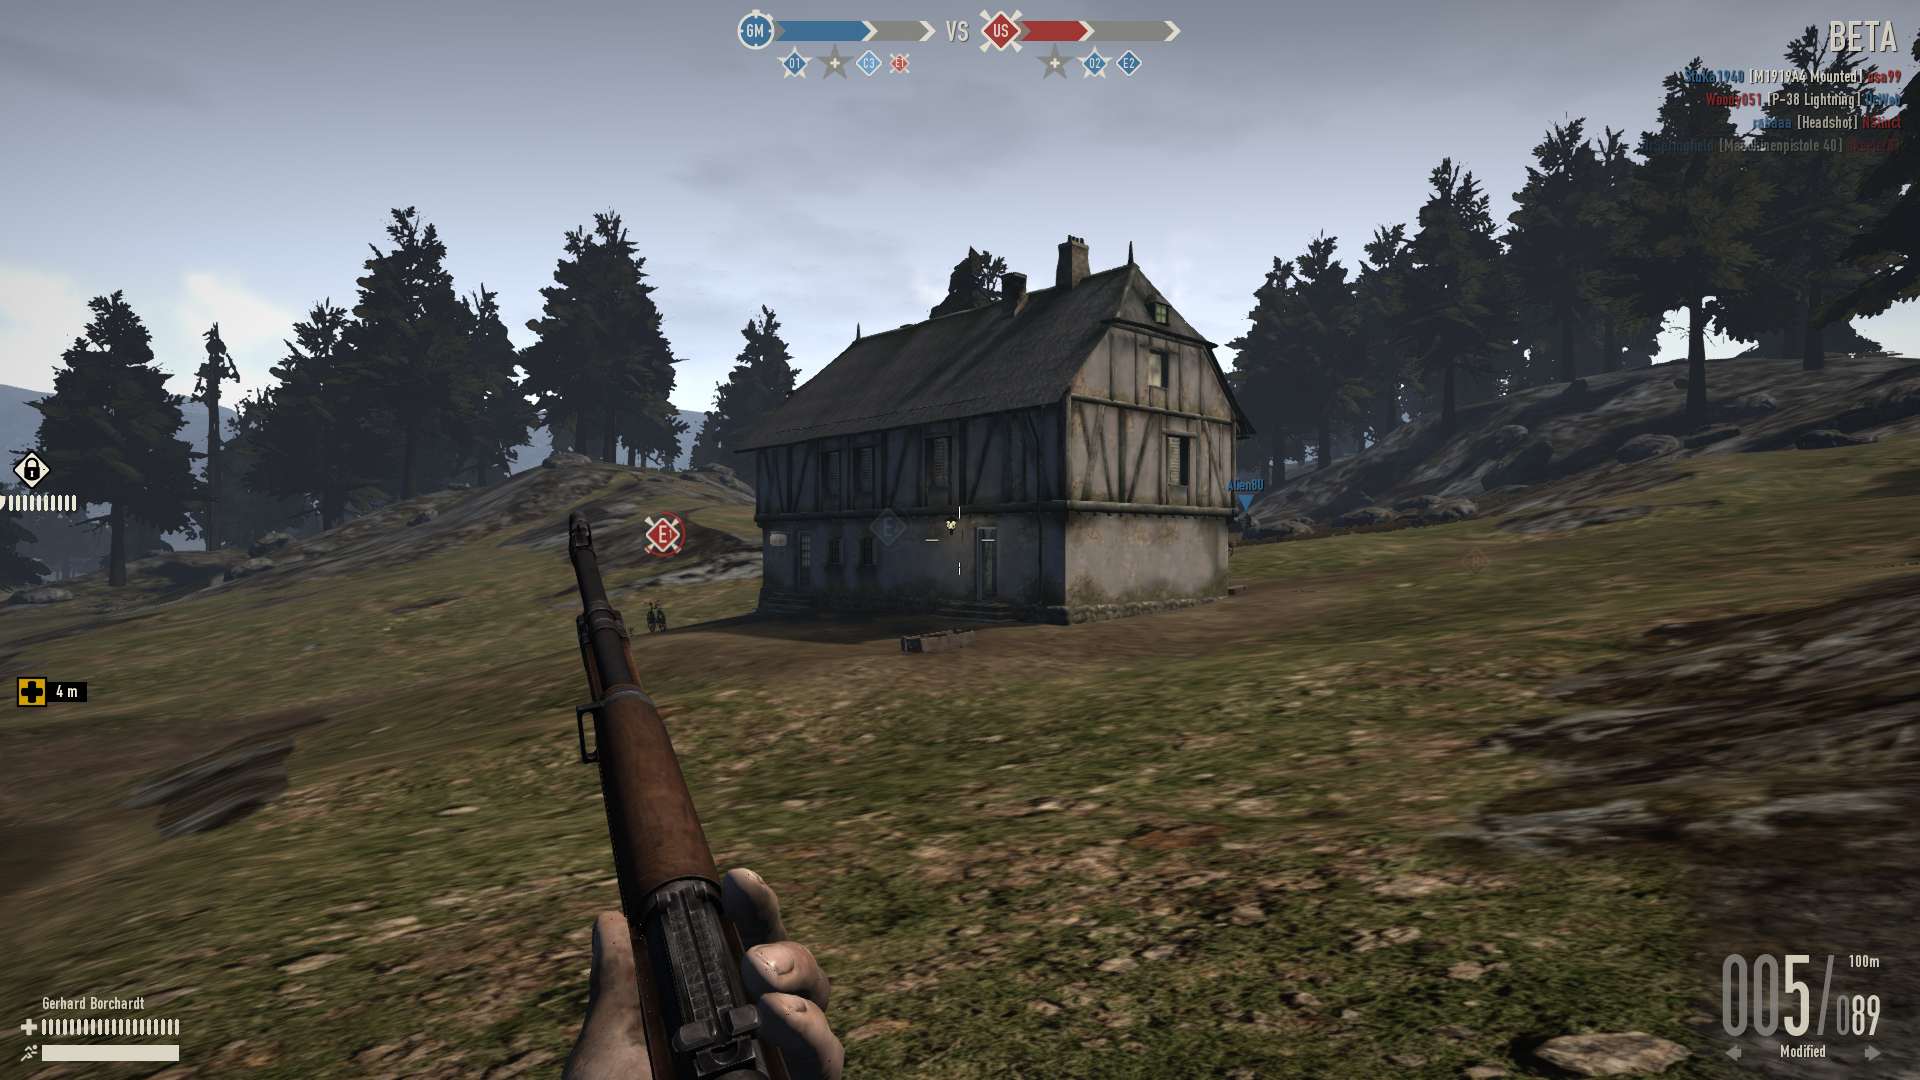
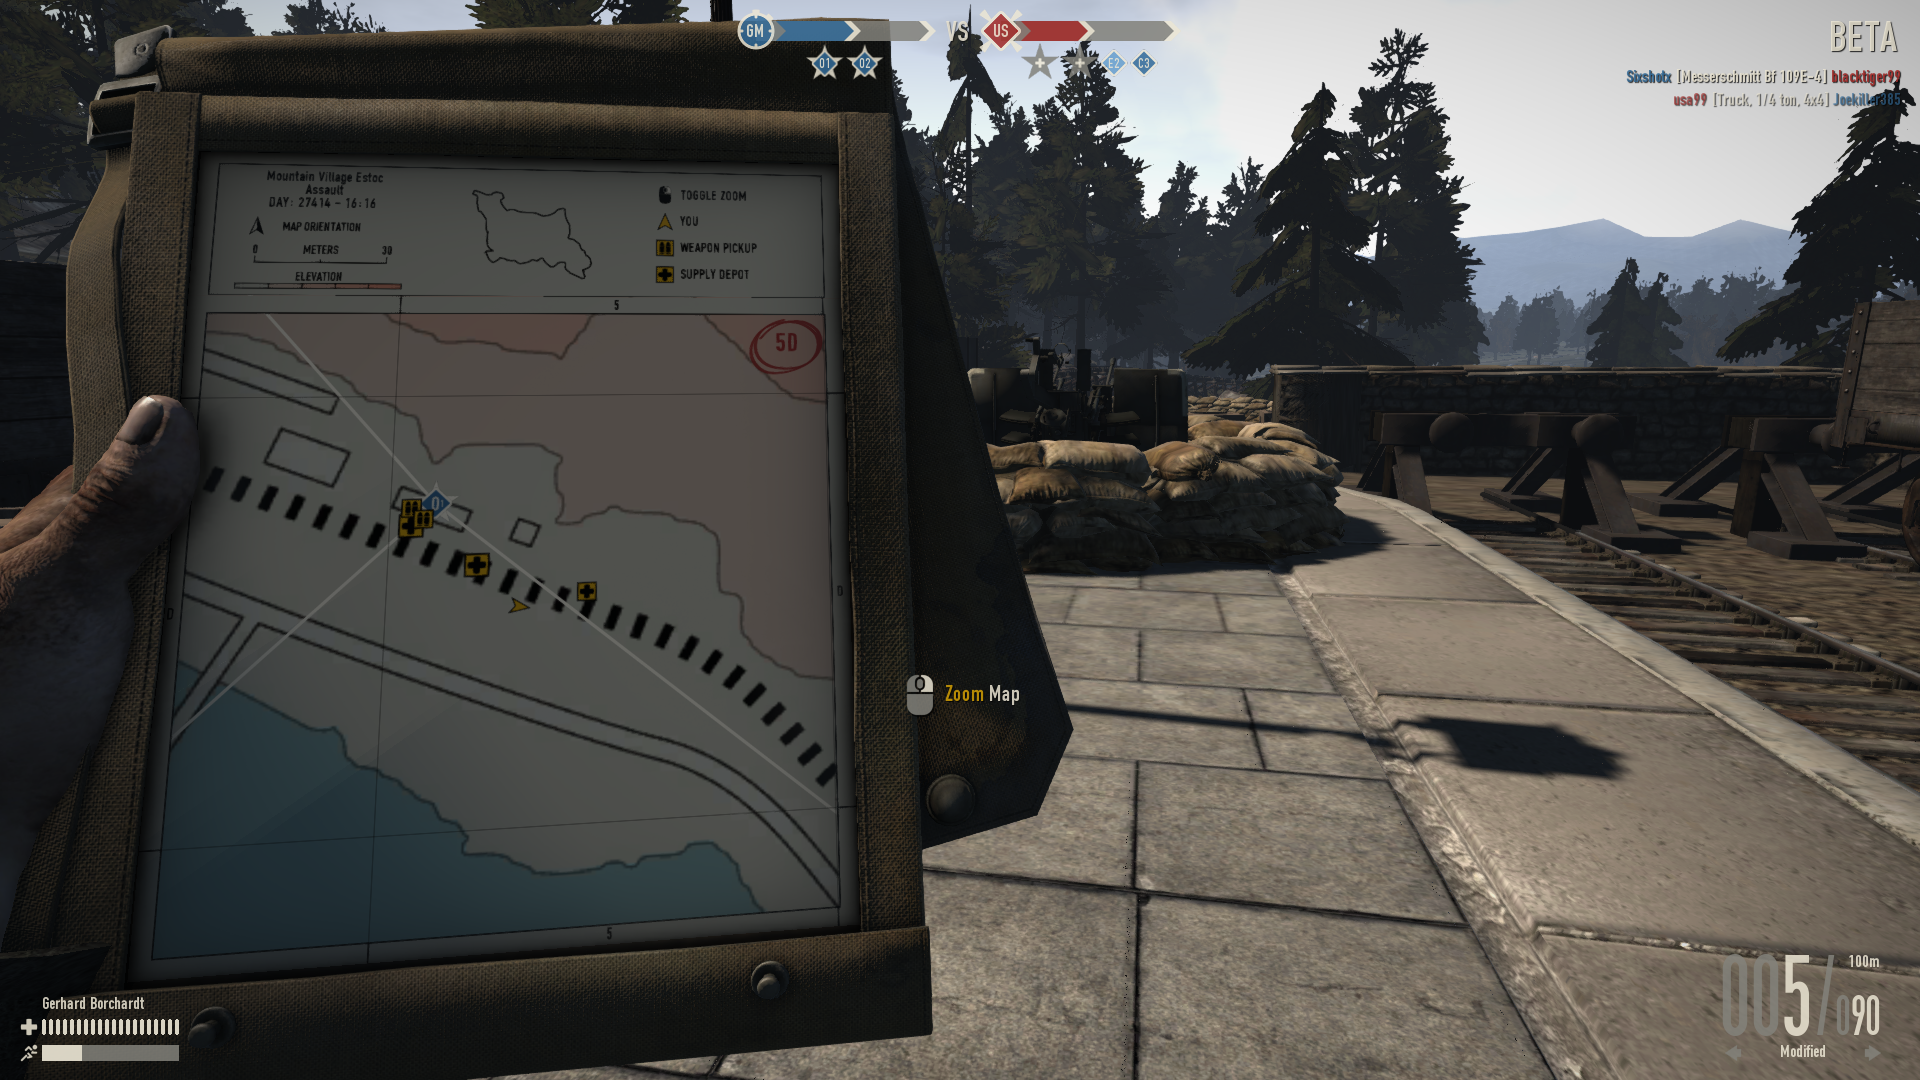
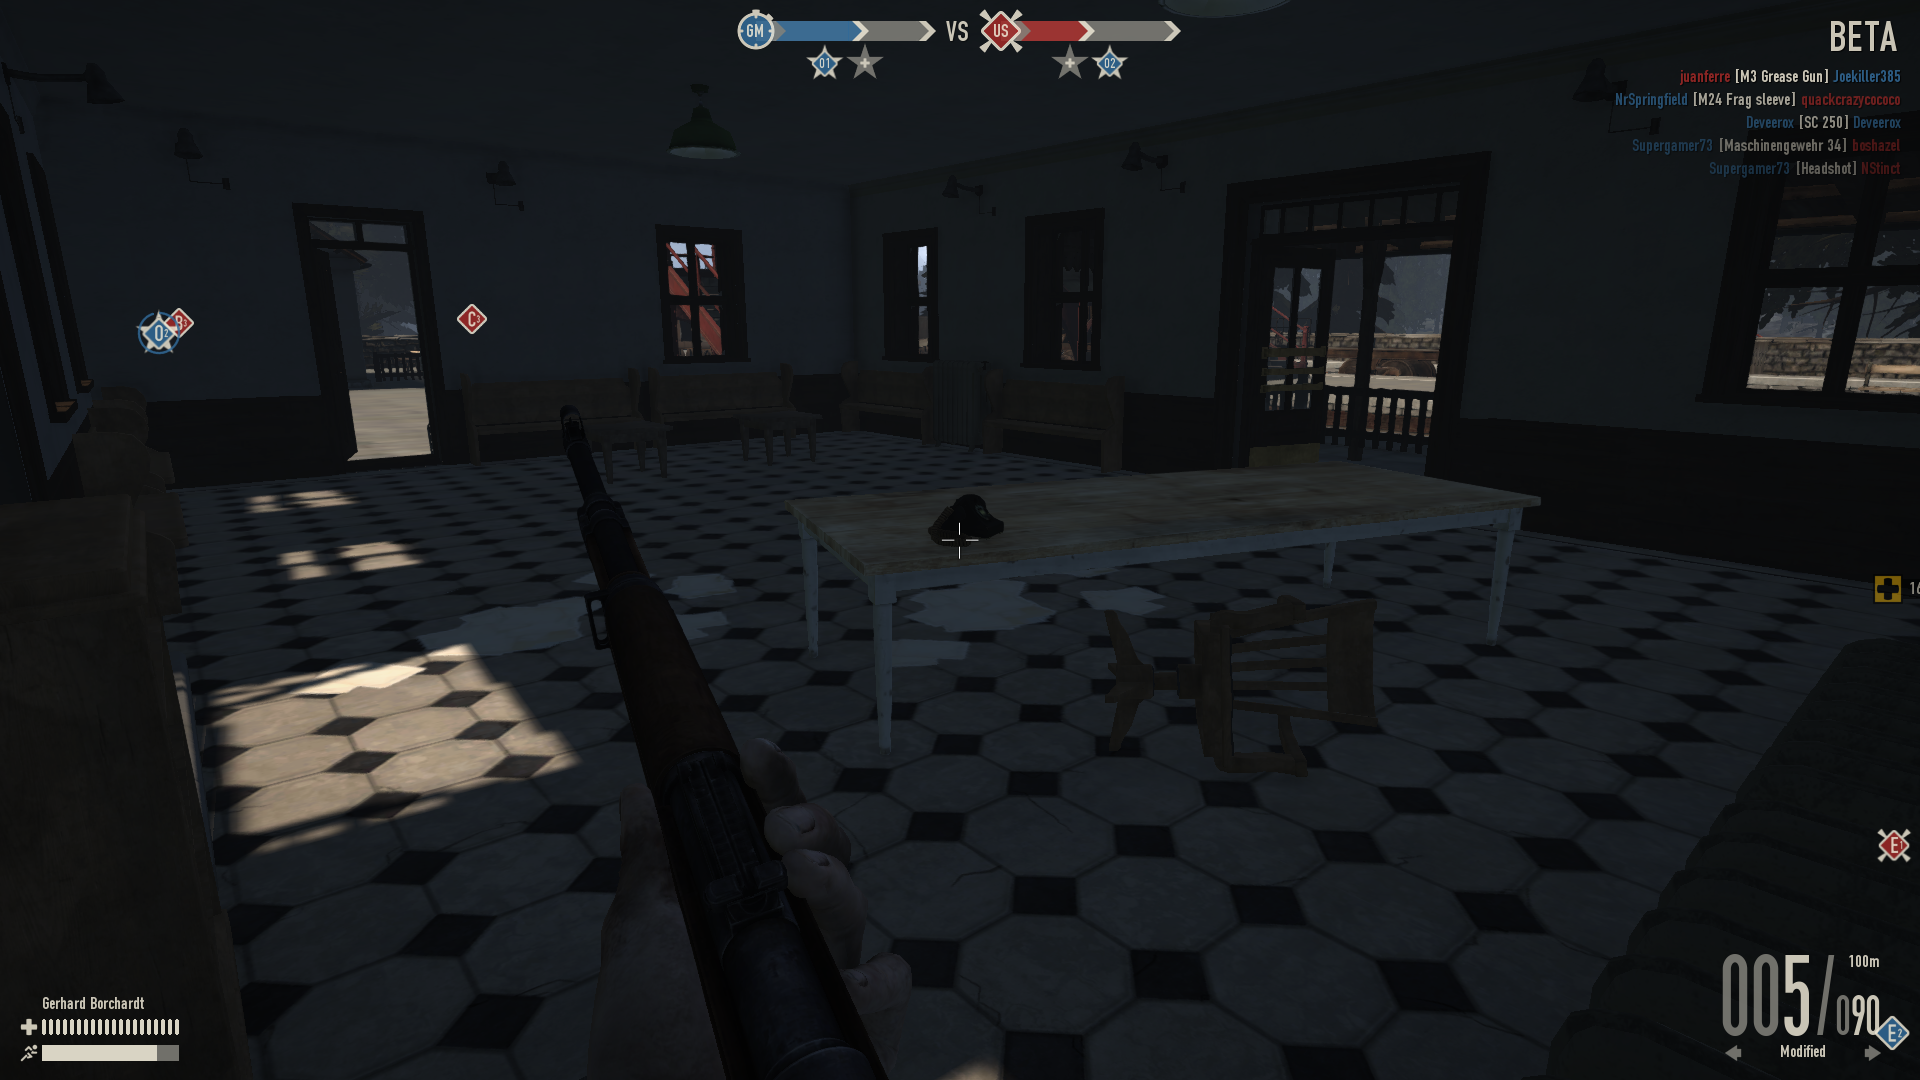
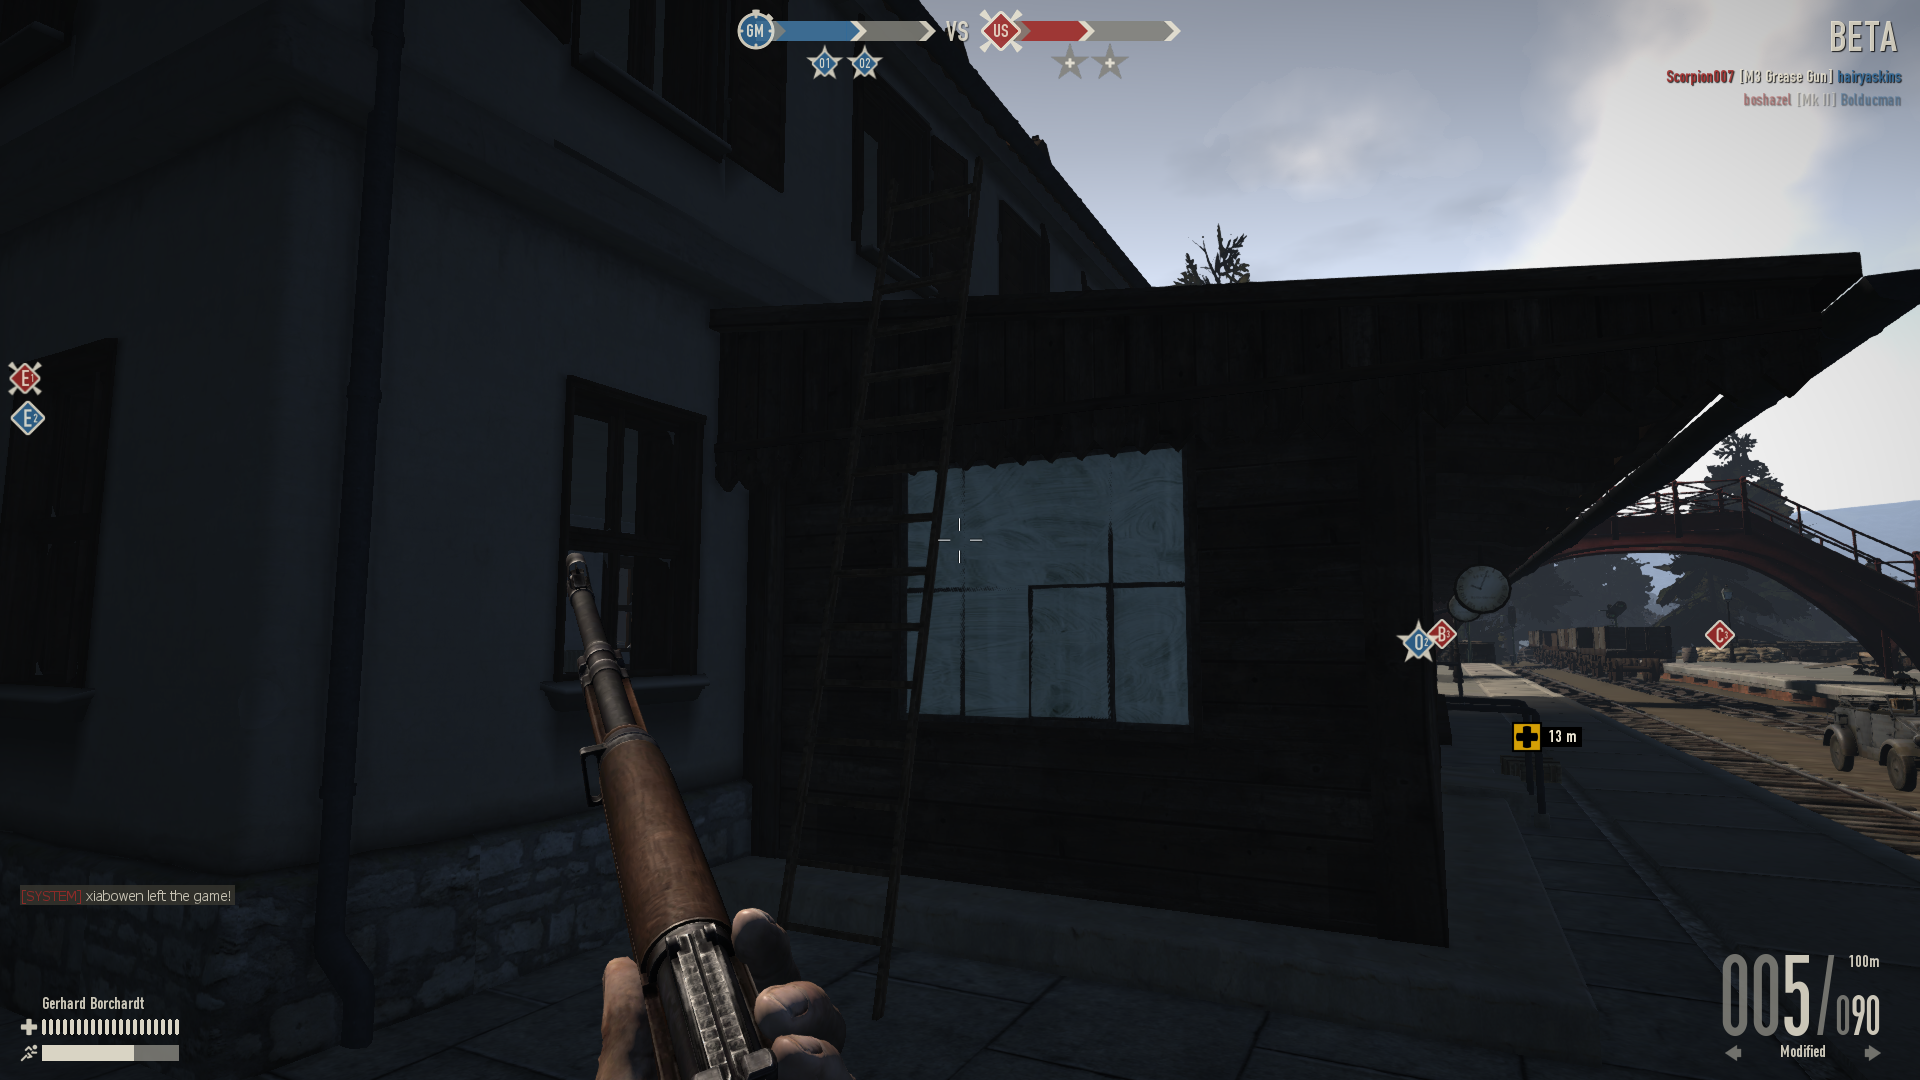
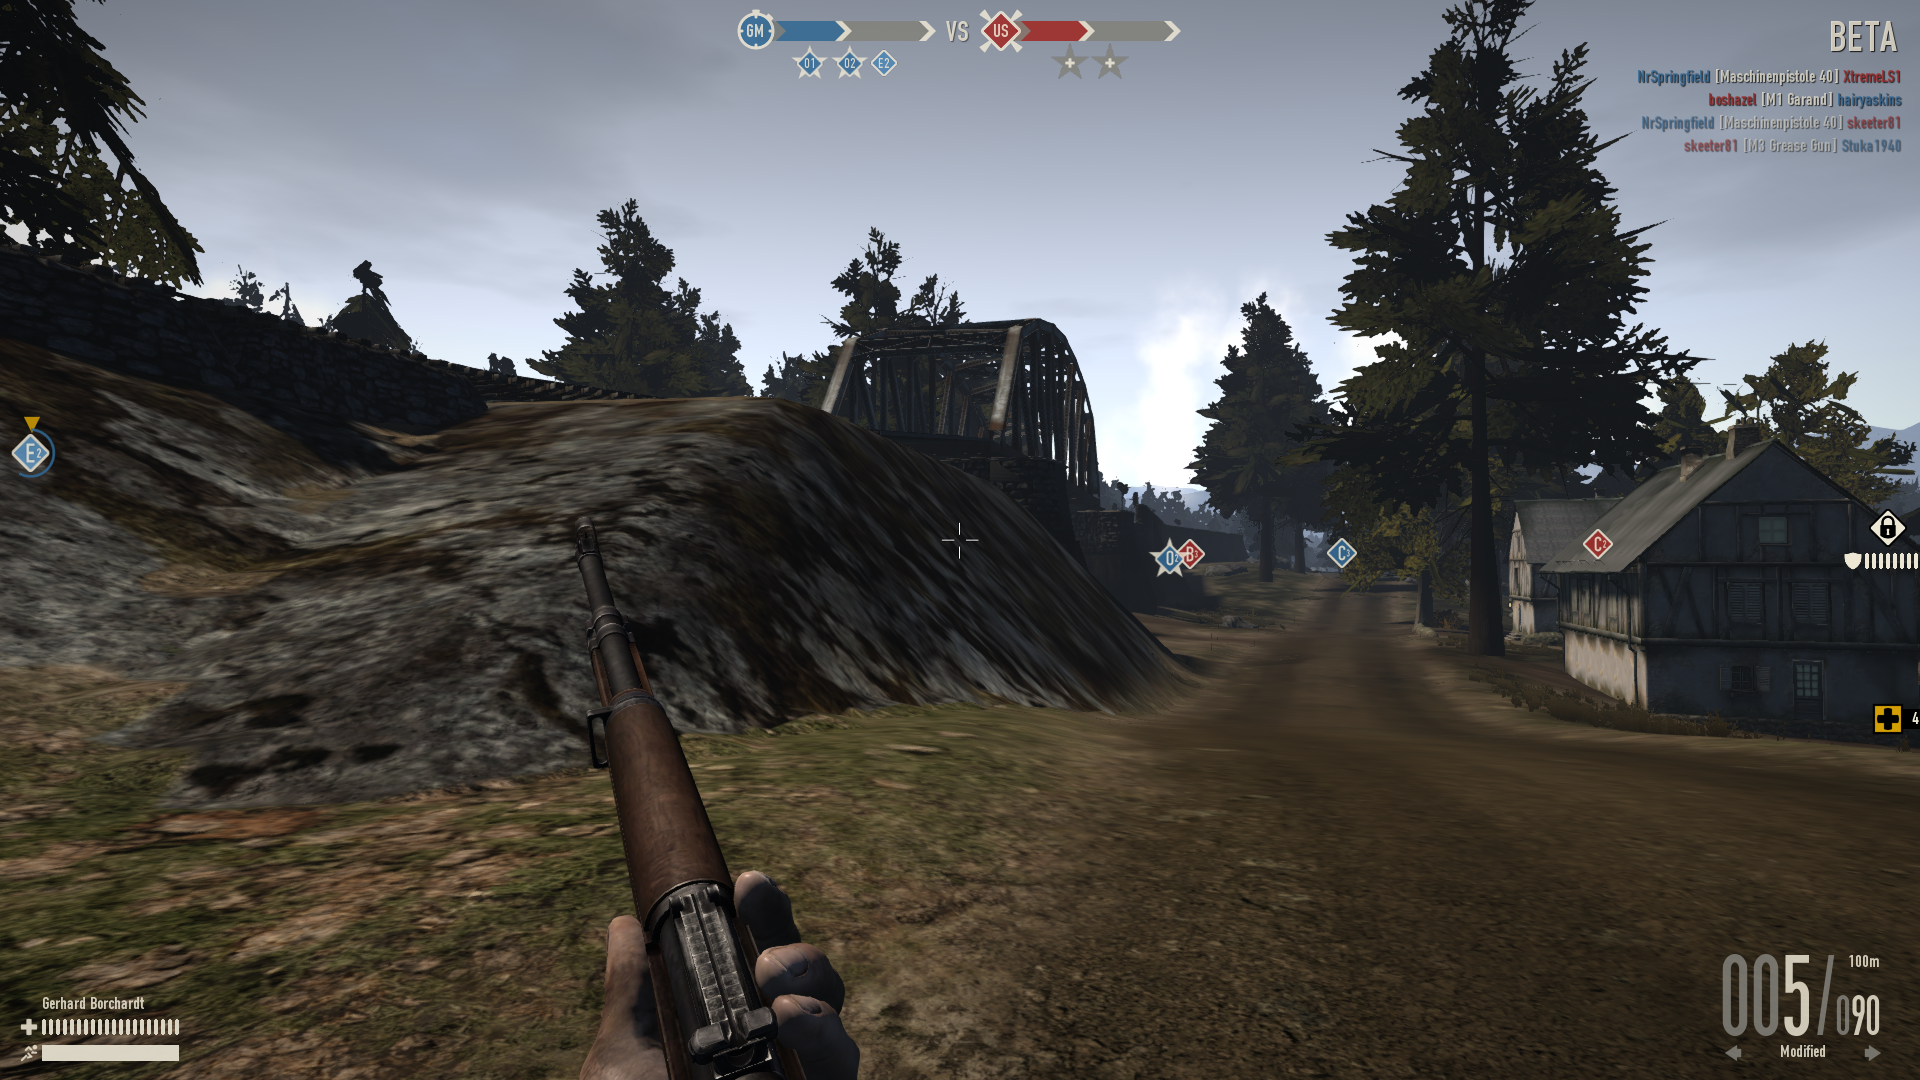
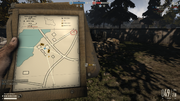
Mountain Town's main layout has two star points (O1 and O2) separated by a linking point X1. The variation in this map can happen with the linking supply lines off of O1 and O2. O1 can have supply lines D and E. O2 can have supplies lines A, B, and C. These can be setup in many variations from 2 to 5 connected supply lines. The terrain in this map ranges from open fields, to rivers with many bridges, to hills. There are quite a bit of foliage and rock cover through out this map. This map often ends in stalemates at the choke points (bridges). Overall this map handles tanks, planes, and infantry very well. Each different area of the map has its strengths and weaknesses for each type. The Mountain Town map is made unique with the implementation of the rail station located at the O1 point. The railroad tracks continue through the E line and past the X1 point. The other defining feature of this map is the numerous bridges which make tanks extremely useful in keeping the other team on the other side.
A Line[ | ]
The A Line transitions from wooded area, cross a river with an iron bridge, and through some farm field towards the primary point O2.
A1[ | ]
The A1 point has a lot of cover in and around the surrounding areas. The A1 point has the typical bicycles spawns for infantry to use to move around, a health box, and a Panzerfaust 60 box. The A1 building itself is a two story building where the capture point is on the bottom floor and can only be captured from the first floor. The secondary spawn for this point is off in the woods up the hill towards where the rubble building is located. Going from Point A1 to point A2 there are some roads and rolling hills, with lots of trees and rocks for infantry to use as cover. This makes it dangerous for tanks to sit in one spot for too long as finding infantry can be difficult. There is a road that links up behind the X1 point and eventually towards E3 from A1. This road can be used by vehicles to try to flank the O2 point when the time comes. Travelling from Point A1 to Point A2 should be relatively easy. It is important to capture A2 quickly as it also provides good cover from tanks and Recon fire.
Highlights
- Bicycles
- Panzerfaust 60
- Supply / Medic box

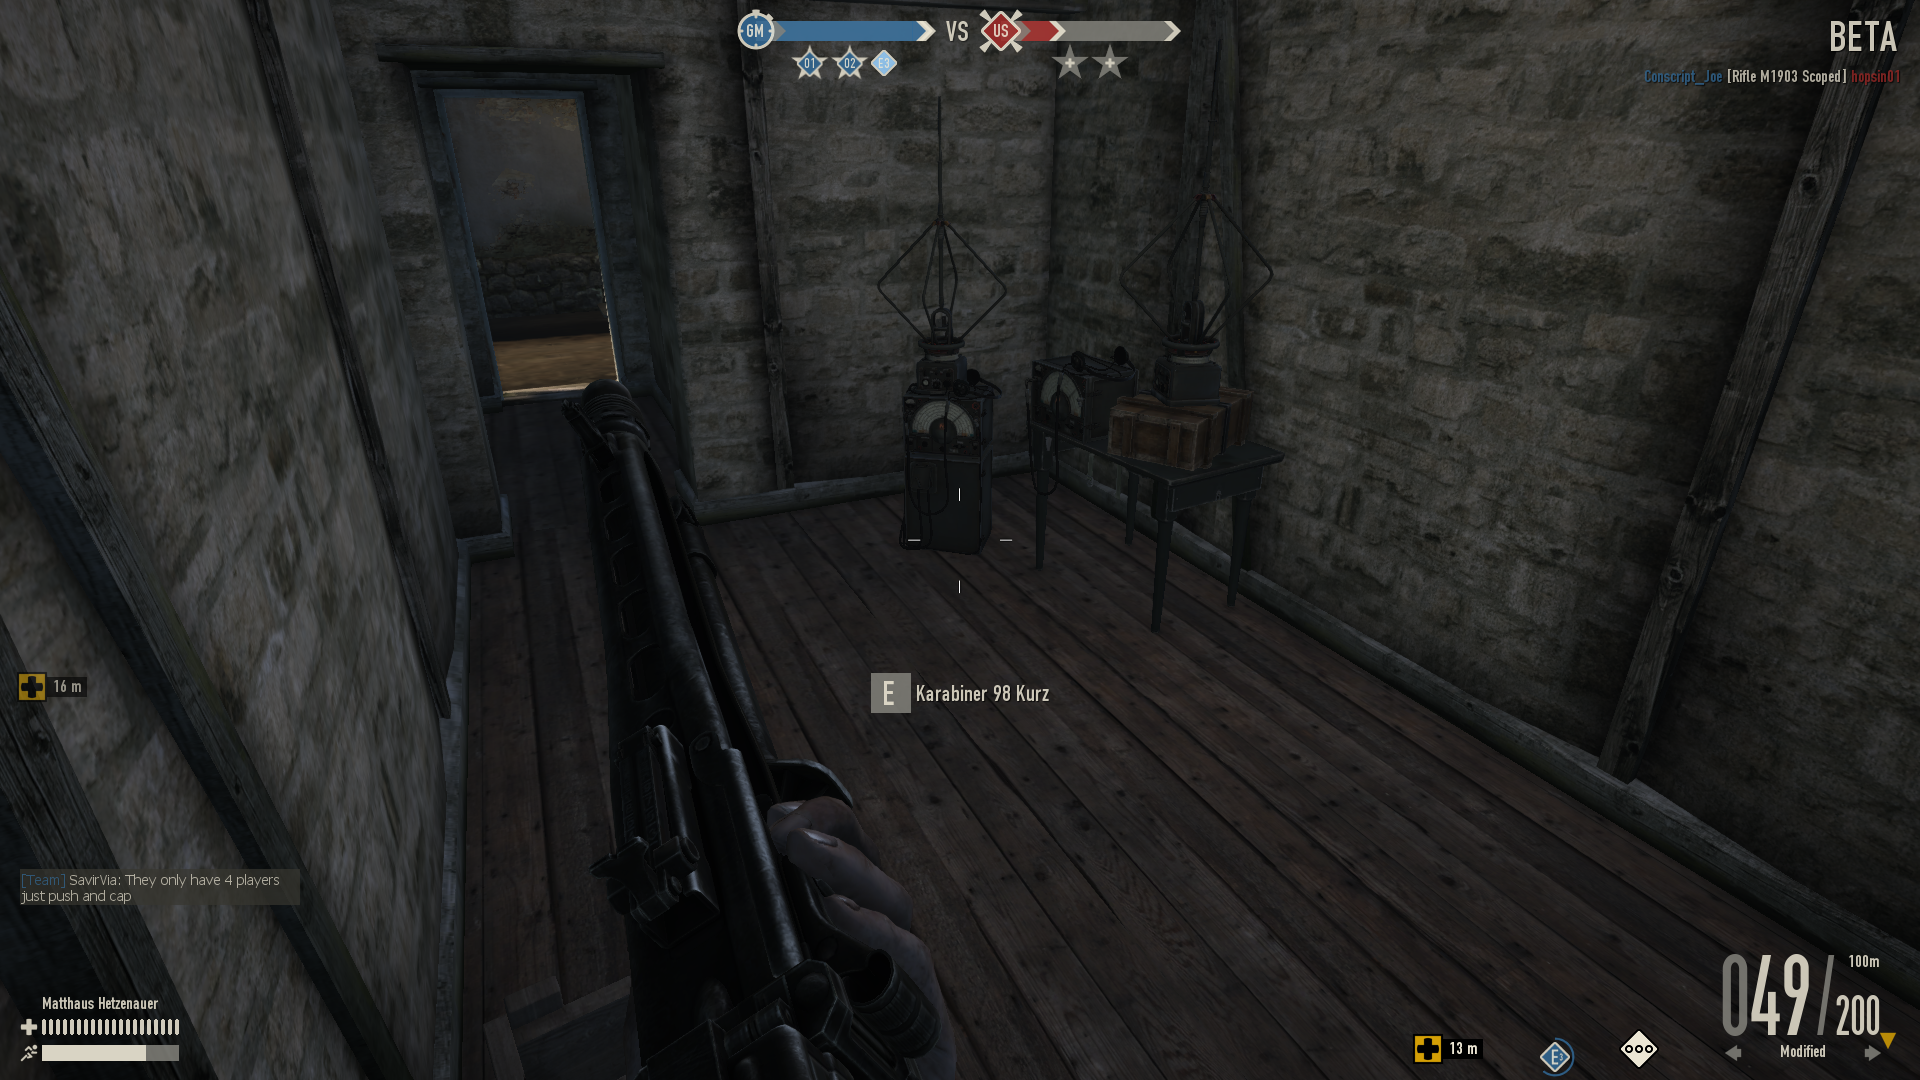
A1 Inside by the radio

A1 The capture Point is a two story building with an attic (3rd floor)

A1 Towards A2

A1 Secondary spawn when A1 is contested


A2[ | ]
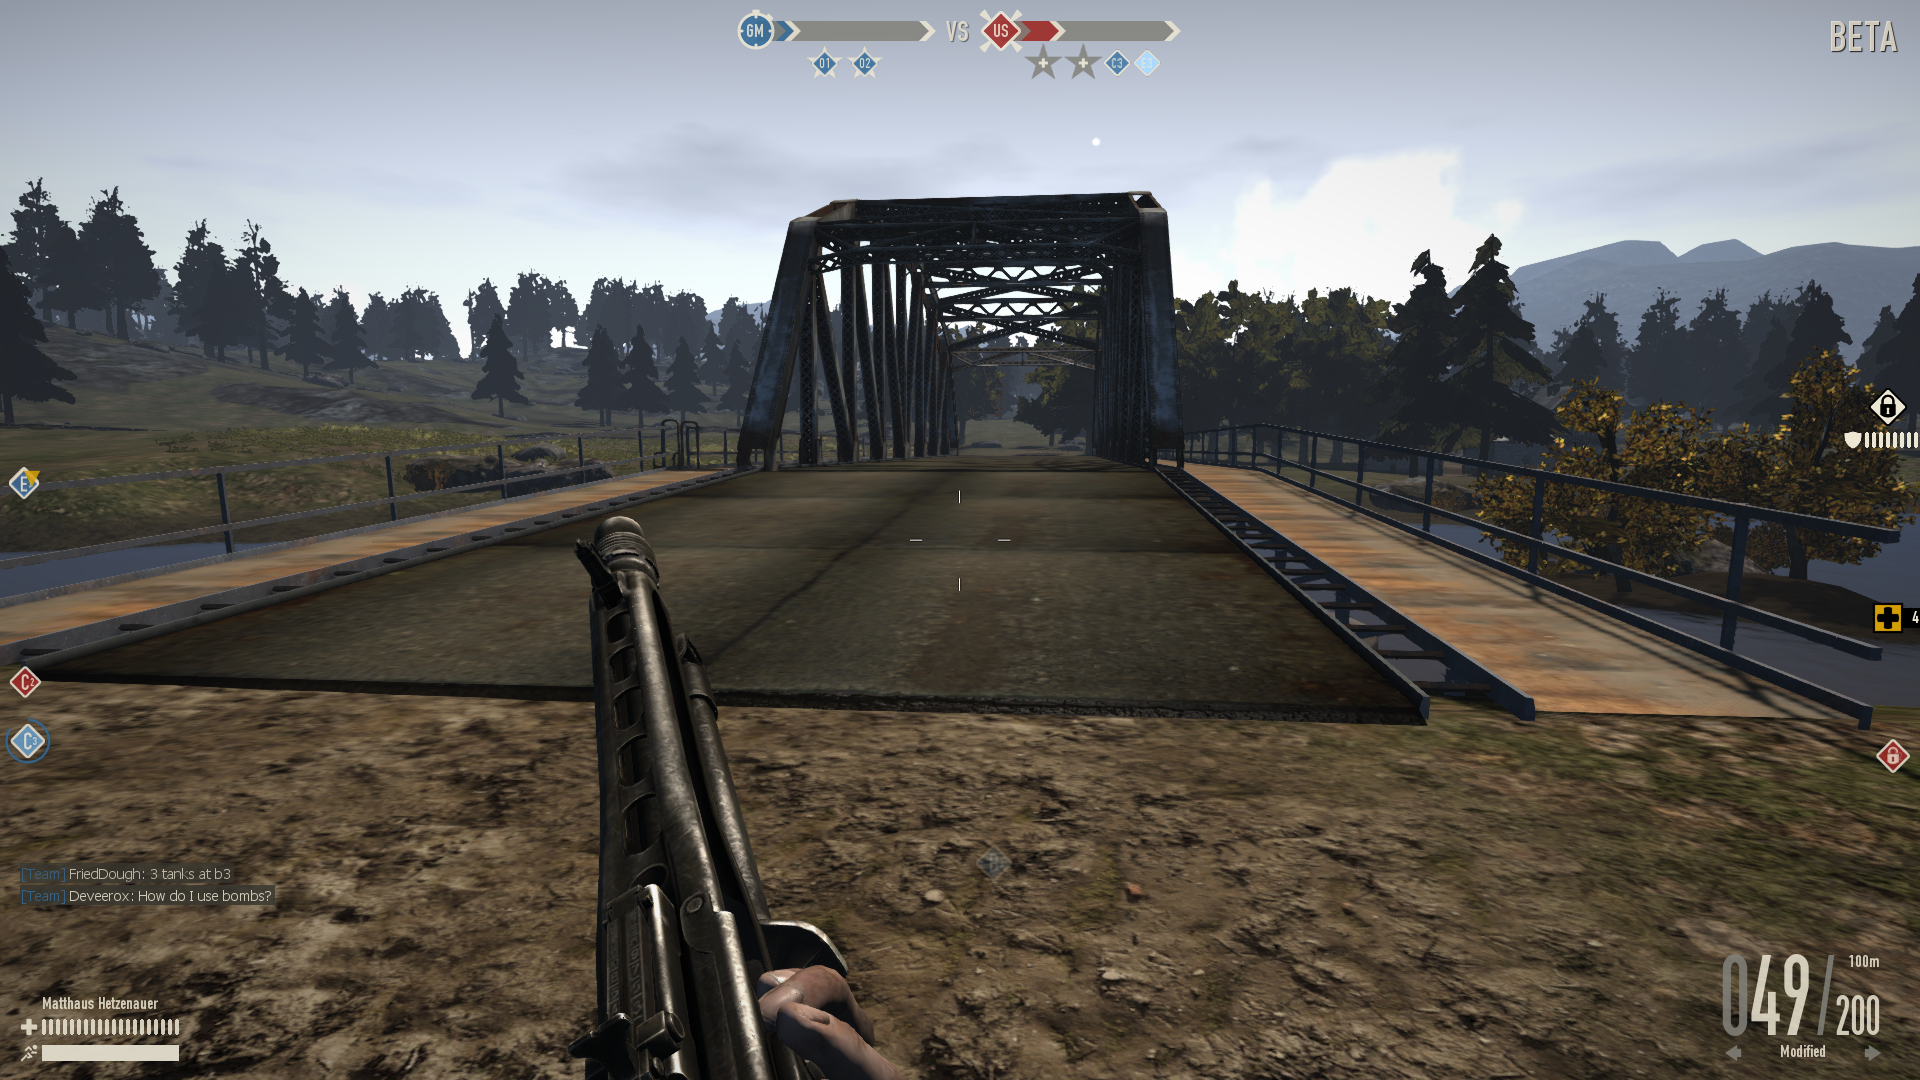
The A2 point is located in another 2 story building with an attic. You must capture the point from the ground level. There are also two small shacks next to the point that provide some additional cover from tanks and sniper fire coming from point A3. The A2 point has an attic that can be used to overlook the A3 area. Moving off from A2 to A3 very quickly is important as there is a choke-point going from A2 to A3 where there are two crossing options across the river. One path is the iron bridge which is very open to tank and sniper suppression. The other bridge is a water-land bridge next to the iron bridge that can be used. This bridge sits lower in the terrain and provides a safer transition from point A2 to A3 by vehicle. Players can also try flanking to A3 by swimming under the bridge or further down river and crossing and coming back.
Highlights
- Bicycles
- Cover for infantry
- Small distance to A3
- Radio
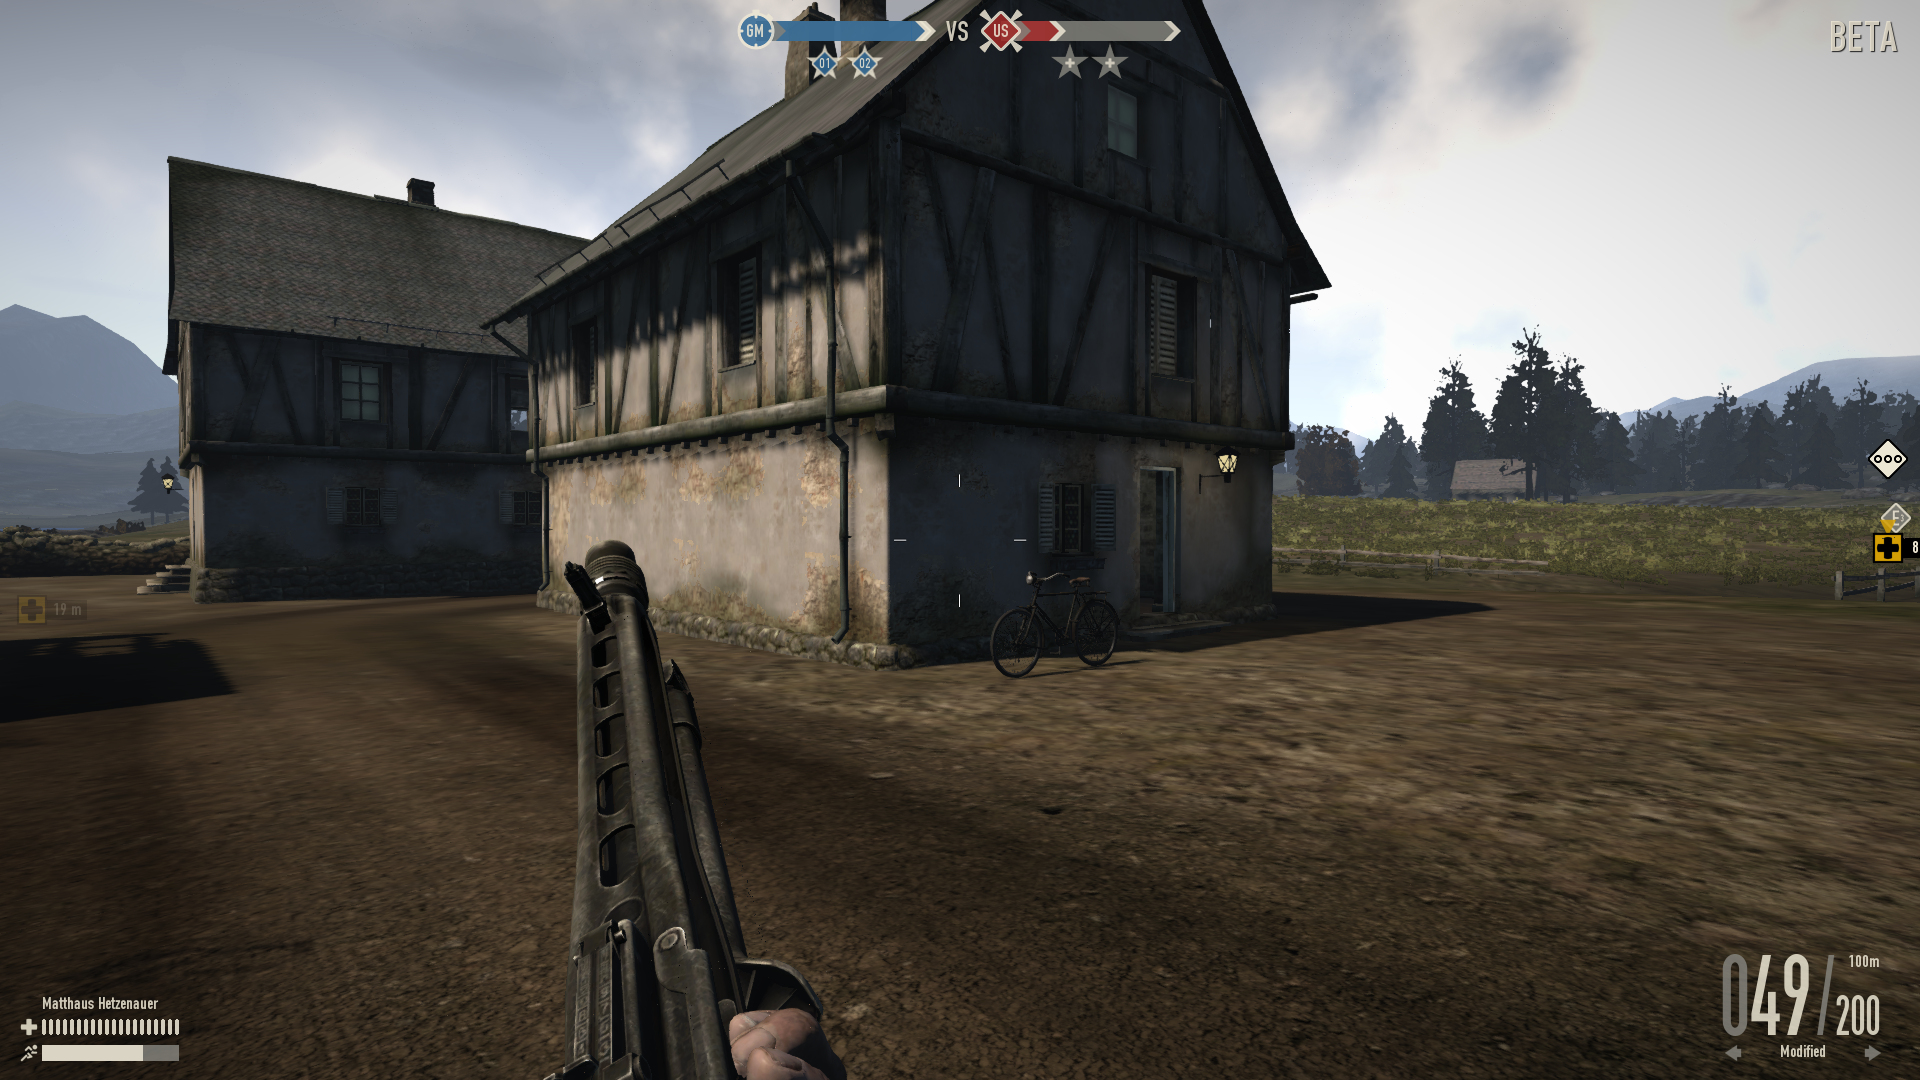
- Radio House
- Next Point


A3[ | ]
The A3 point can be difficult to capture. Coming from the A2 point, there are two choke points on the bridges for vehicles to cross with little cover for infantry along the way. The A3 point is surrounded by a few houses that can all be entered, some having 2 and 3 stories to them. This provides great cover from tanks and viable spots for snipers and defenders to guard the A2 crossing. There is a health box located in the shack next to the capture point. There are a few bicycles on this point for infantry to use to move around the map. Going from the A3 point to O2 can be tricky. Starting at the A3 point in the a line, it transitions from wooded area with lots of cover to open farm land. Players will need to flank around or rush in fast to get to the first series of barns by o2. Tanks can easily defend the A3 point as there is plenty of open ground making it difficult for infantry to sneak up on a tanker. Defending A3 and pushing down the A line towards A2 proves easy at this point. Tanks and snipers can hold the choke points rather easily as the river bends around the point with little foliage cover for protection.
Highlights
- Bicycyles
- Supply / Medic box
- Bolt-Action Rifle Weapon box
- Lots of buildings to hide in
- Two bridges that form a choke point
- Radio
- Outside
- Second Floor
- Bridge
- Next Point
- Crossing

B Line[ | ]
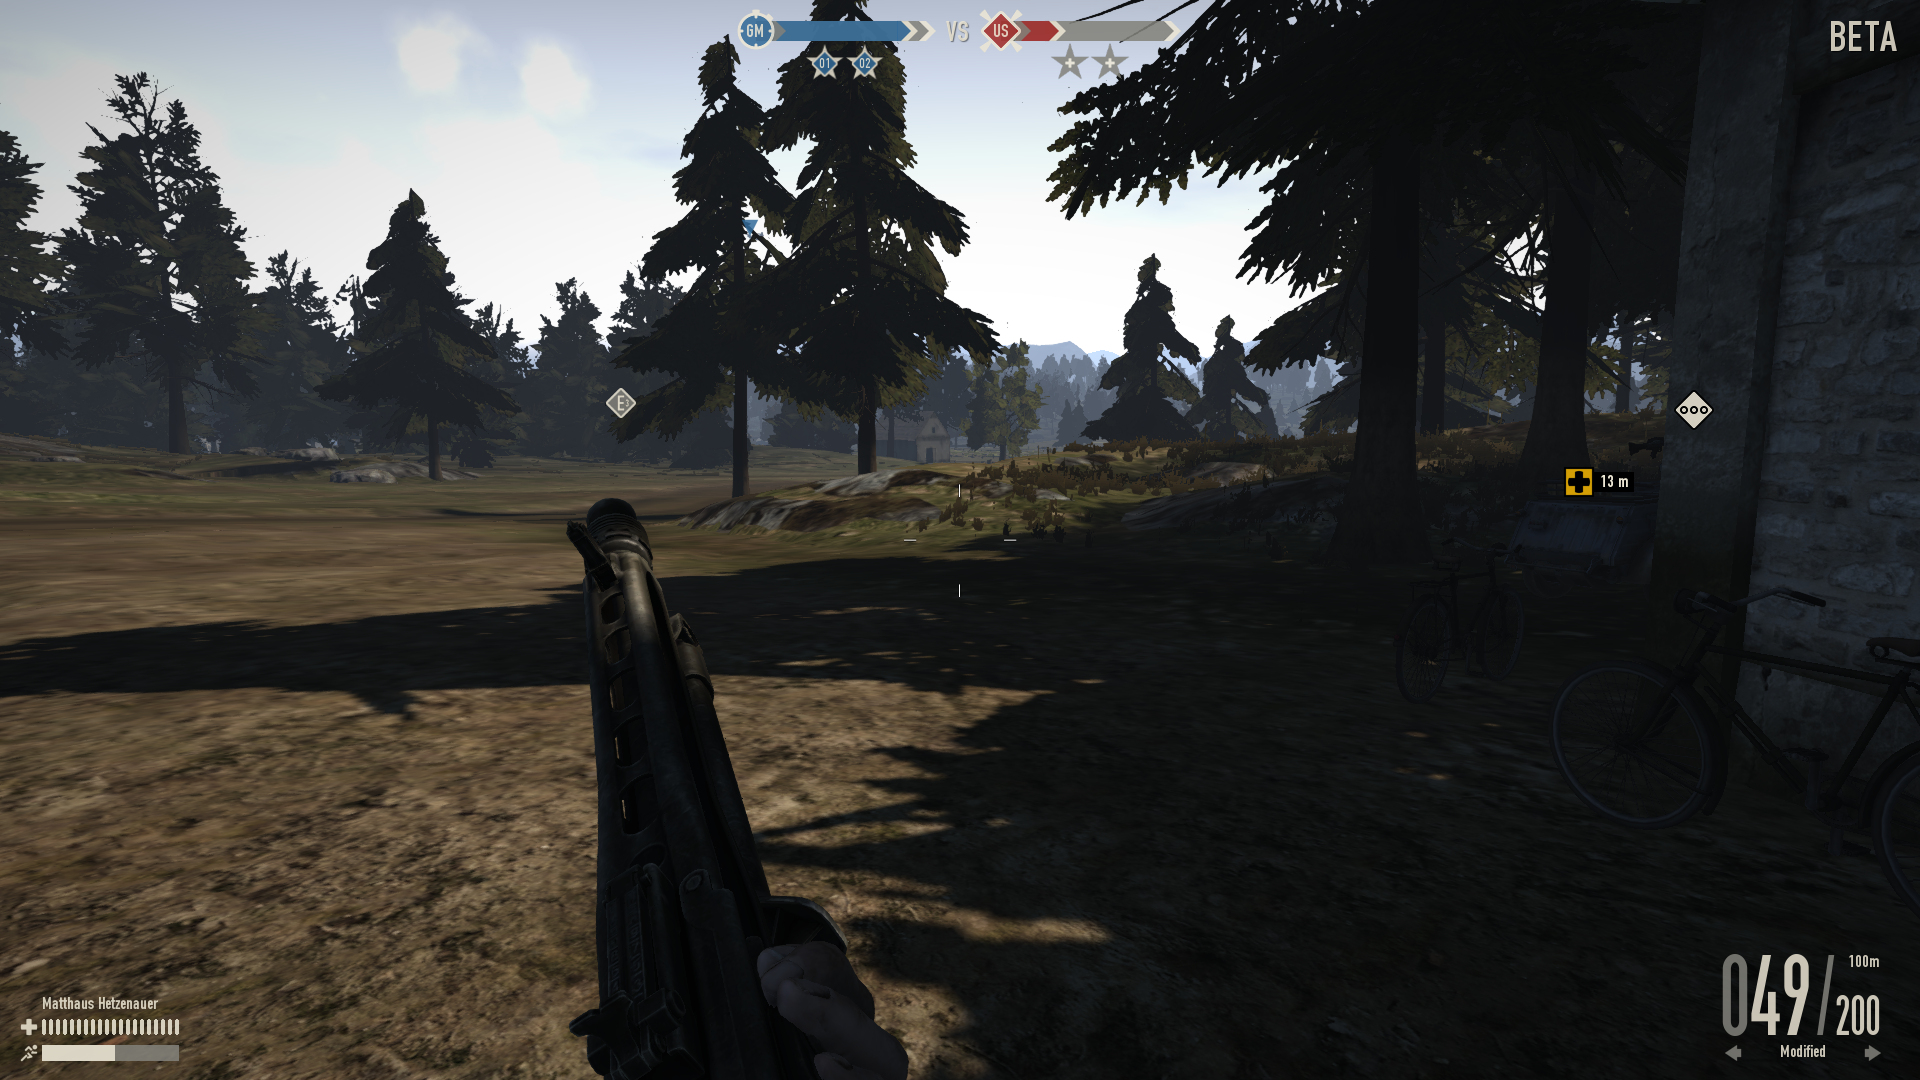
The B line is mostly contained in heavy woods with rocks scattered about. There is a slight hill on one side of the B line that is common sniping ground. The B line can be hard to maneuver through if tanks are present as the road region and wooded areas does not provide sufficient cover from the flatter regions of the B line.
B1[ | ]

The B1 Point is contained a 2 story building with an attic. The capture point is contained on the second floor and can only be captures from the second floor. There are bicycles for infantry to use to move around the map. As usual, on the B1 point there is a health box and a Panzerfaust 60 box for infantry to use. Going from B1 to B2 is downhill and there are some slight wooded areas for cover but not much. This line can easily be camped by [[[Tank|tanks]] making it extremely difficult for infantry to move forward. Snipers also tend to wreak havoc in this region of the map. It is best to move from cover to cover quickly and progress towards the next B points as fast as possible. The secondary spawn point is just down the road towards a rubble building. There is a sufficient amount of cover at the B1 point to protect against tanks and planes. It can prove difficult to capture the B1 point as the capture point requires players to stand near the center of the second floor leaving them open to two stairways.
Highlights
- Bicycles
- Panzerfaust 60
- Supply / Medic box
- Radio
- Radio House
B2[ | ]
The B2 point is a very simple setup. It is a small shack with a second floor with a hole in the roof. This point can be taken very quickly as its not a far distance from B1. This point can prove difficult to take for defenders as the shack's open side faces towards B1 leaving players open to sniper and tank fire. There are a few bicycles at the B2 point for players to use to move around the map with. It should be noted that the B2 point is close to a hill on one side that can be used to flank around. This hill is open the point where snipers and tanks camp and fire upon infantry. B2 can prove dangerous as it makes the transition from wooded area to open farm land on one side and the road on the other side. This leaves players open to tank and sniper fire. It is best to move quickly from B2 to B3 and try to get into the barn.
Highlights
- Very exposed
- Little Cover
- Hill with cover and height advantage near
- Radio House
- Next Point
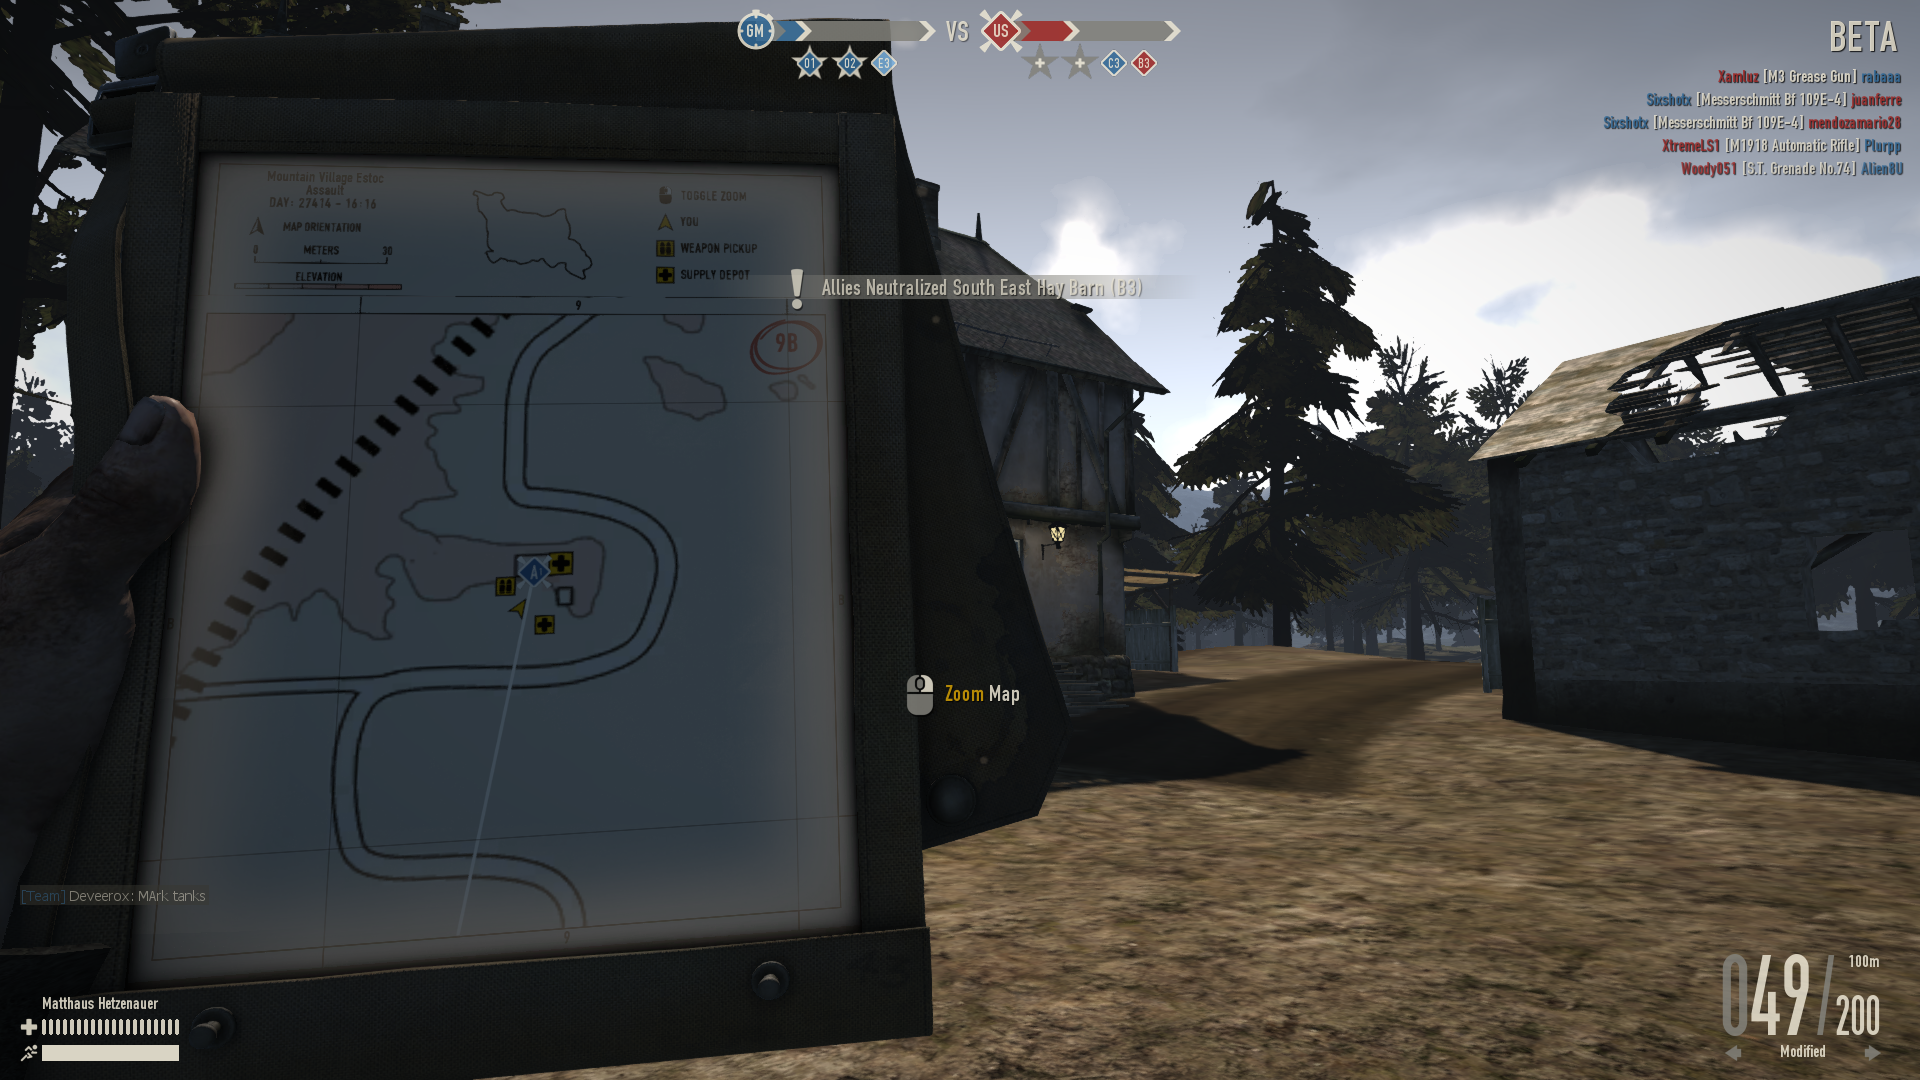
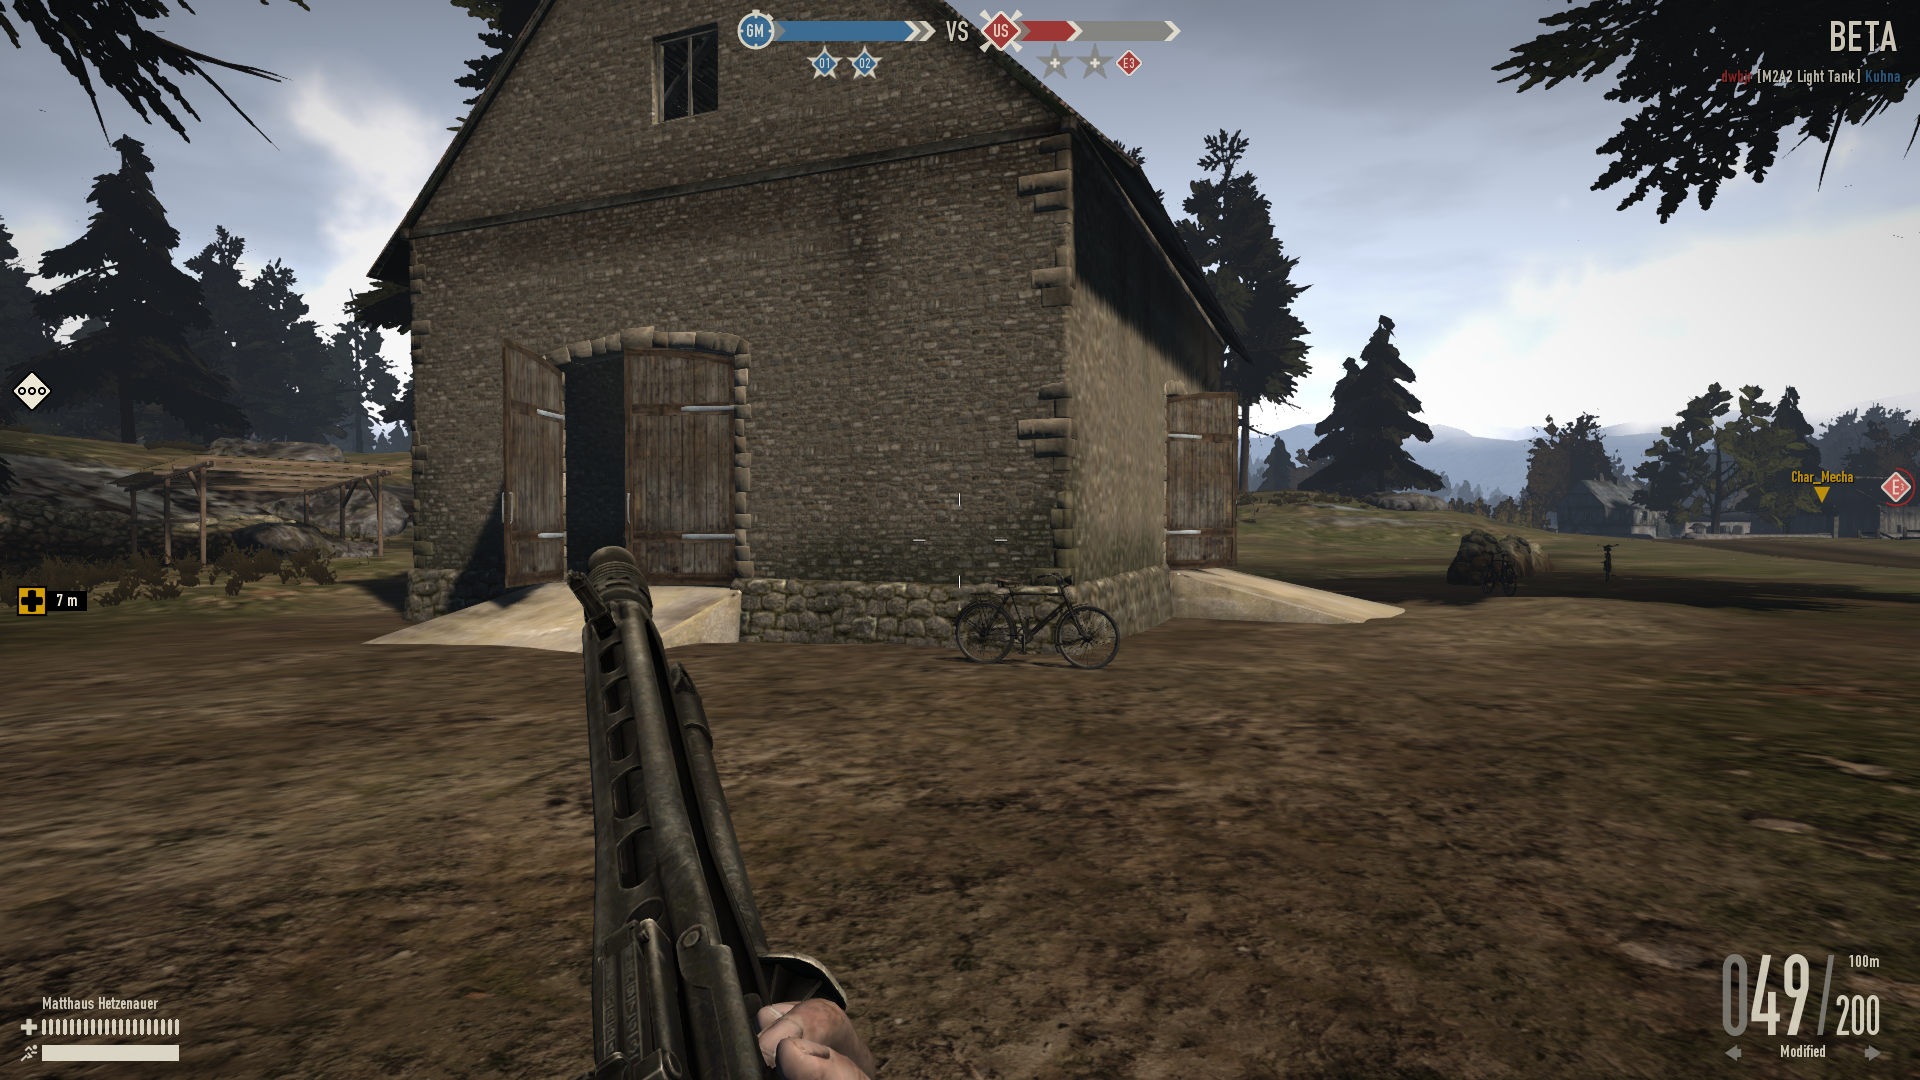
B3[ | ]
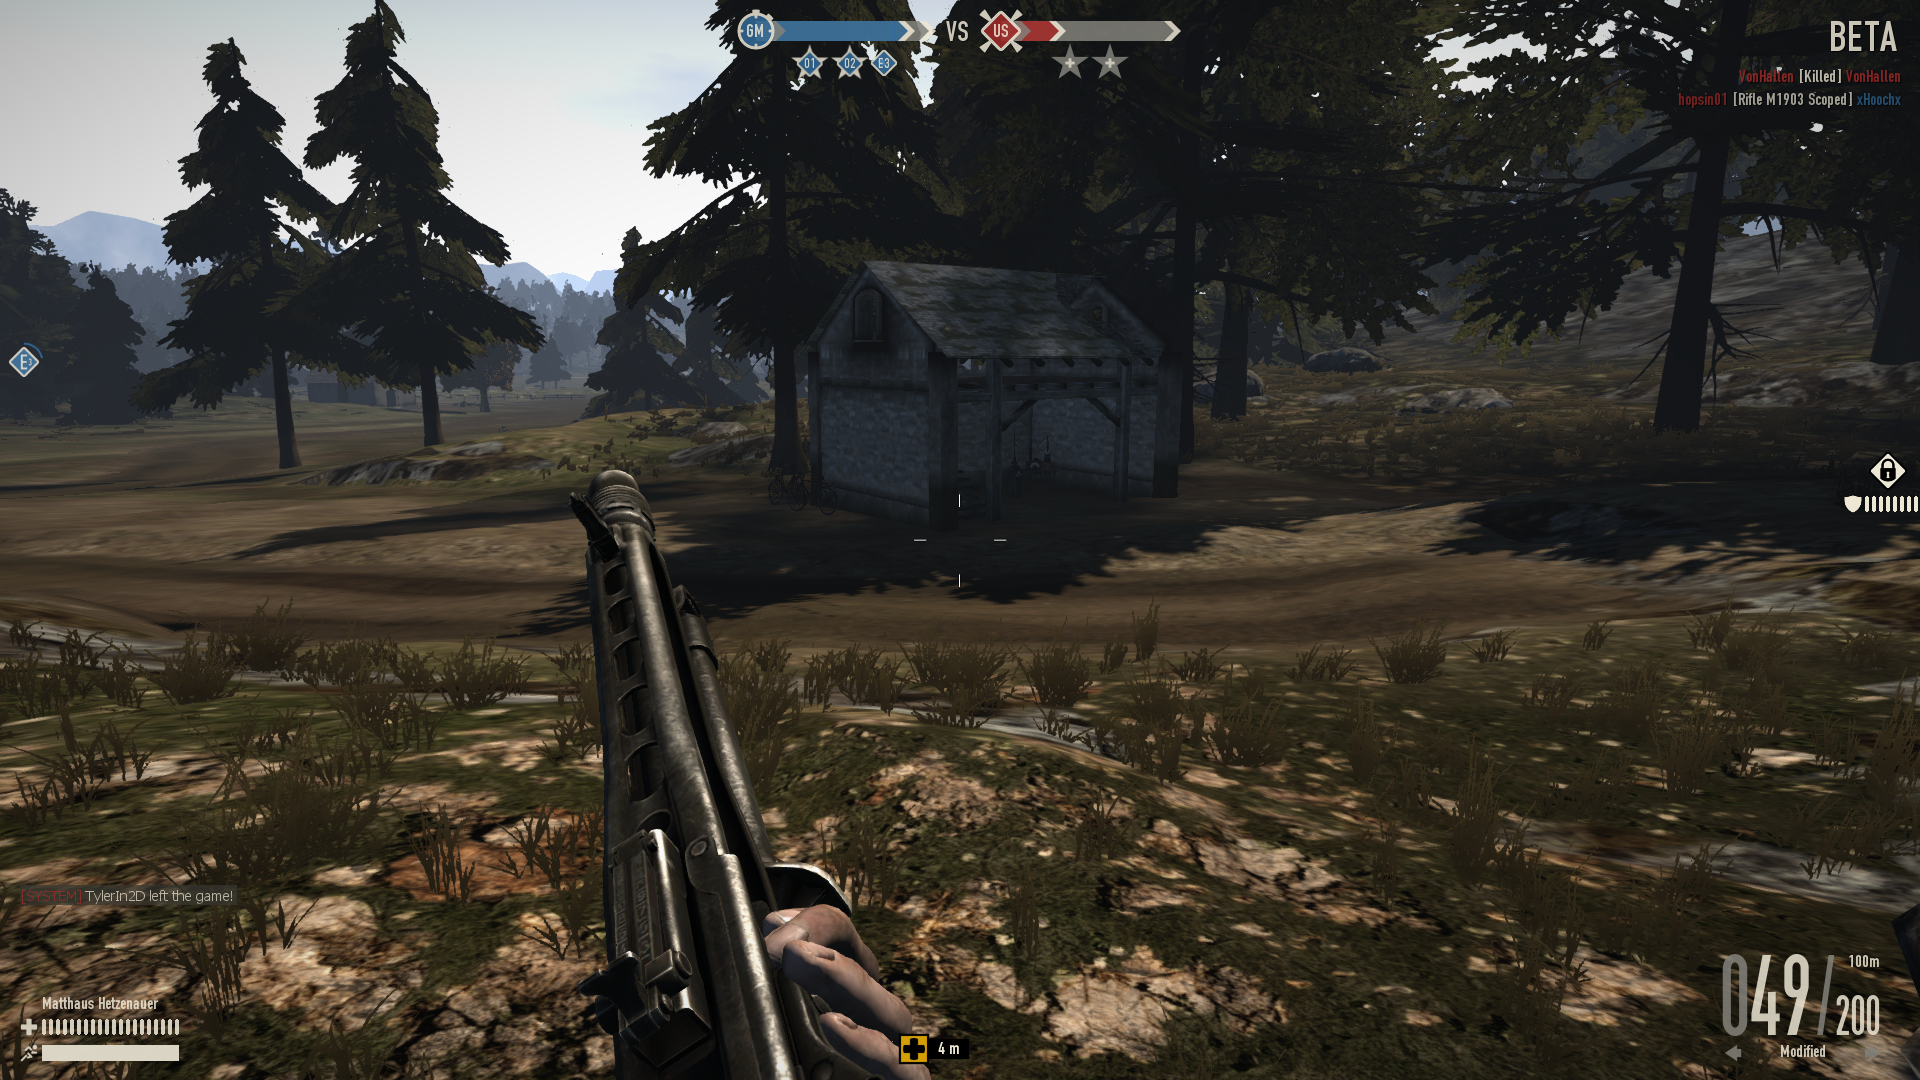
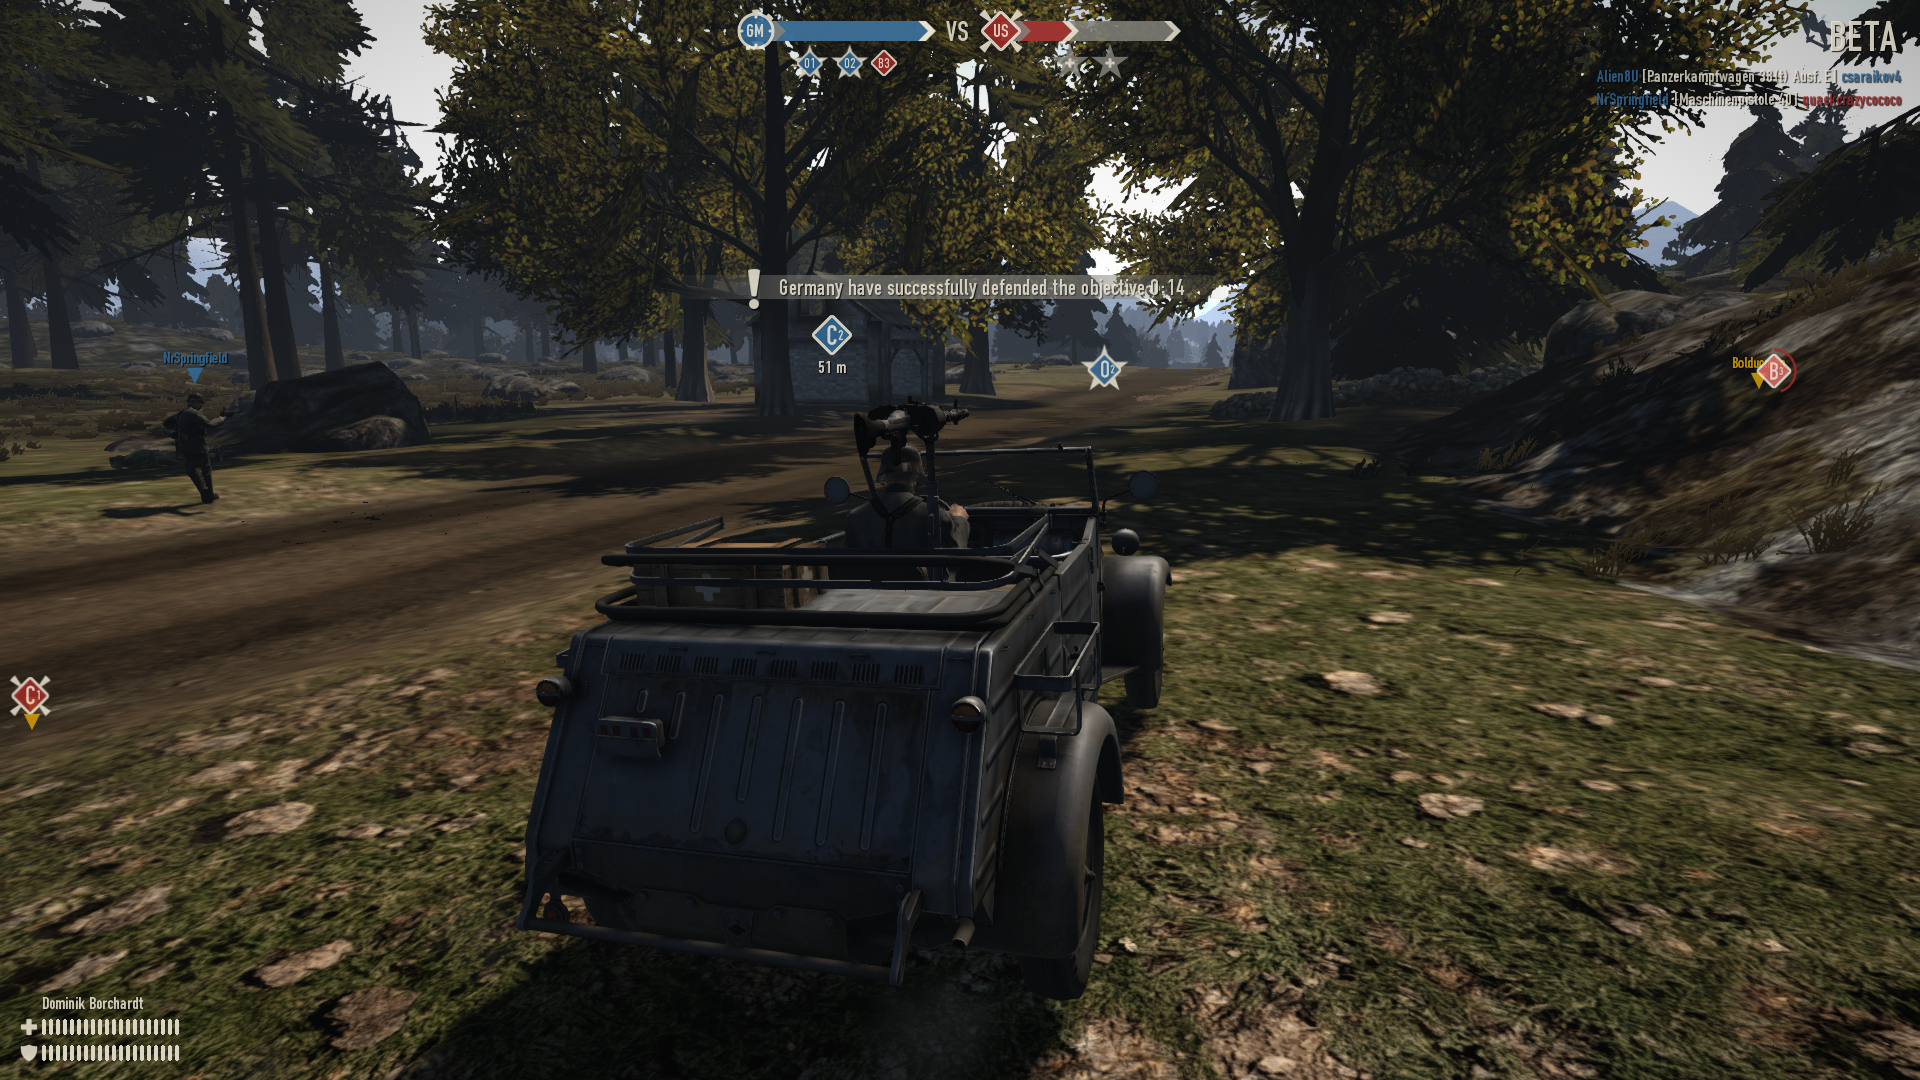
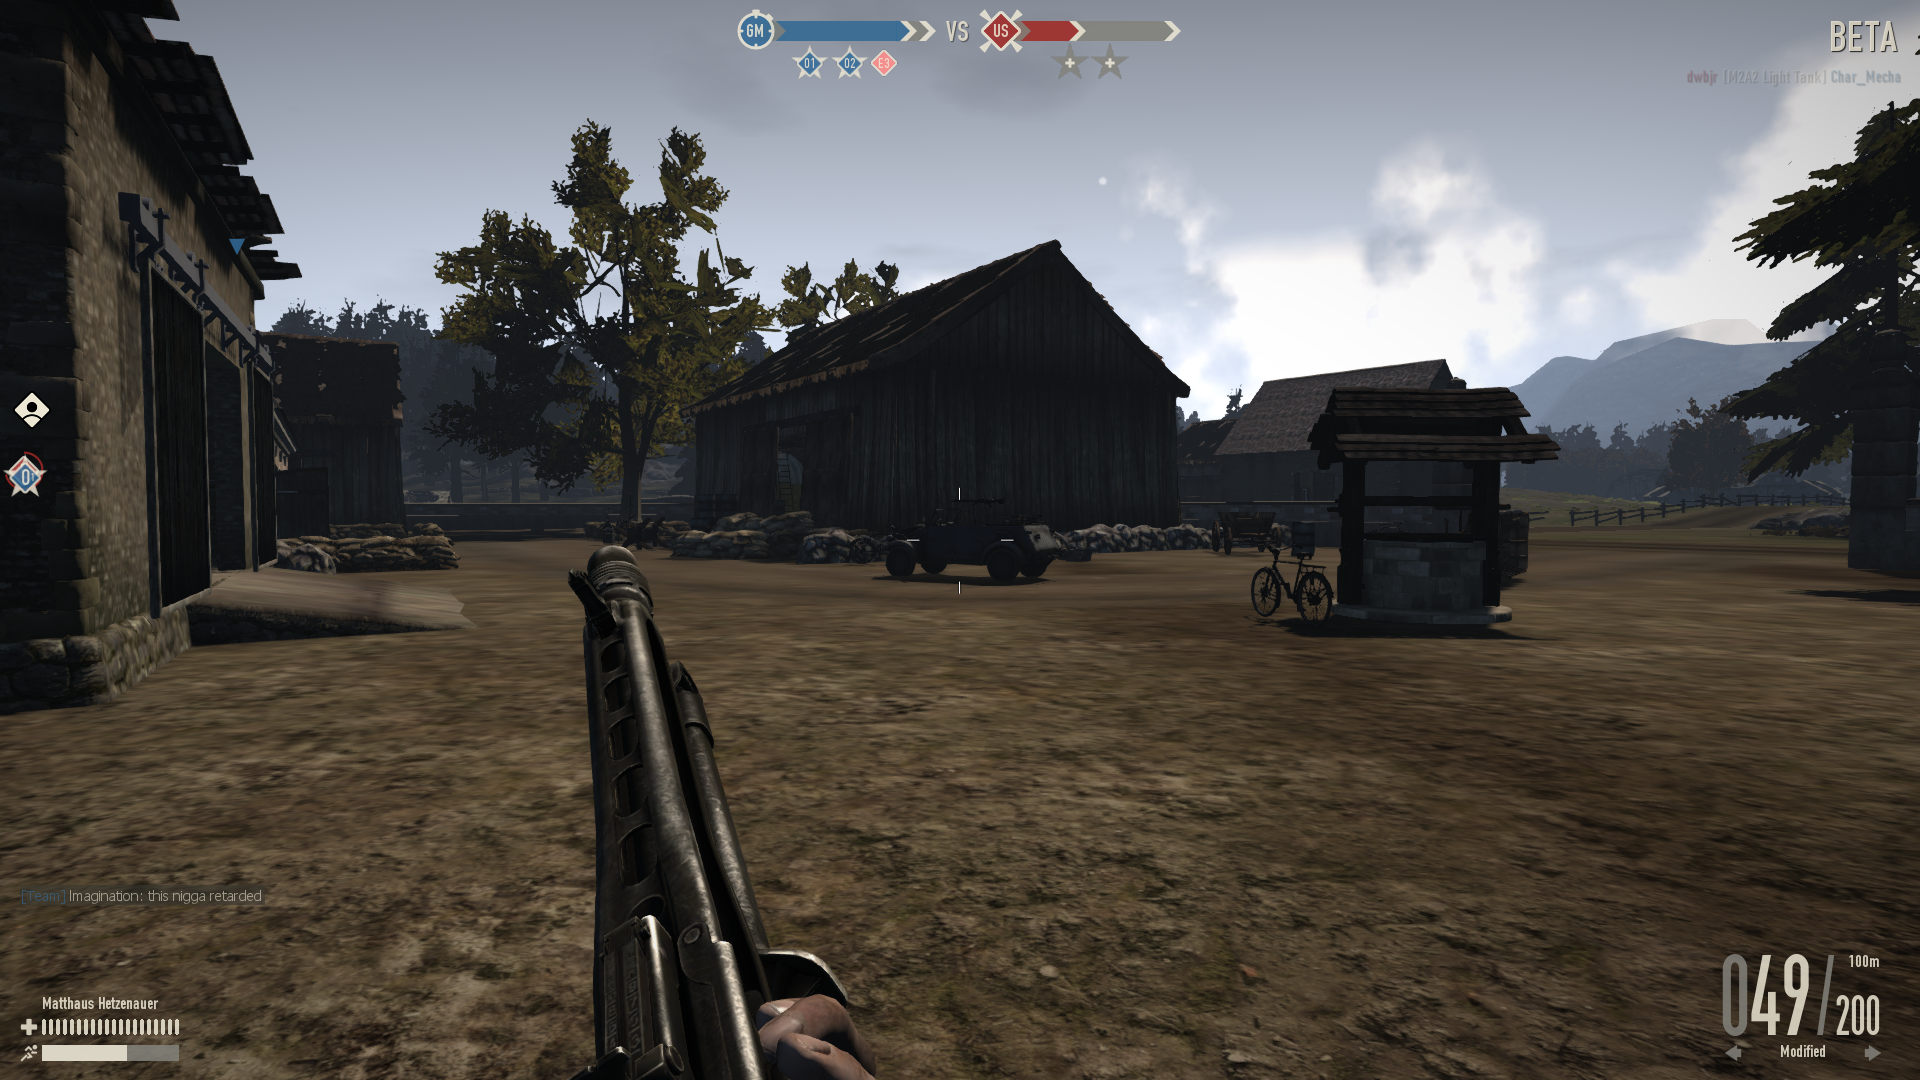
The B3 point is contained inside a 2 story barn. It has three entrances to the barn from three different sides. This makes defending the barn rather difficult. There is also a second floor platform on two sides of the barn accessible by ladder on either side that players can climb up and shoot from a window. There are a few bicycles that spawn near the B3 barn that players can use to move around the map. Making the transition from B3 to O2 can prove rather difficult as the the terrain changes completely from wooded area to open land. This makes moving by foot rather difficult. It is best for infantry to get in a vehicle and move fast up to the cover inside o2. Tanks and snipers can easily guard the O2 area facing B3. B3 also has a direct line of sight to the A3 point through an open field. The C3 point is just on the other Side of B3 through the woods and over a small hill. It is important for players to remember that they can use this point as a spawning point to hit the other two lines if available.
Highlights
- Radio House
- Radio
- Next Point
C Line[ | ]
C line is located between two forests and has many great places with coverage in the dense woods and holds many terrain rocky obstacles that you can use for cover, but beware of your enemy trying to flank you from either B or D line.
C1[ | ]

Located near the edge of a forest two big buildings, a garage and a little shack holds the starter point of C1. The radio room is located on the second floor of the biggest building. The area holds one medical supply box and a Panzerfaust 60. The next capture point can be reached by the road or the dense forest which gives some great cover when approaching C2. Due the location of C line it is important to note that if the enemy team holds B or D line, that the chance of you being flanked is extremely high. At the start of the battle you should be able to travel to C2 without any danger unless the enemy holds B line.
Highlights
- Bicycles
- Panzerfaust 60
- Supply / Medic box
- Radio House
- Radio
- Next Point


C2[ | ]
Located between two forests, this small shack is a dangerous objective to capture. It can be flanked from B line if the enemy holds that line. Try to capture this objective as fast as possible, while sending some troops to the next objective C3 already. Either travel to C3 by road or use the rocky terrain and forest to your advantage.
Highlights
- Very little cover
- Radio House
- Radio
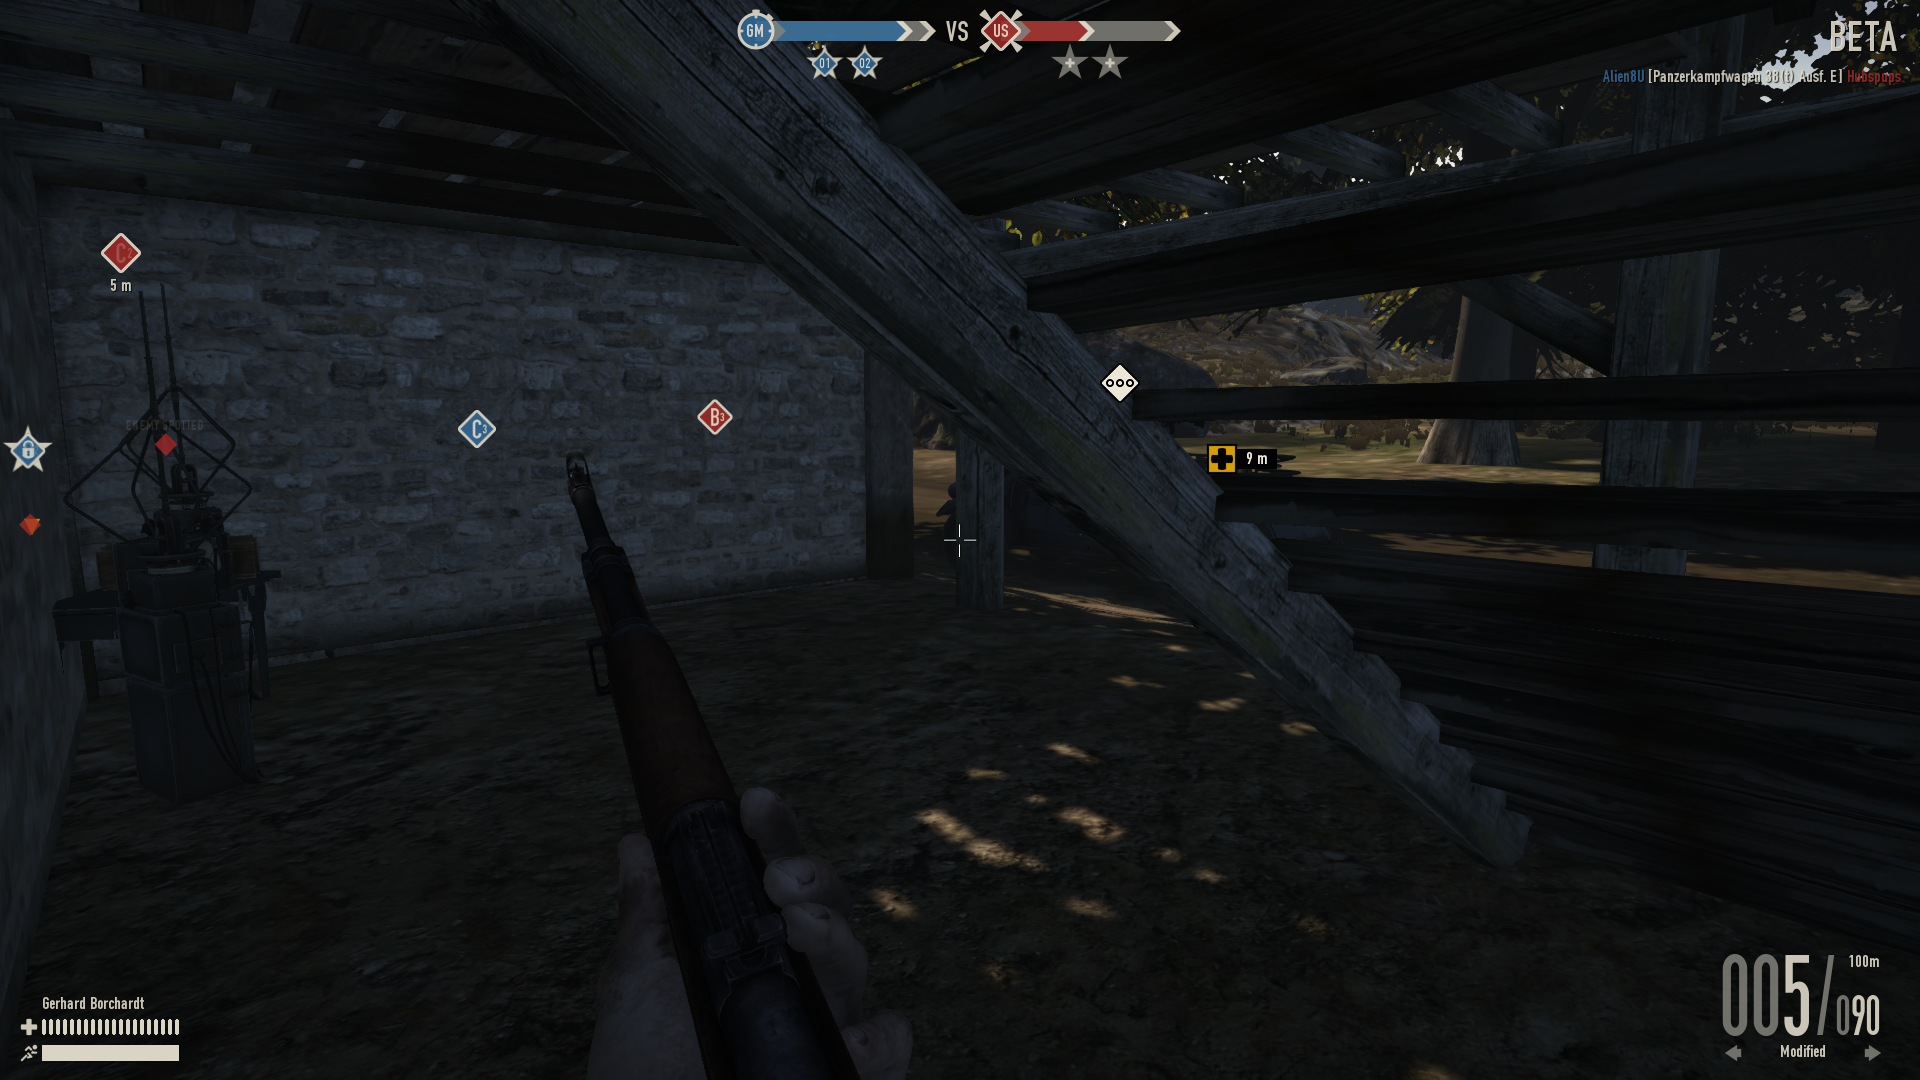
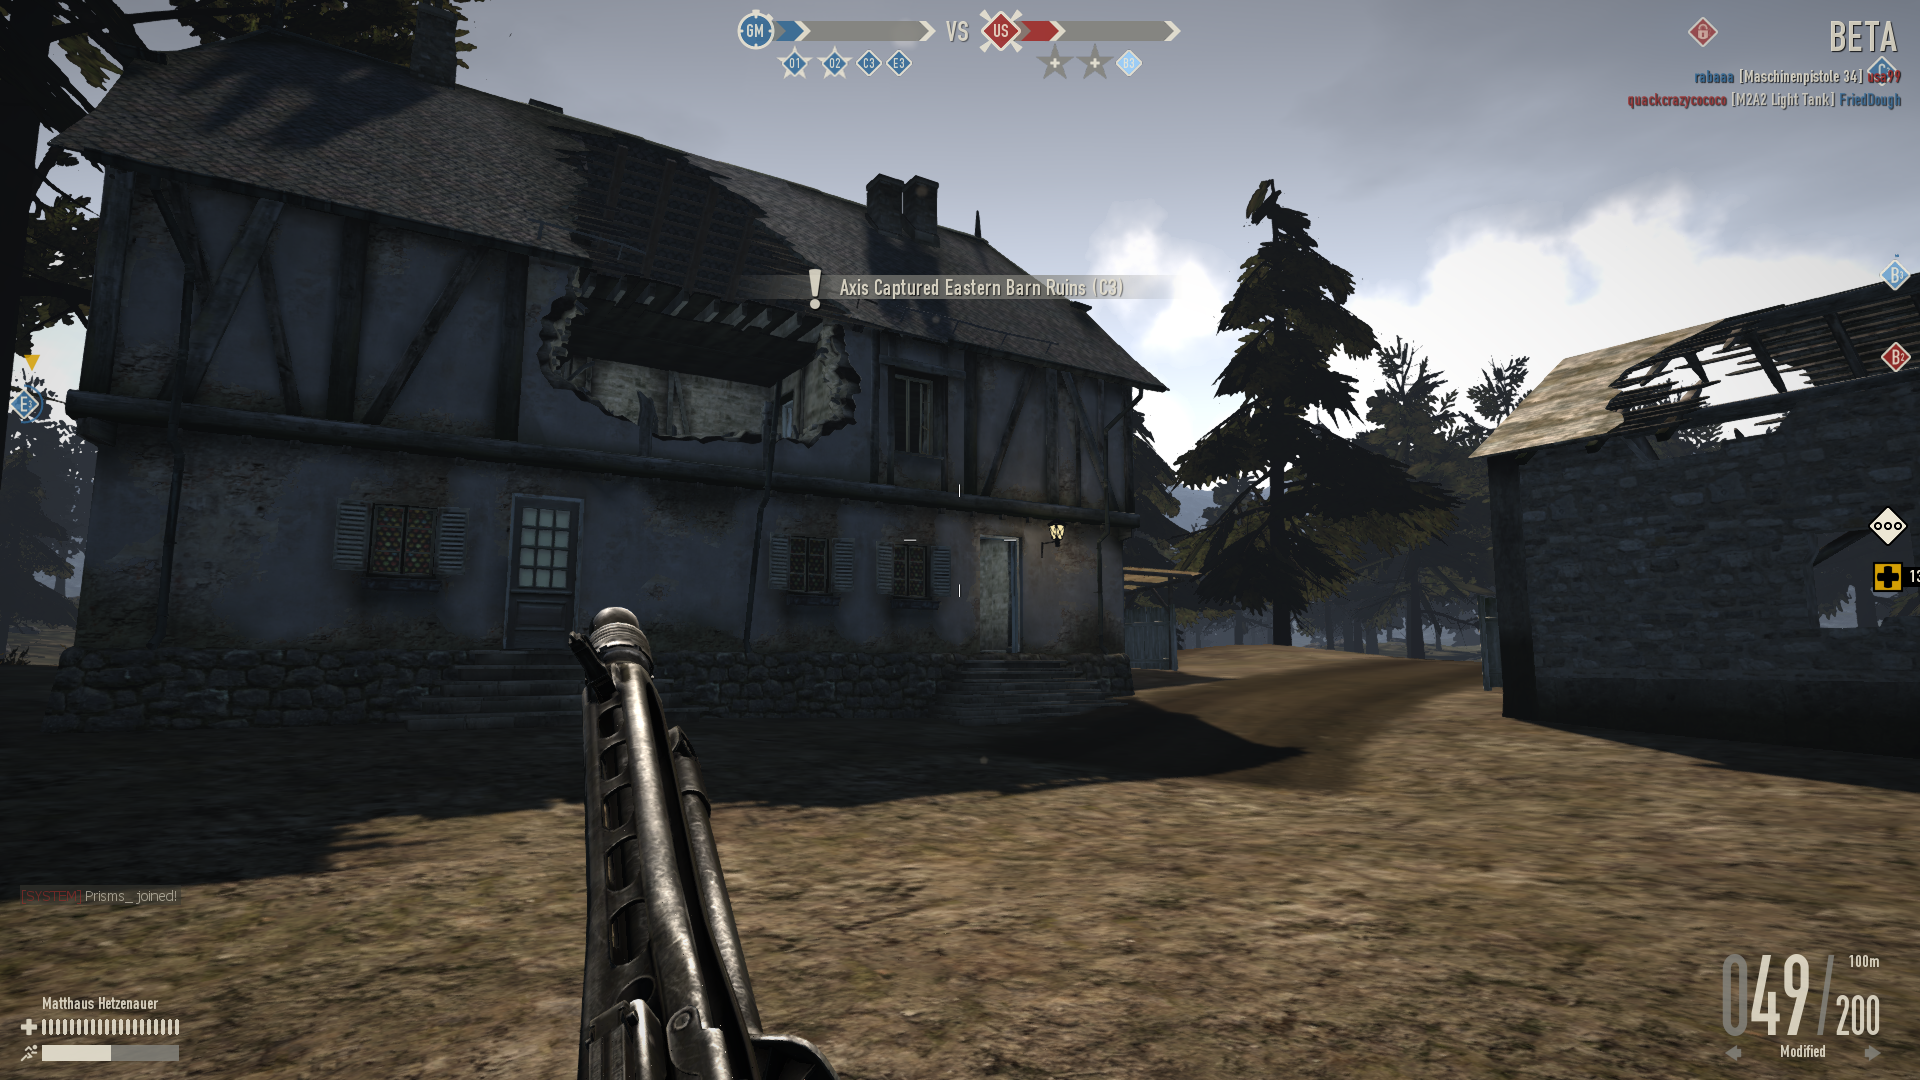
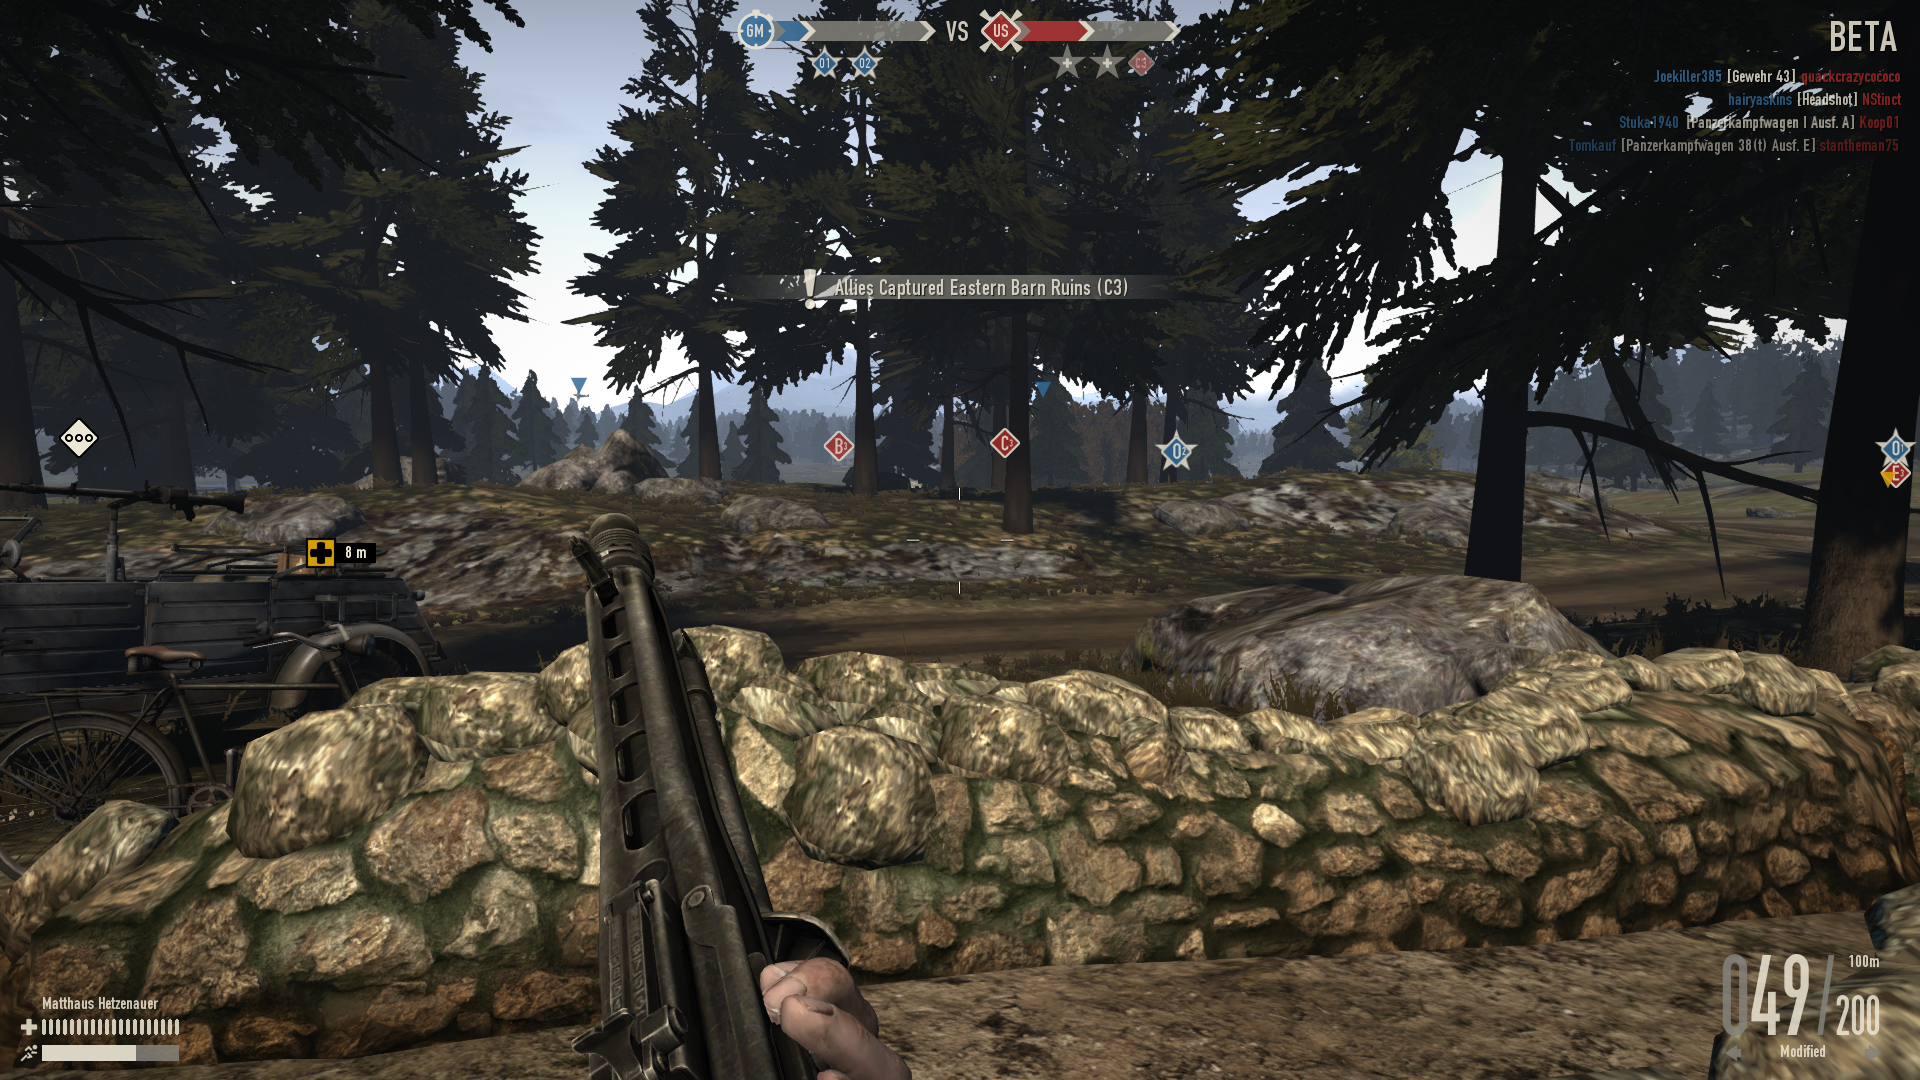
C3[ | ]
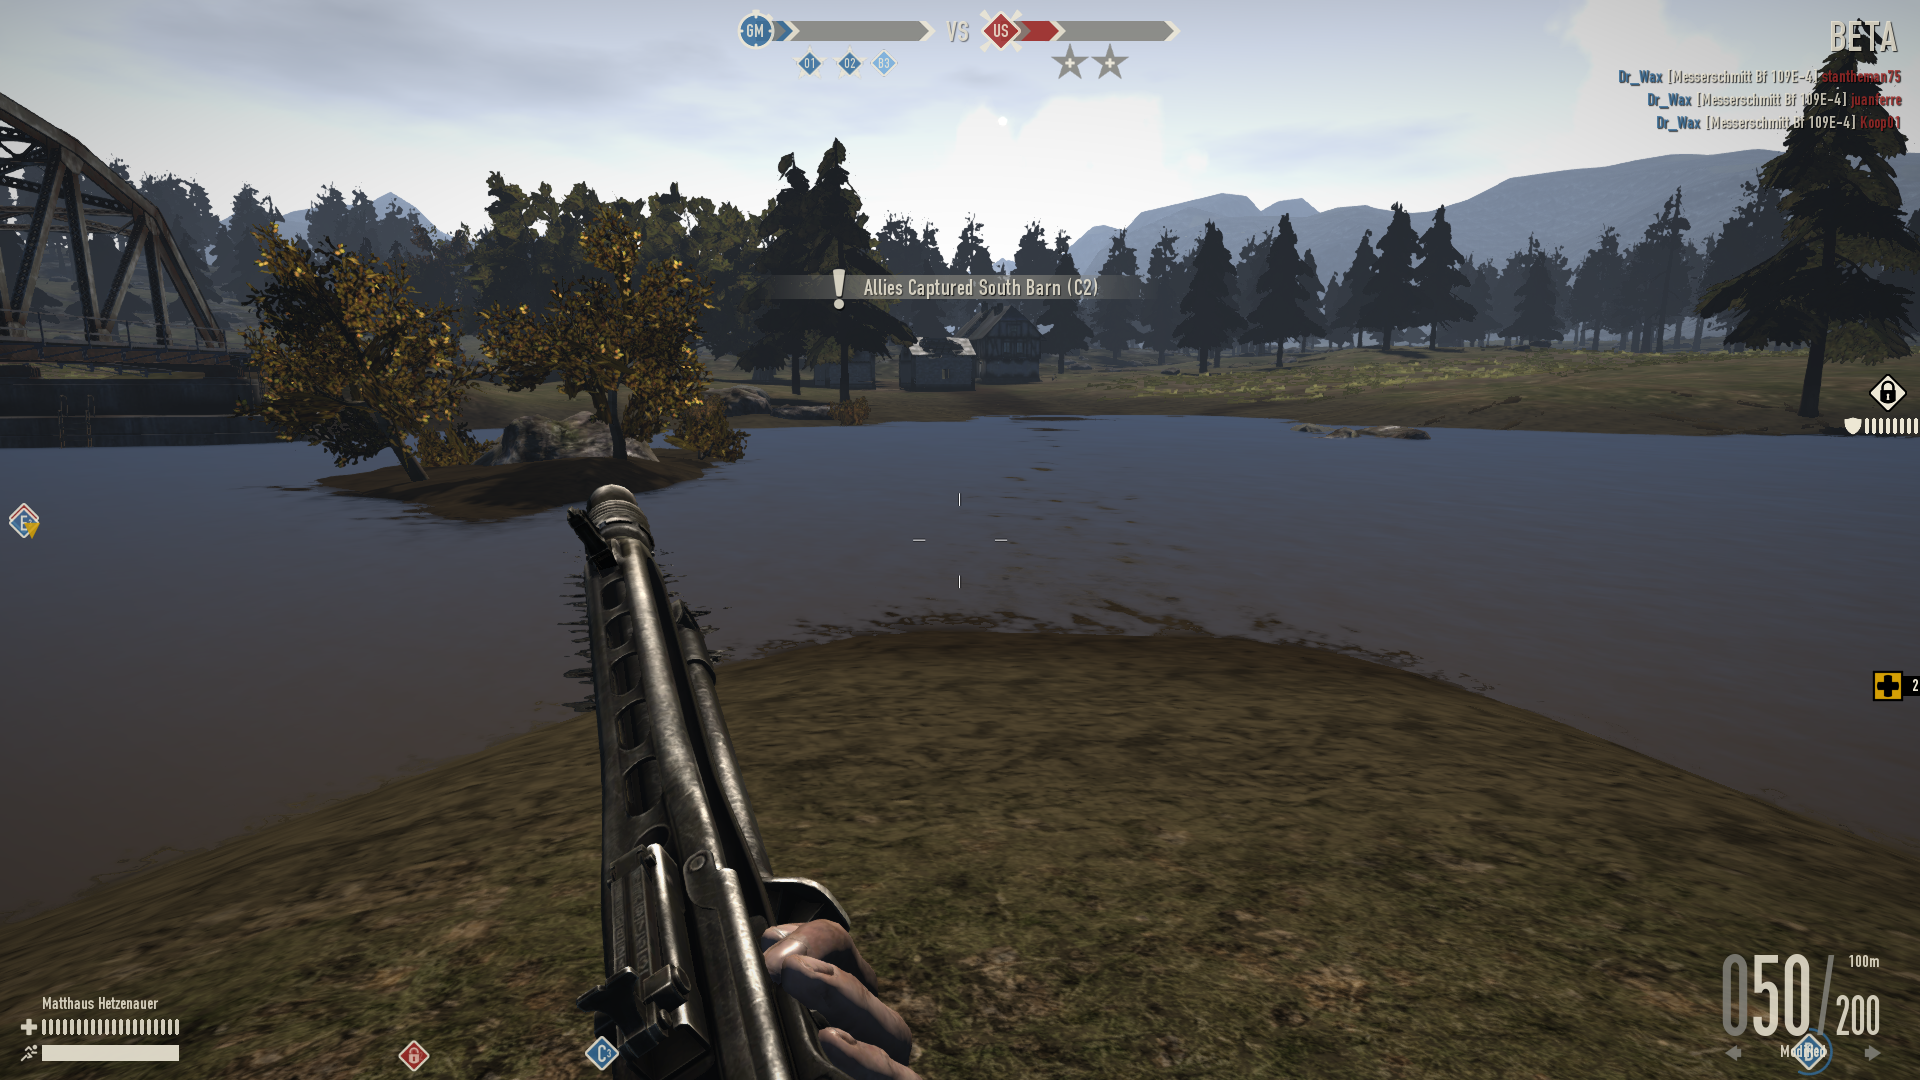
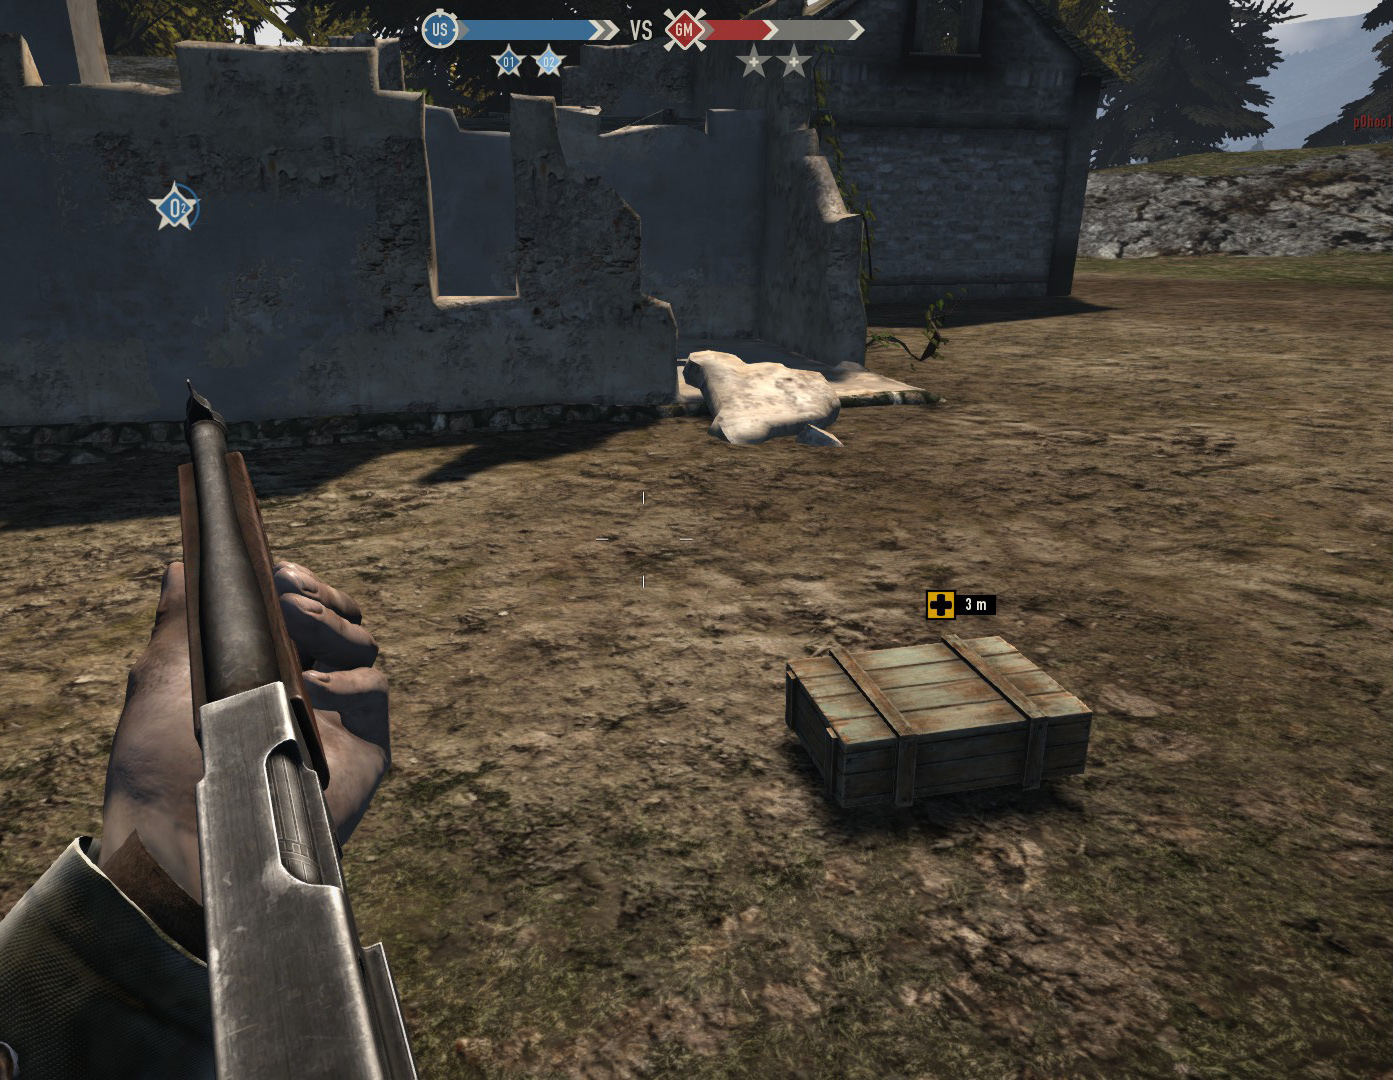
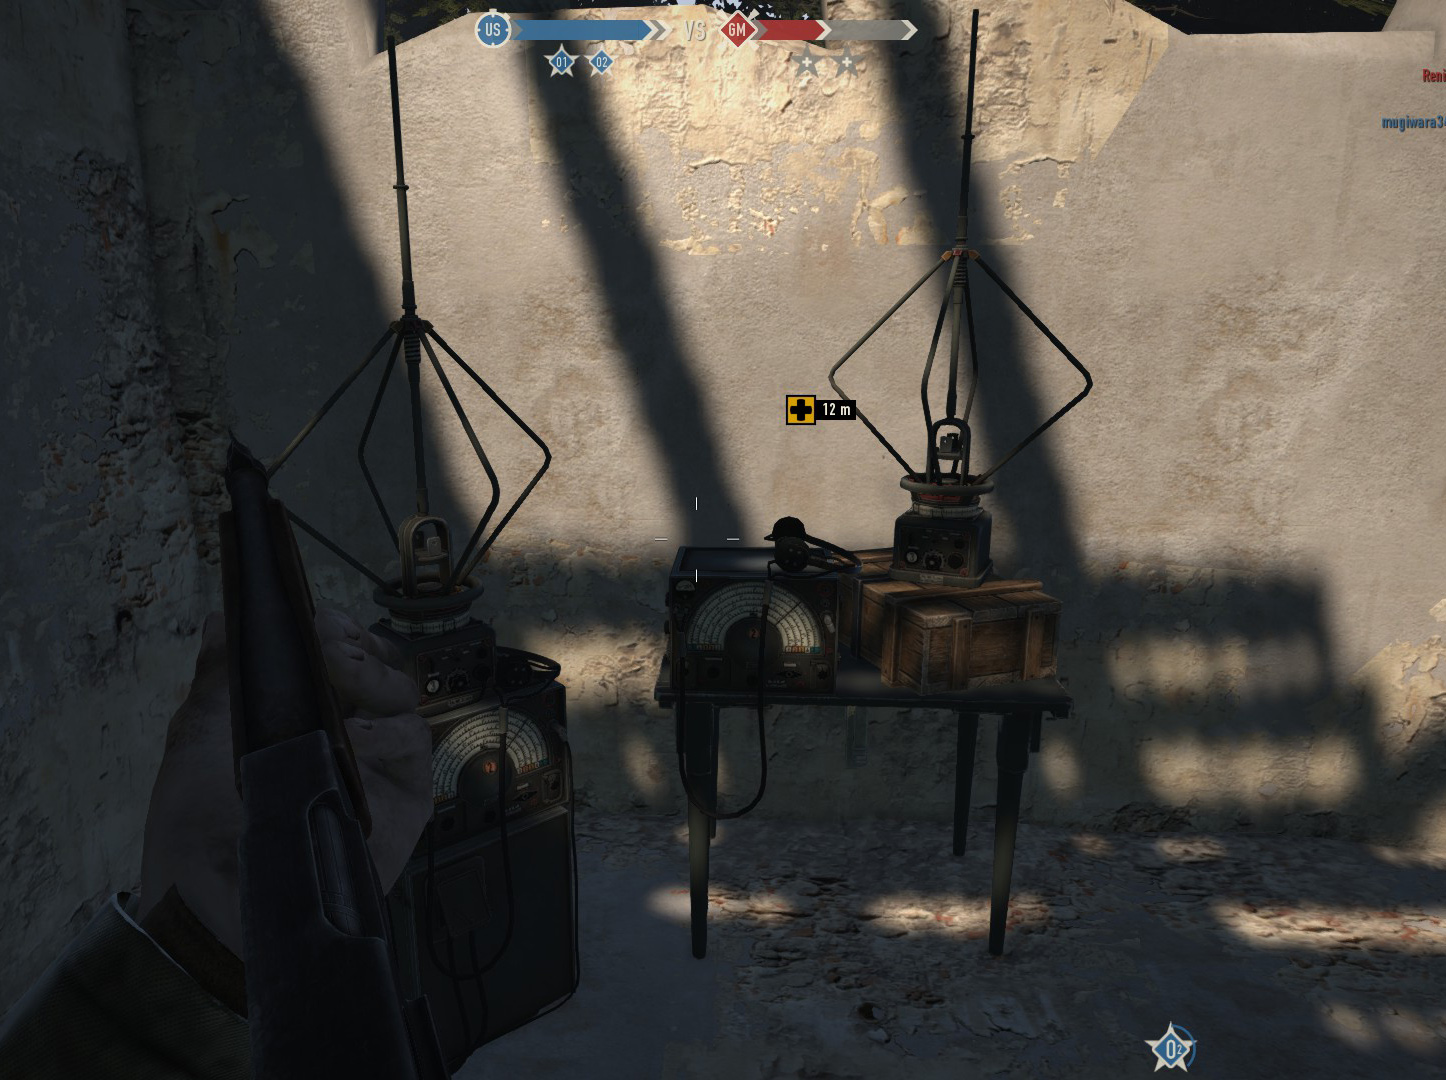
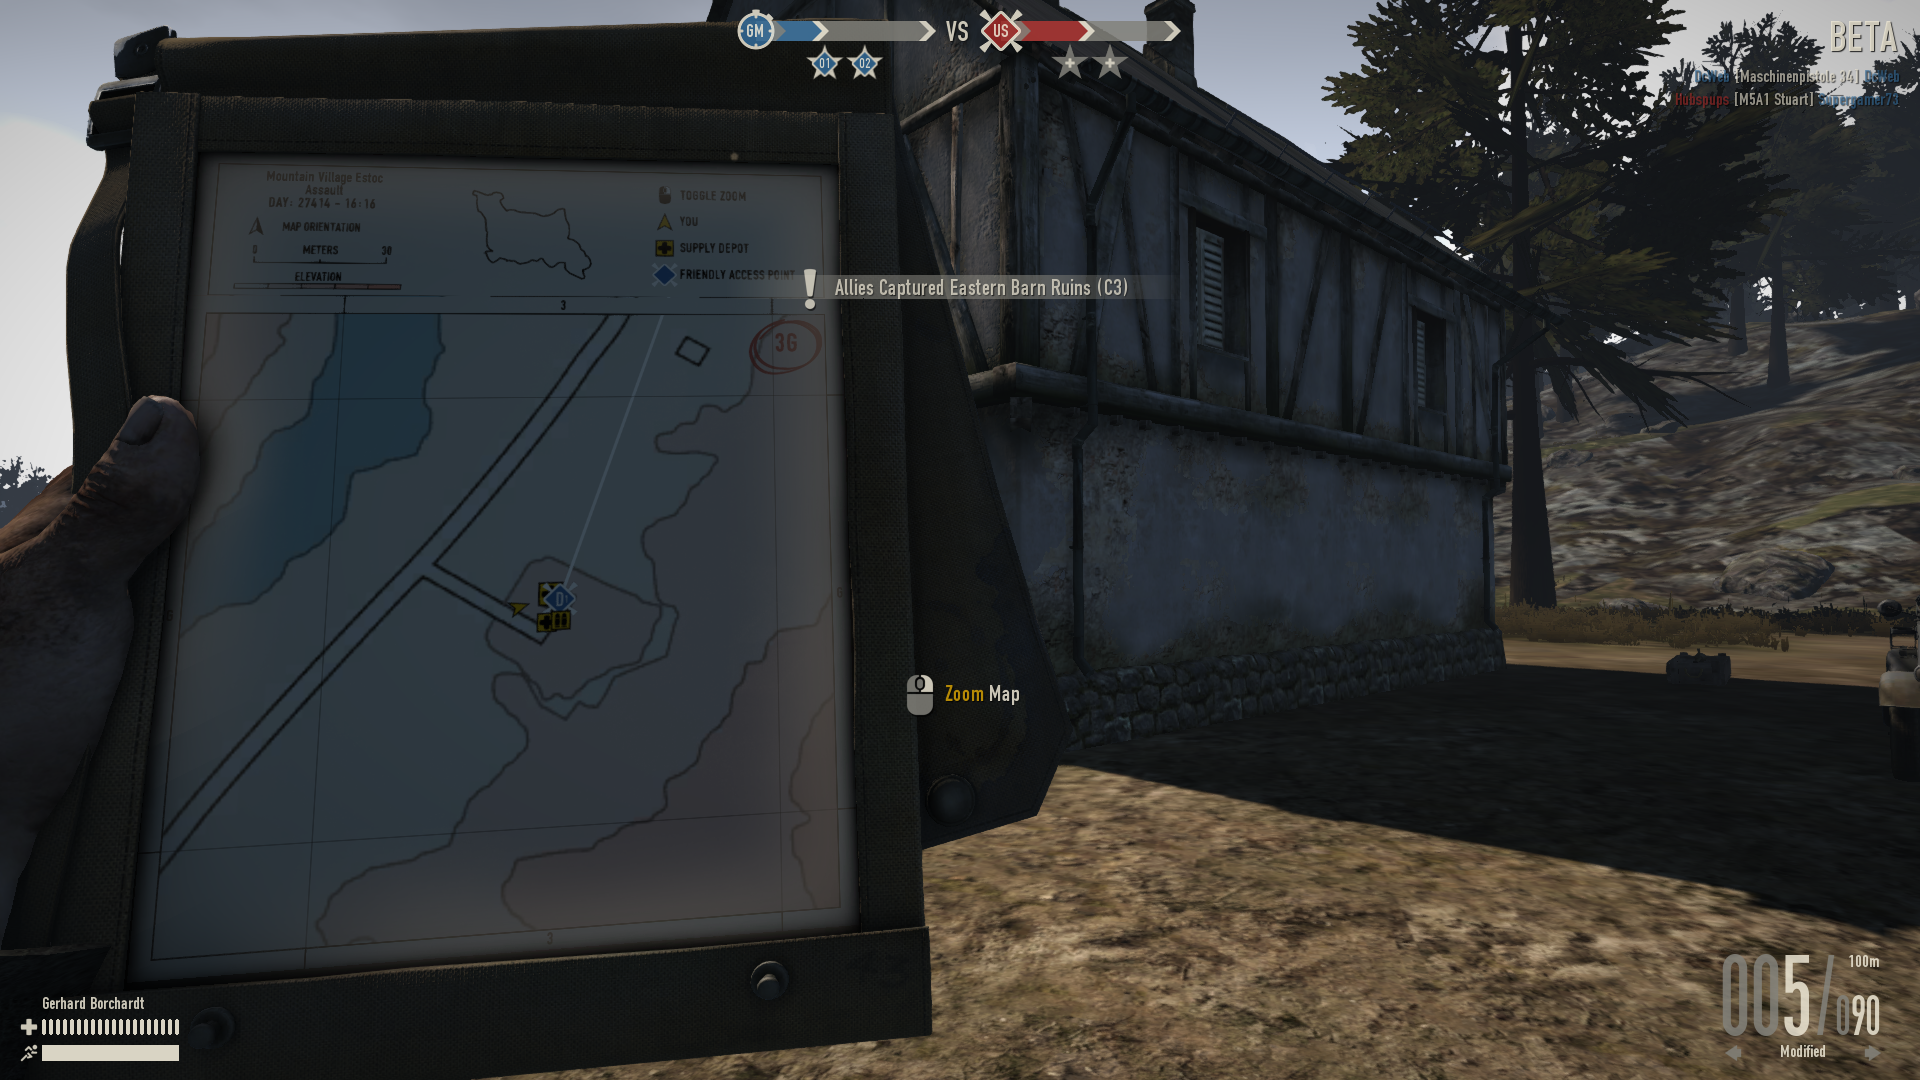
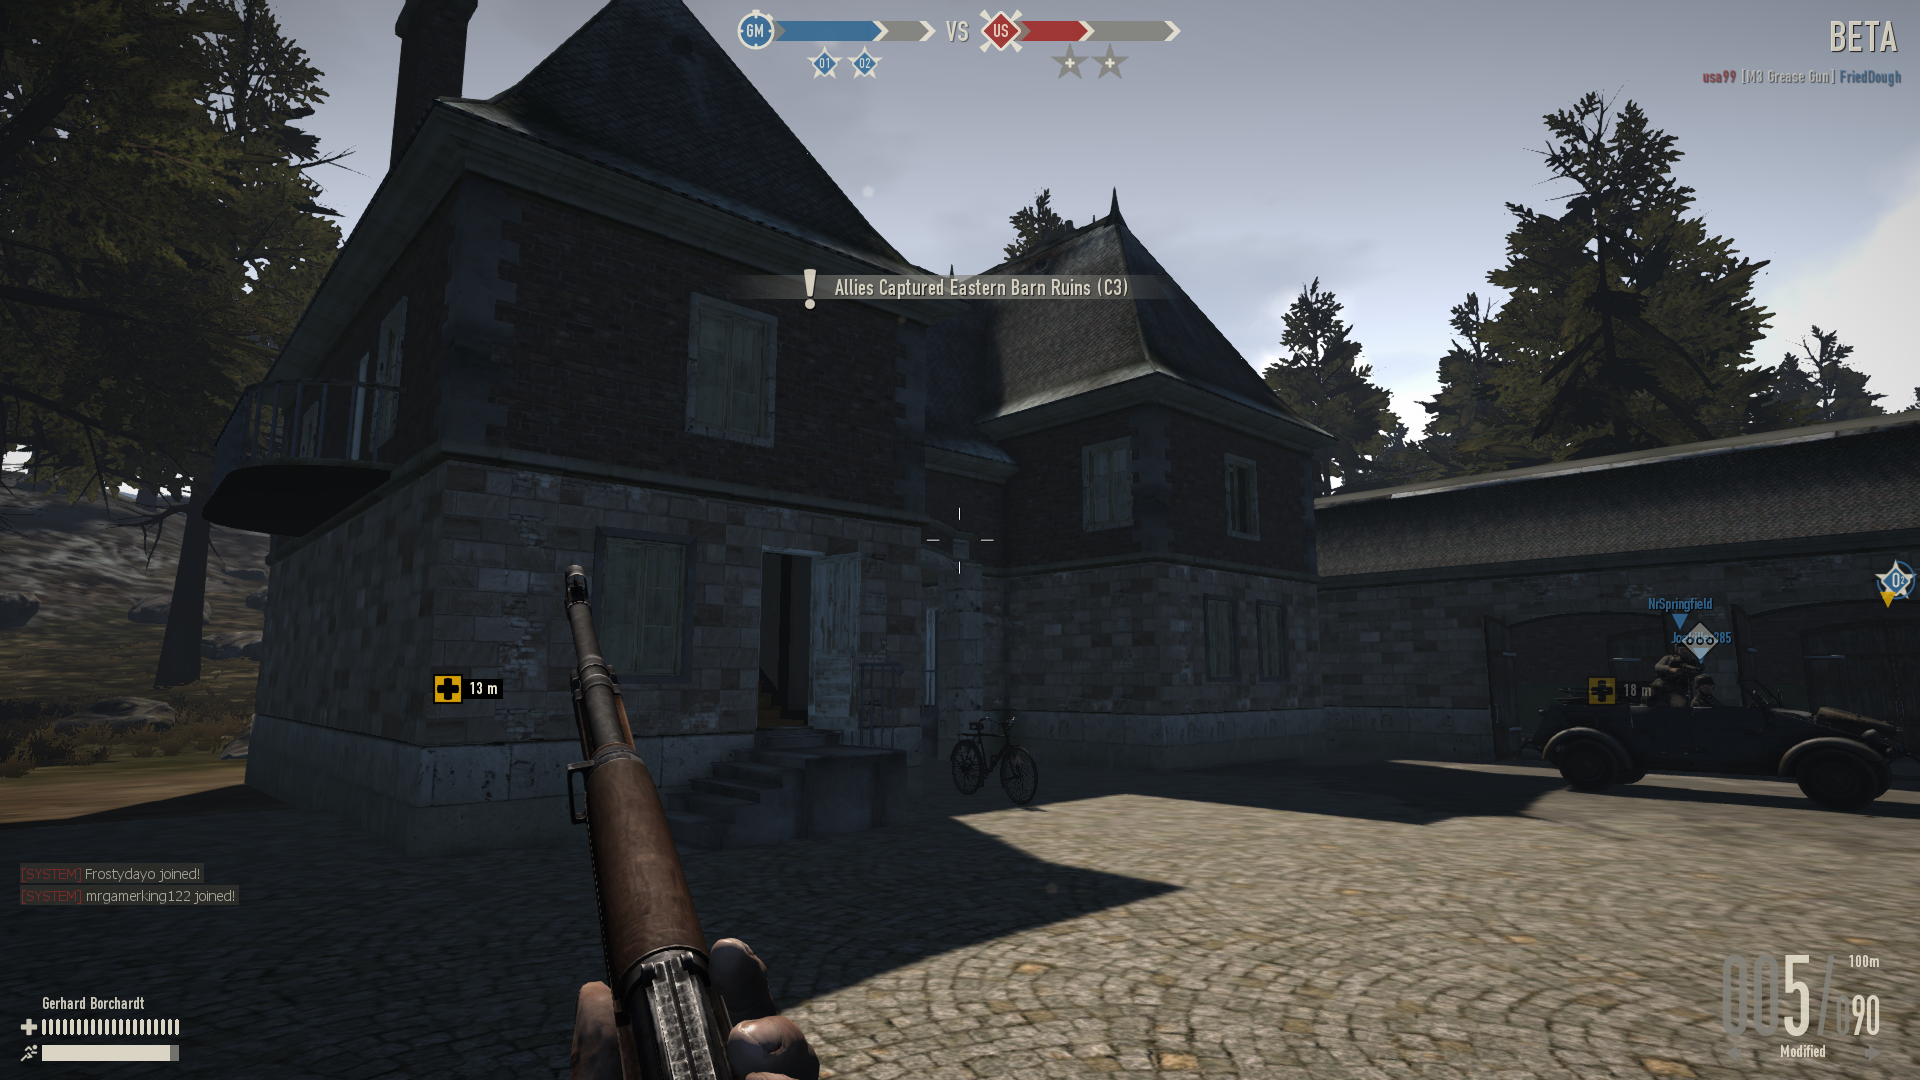
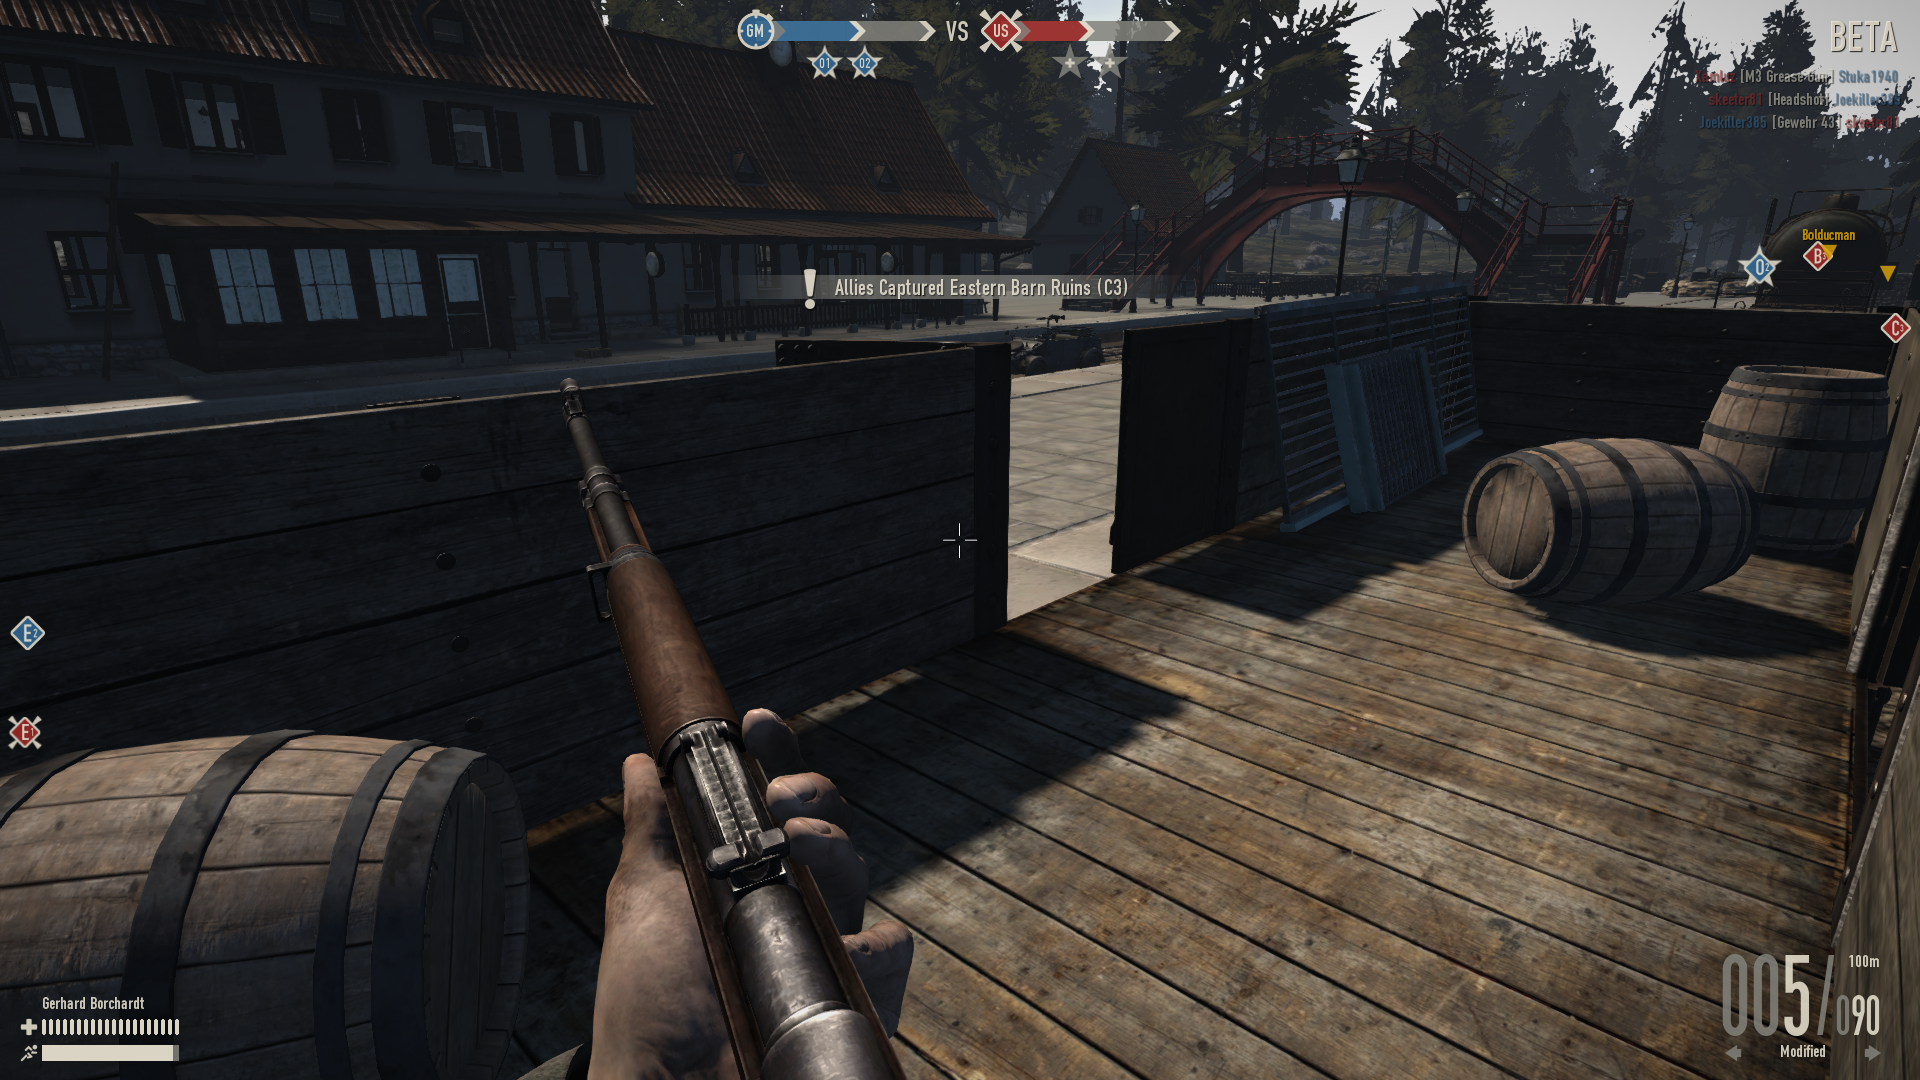
Two shacks and a ruined building which holds the radio room represents C3. The ruined building has some good cover but beware of tanks shooting from range or grenades being thrown inside. This objective is where you most likely meet your opponent for the first time, beware of this and be cautious. After capturing this objective you unlock the first main objective, Fuel Depot (O2). Note that enemy respawns are close by at the shed west of O2. You can travel to O2 from here from the road or approach from the forest edge side until you are forced to travel over road to reach O2.
Highlights
- Capture to unlock O2
- Can be attacked from many different directions
- Supply / Medic Box
- Radio inside Ruins
- Supply
- Radio

D Line[ | ]
Located between a river on one side and a forest on the other side this line brings you from D1 to D3 where you will need to cross a stone bridge to reach The Train Station (O1). Always check if the enemy holds C line or not, as this will make them able to flank you rather soon after the start of the battle.
D1[ | ]
A small house holds the radio room on the main floor. There are bicycles, one Panzerfaust 60 and one Supply / Medic box available for usage. Move to D2 as fast as possible by either the main road or use the rocky terrain to your advantage. At the start of a battle you should be safe to reach D2 without any resistance. But always beware of enemy pilots that will try to bomb D2 area at start.
Highlights
- Bicycles
- Panzerfaust 60
- Supply / Medic box
- Radio House
- Radio
- Next Point
- Hills


D2[ | ]
Two houses and some rocks outlines D2 capture point. The radio room is located on the upper level and should be captured as fast as possible, as the defending team will most likely be advancing towards D3 and capturing it already. On the right of D2 is a hill with trees that has a forest that separates D with C line. From here you can move forward either by road or use the rocky hill area on the right or left to your advantage. Best is to not reach D3 head on but flank from left side where you will have to travel over a hill to reach the left side of D3. Also beware of defenders approaching the road between D2 and D3 from The Fuel Depot (O2) side.
Highlights
- Good cover inside the house
- Only two entrances
- Radio House
- Radio
- Next Point


D3[ | ]
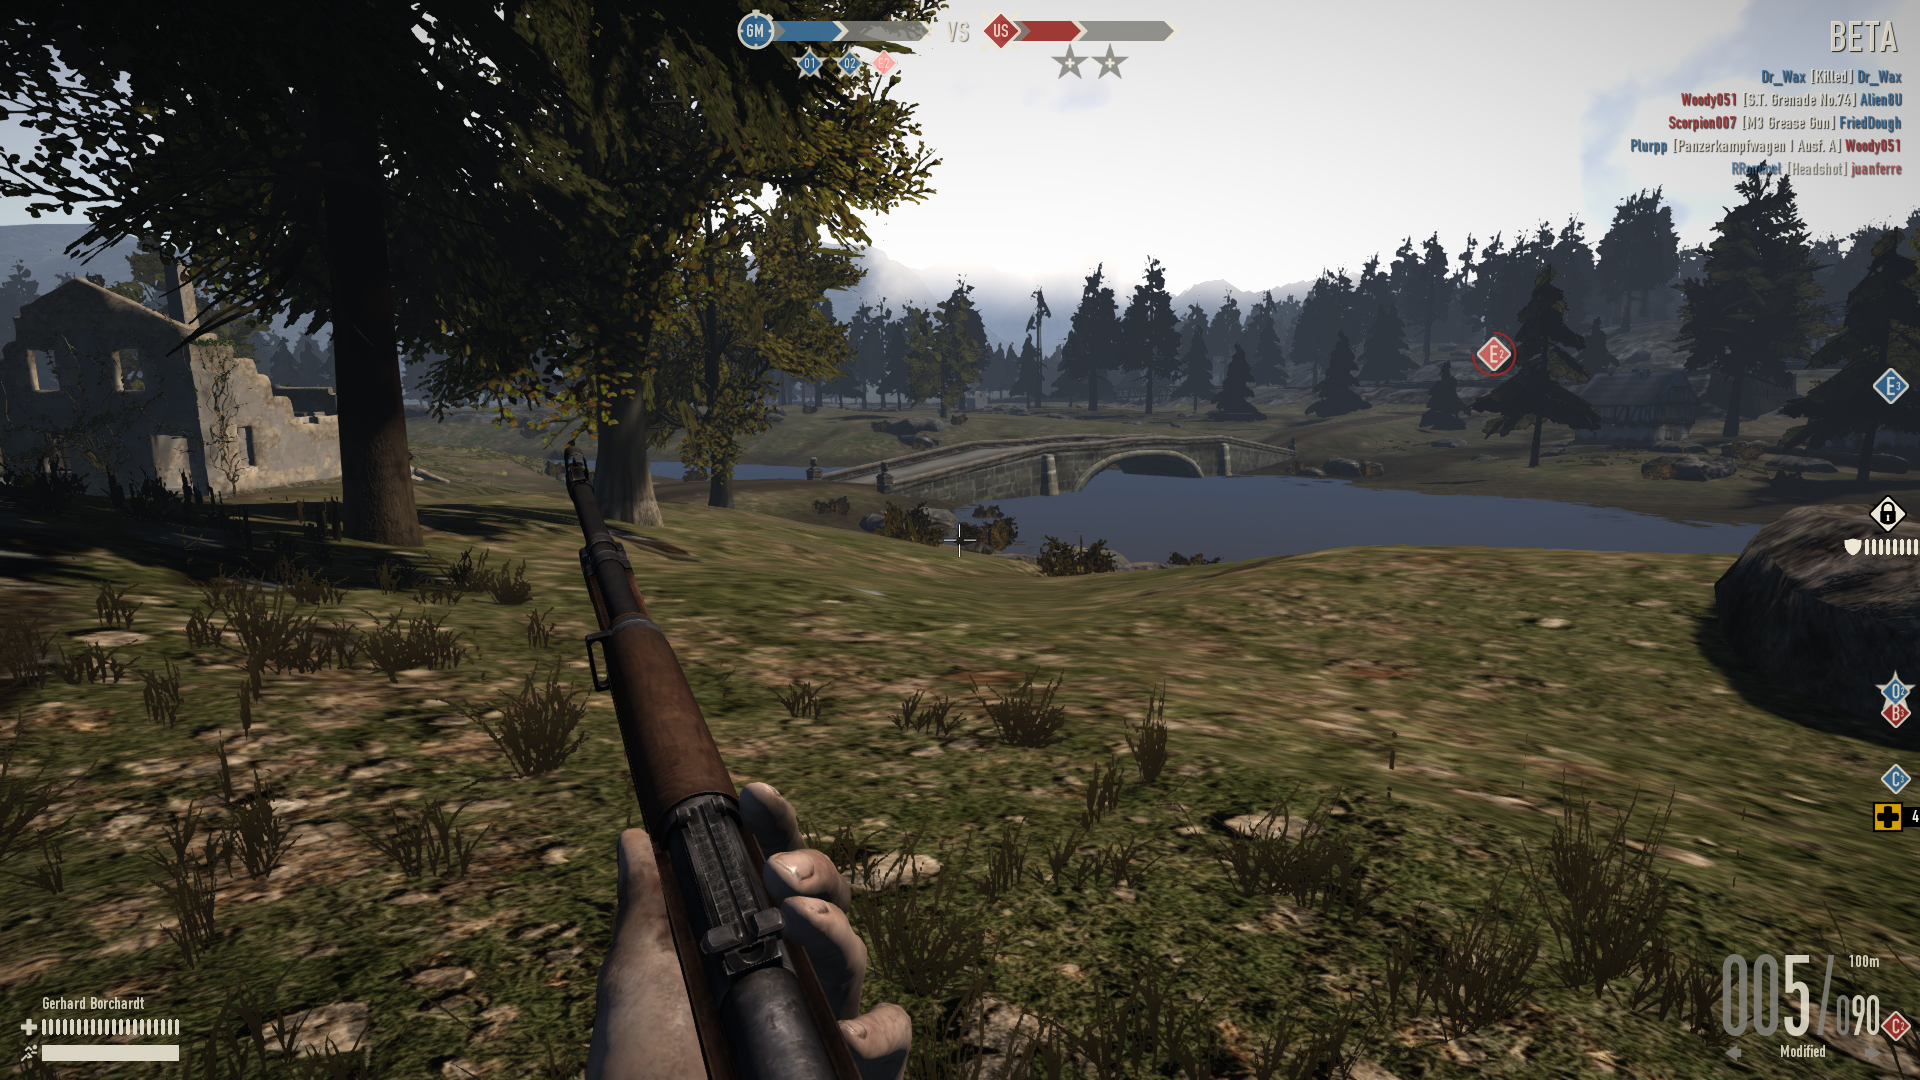
Located next to a river with a stone bridge this area holds an important capture point. As unlocking this objective makes you able to capture one of the main objectives, The Strain Station (O1). The first real battle will most likely happen here. This area can be defended from either the right (O2), the north (O1) or even the west (using E1 or E2 spawn). It is located next to a hill and holds 4 houses where one house holds the radio room on the main level. After capturing this objective you can either use the bridge right next to it to travel towards O1 or you can use one of the two other bridges that are located on the west of it. Often these bridges are not used, while they give great flanking possibilities.
Highlights
- Capture to unlock O1
- Can be attacked from many different directions
- Has open windows on second floor to snipe, shoot from
- Radio House
- Radio
- Next Point
- Second Bridge
- Third Bridge
- Sniping Hill


E Line[ | ]
E line is one of the more difficult starting lines as there are many good hiding places on the hills to the south and north of E2 and E3. You should also beware of defending team trying to flank you from the south using the road near the railway.
E1[ | ]
One big villa and a garage represents the starting area of E line. There are bicycles available for those on foot, holds one Supply / Medic box and one Panzerfaust 60. As usual move as soon as possible towards the next capture point E2. You can travel here by using the main road or the hills from either south or north of E2. At the start of the battle you should be safe while moving towards E2.
Highlights
- Bicycles
- [[Panzerfaust 60]
- Supply / Medic box
- Radio House
- Radio
- Next Point
- Main Road

E2[ | ]
Ruins hold the radio room for you to capture on this capture point. There is also a shack next to it for cover and sniping. This capture point is very vulnerable to flanks from the north & south, beware of this and try to capture this objective as quick as you can, while sending some other troops to E3 already. You can move to E3 by either following the road or use the hills on the north or south to your advantage as here you have more cover and can approach E3 in a more safe way.
Highlights
- Vulnerable to flanking
- Two Hills with a lot of trees for coverage
- Radio inside Ruins
- Radio
- Next Point
- Sniper Area
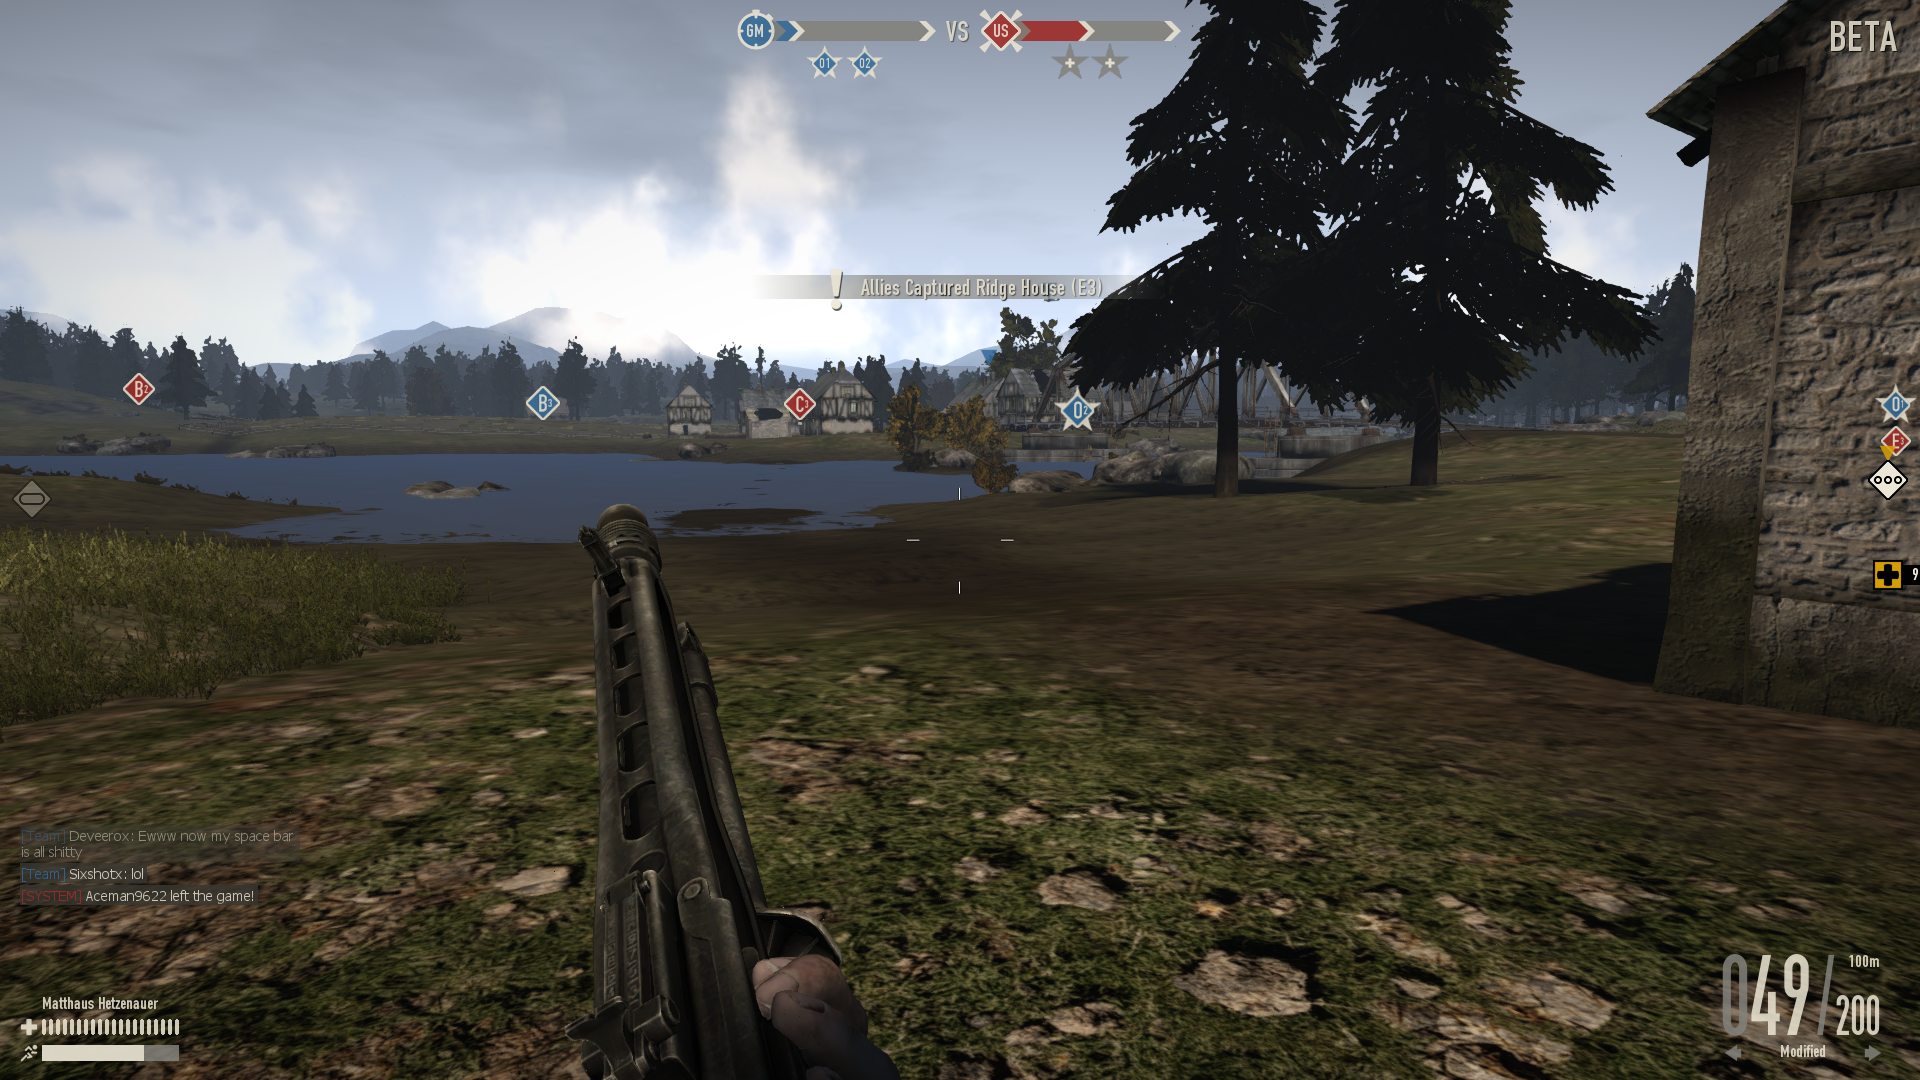
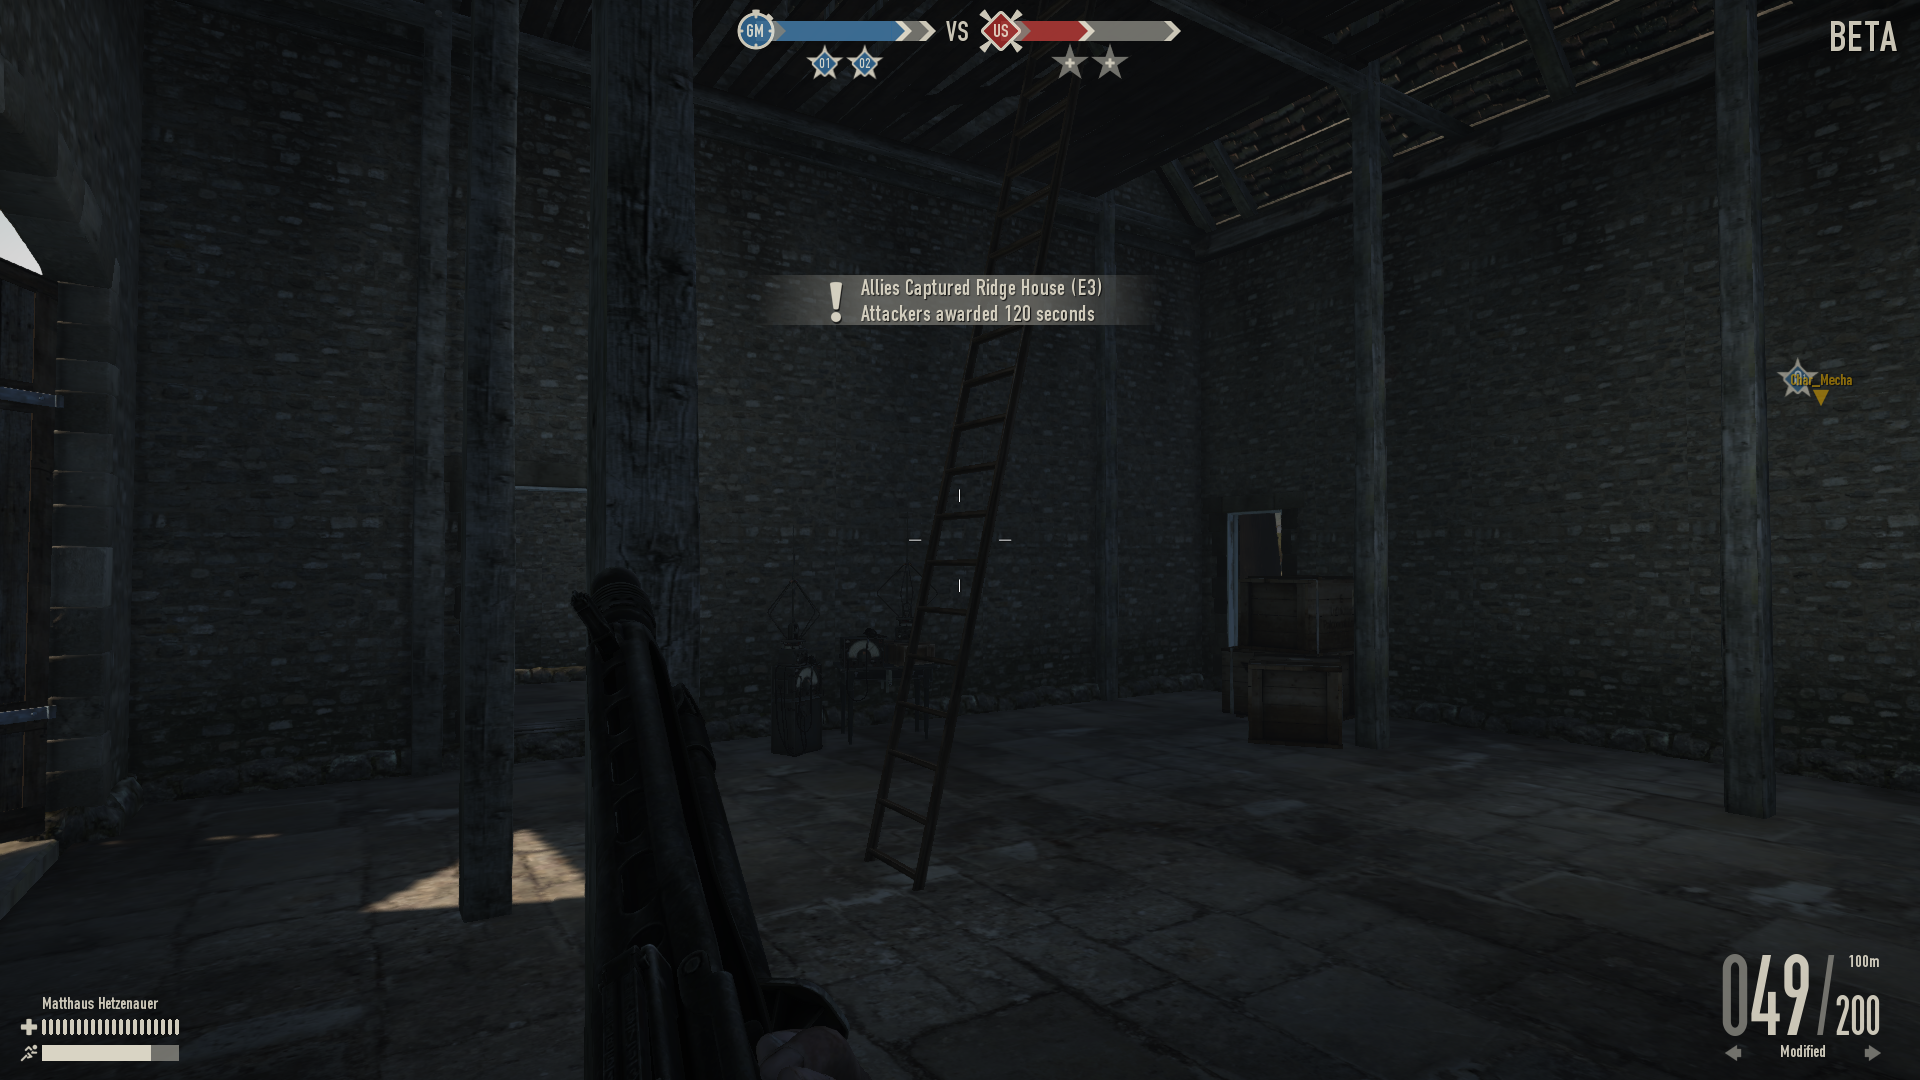
E3[ | ]
Only one house holds the capture point of E3. It is situated in the open and can be attacked from many sides. Here you will most likely have your first big battle and you should be especially aware of tanks or snipers here. The radio room is located on the main level, there are two entrances at the ground level and one entrance at the roof opening for paratroopers. This is an important capture point as capturing this objective unlocks the Train Station (O1) for the attacking team. After successfully capturing this objective you can move towards O1 by either the road leading to a small hill with some trees north of O1, approach from the west using the road which leads you to inside the Train Station or you can approach from the south of O1. By passing through a tunnel with the railway over it you can try to flank O1 from the south.
Highlights
- Open dangerous area to approach
- Has open roof for paratrooper landing
- Capture to unlock O1
- Many good coverage hills to snipe from nearby
- Radio House
- Radio
- Next Point

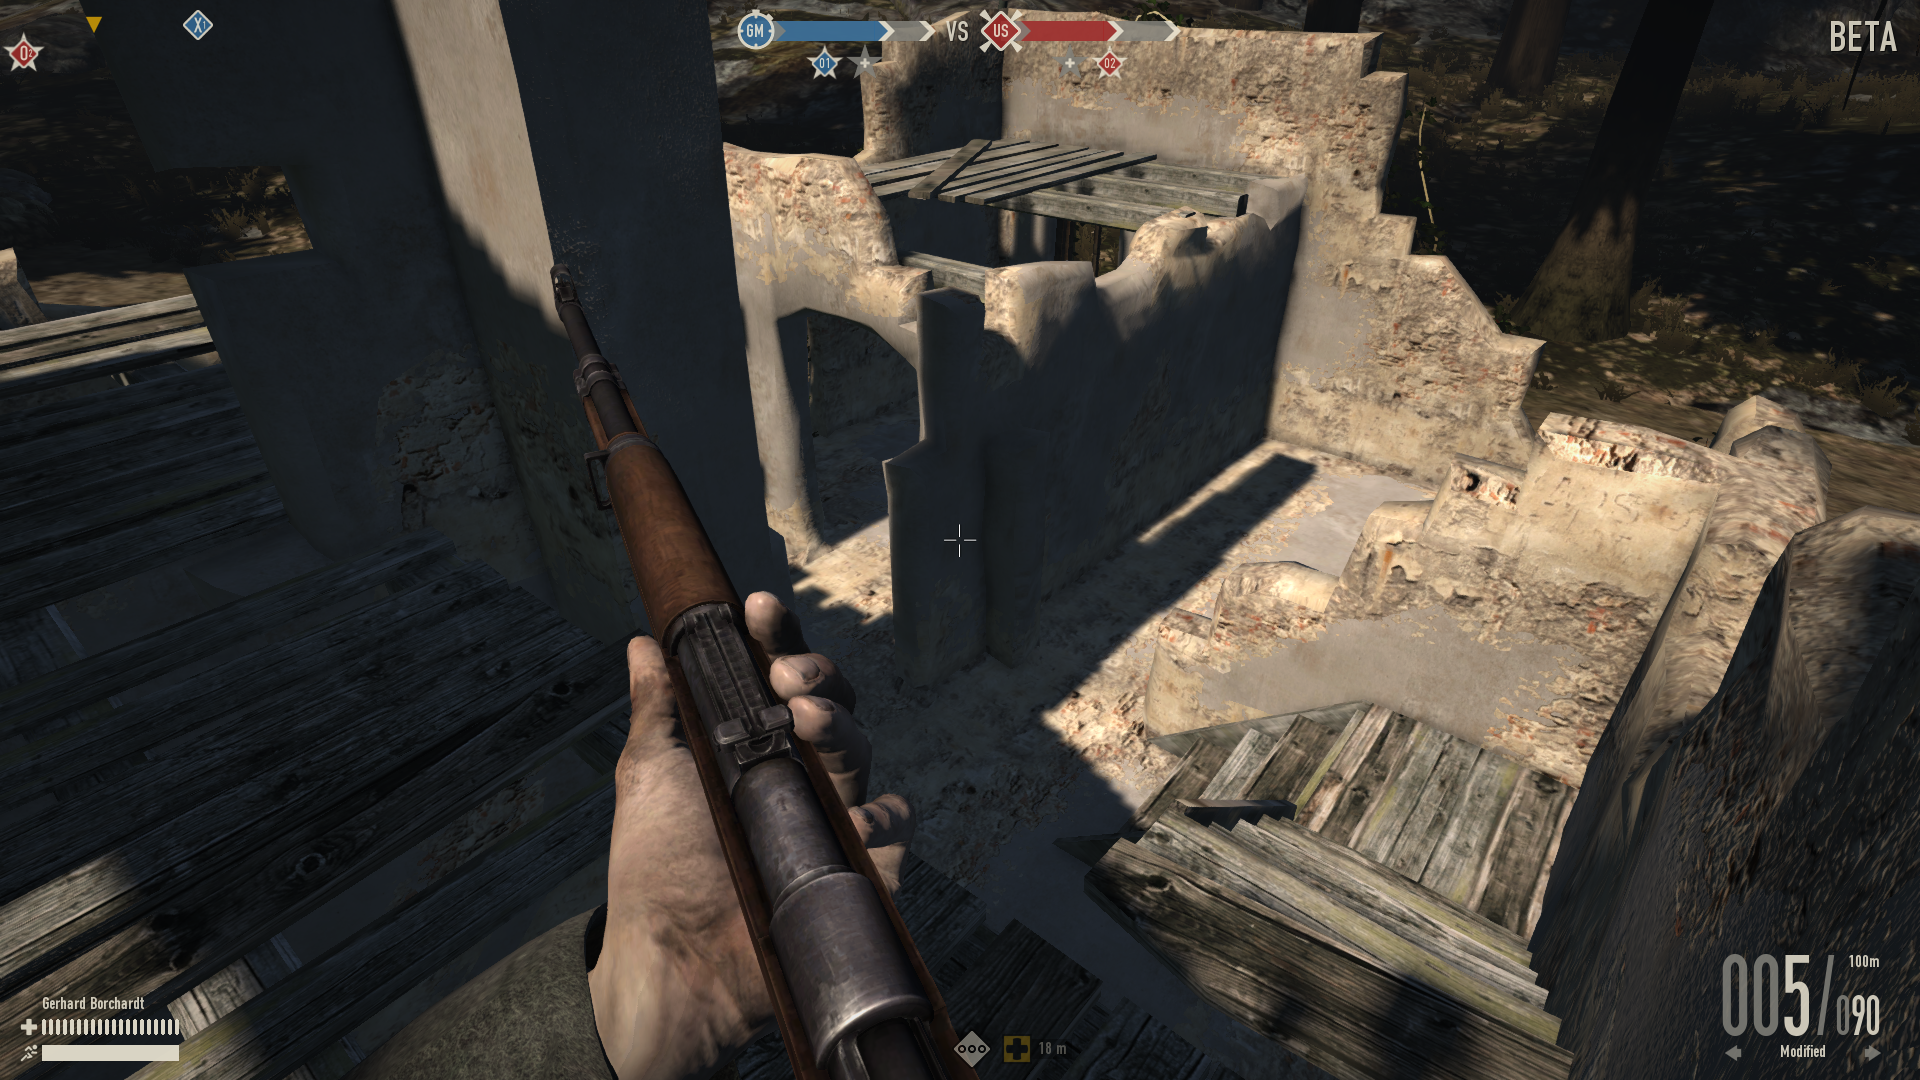
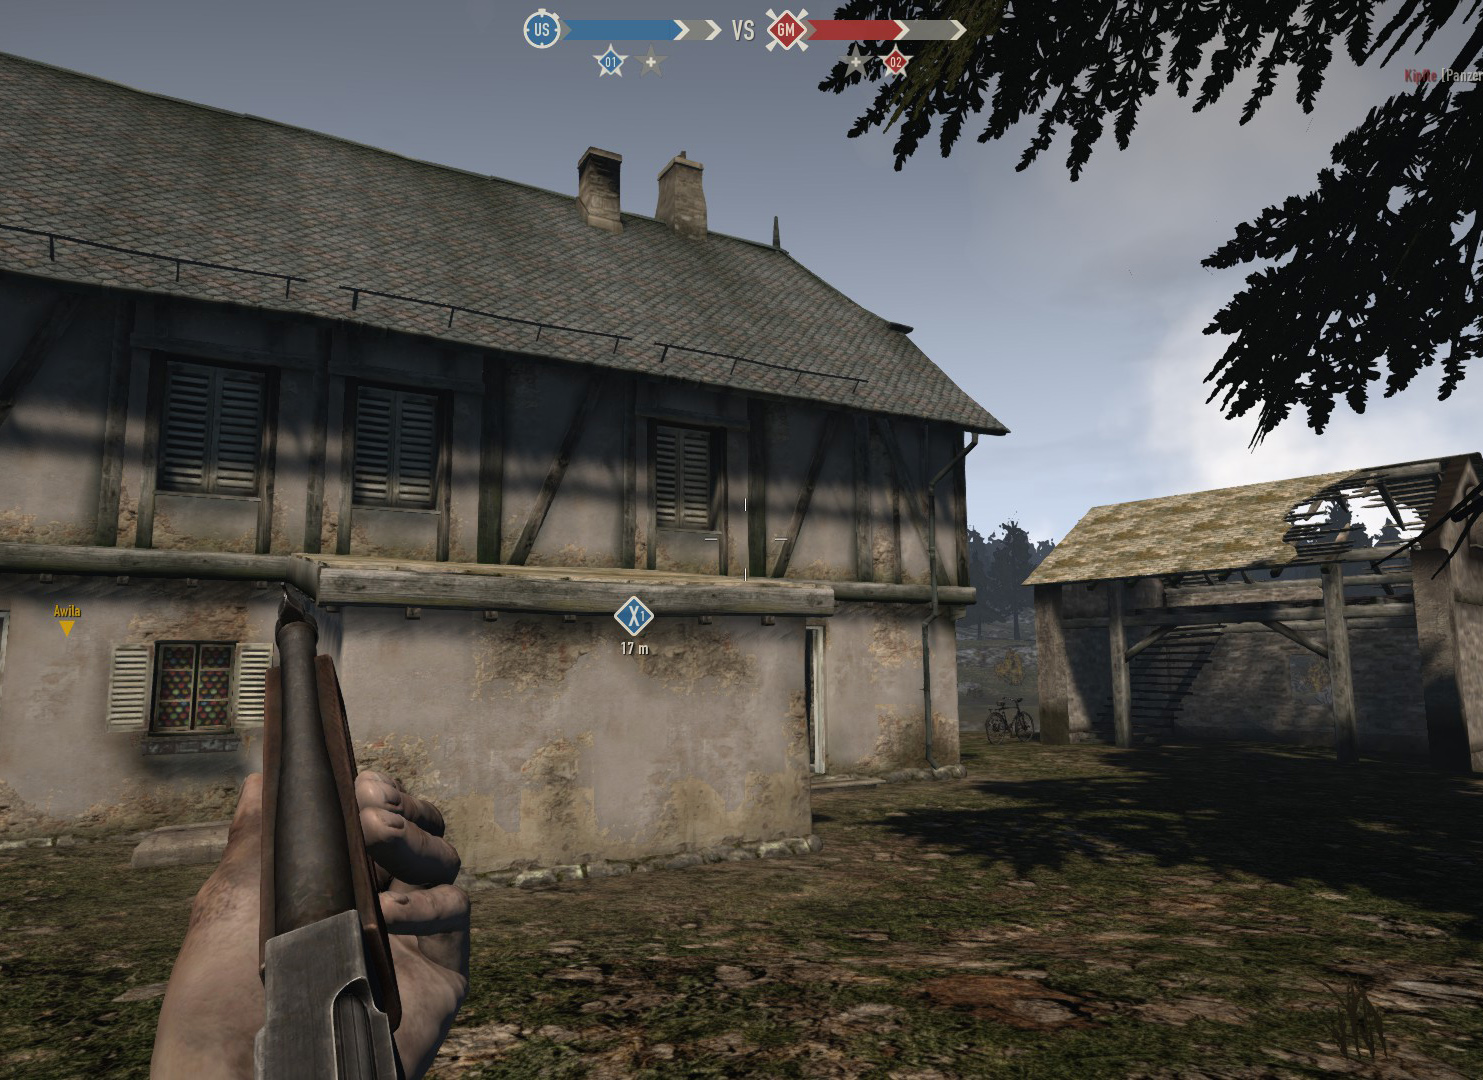
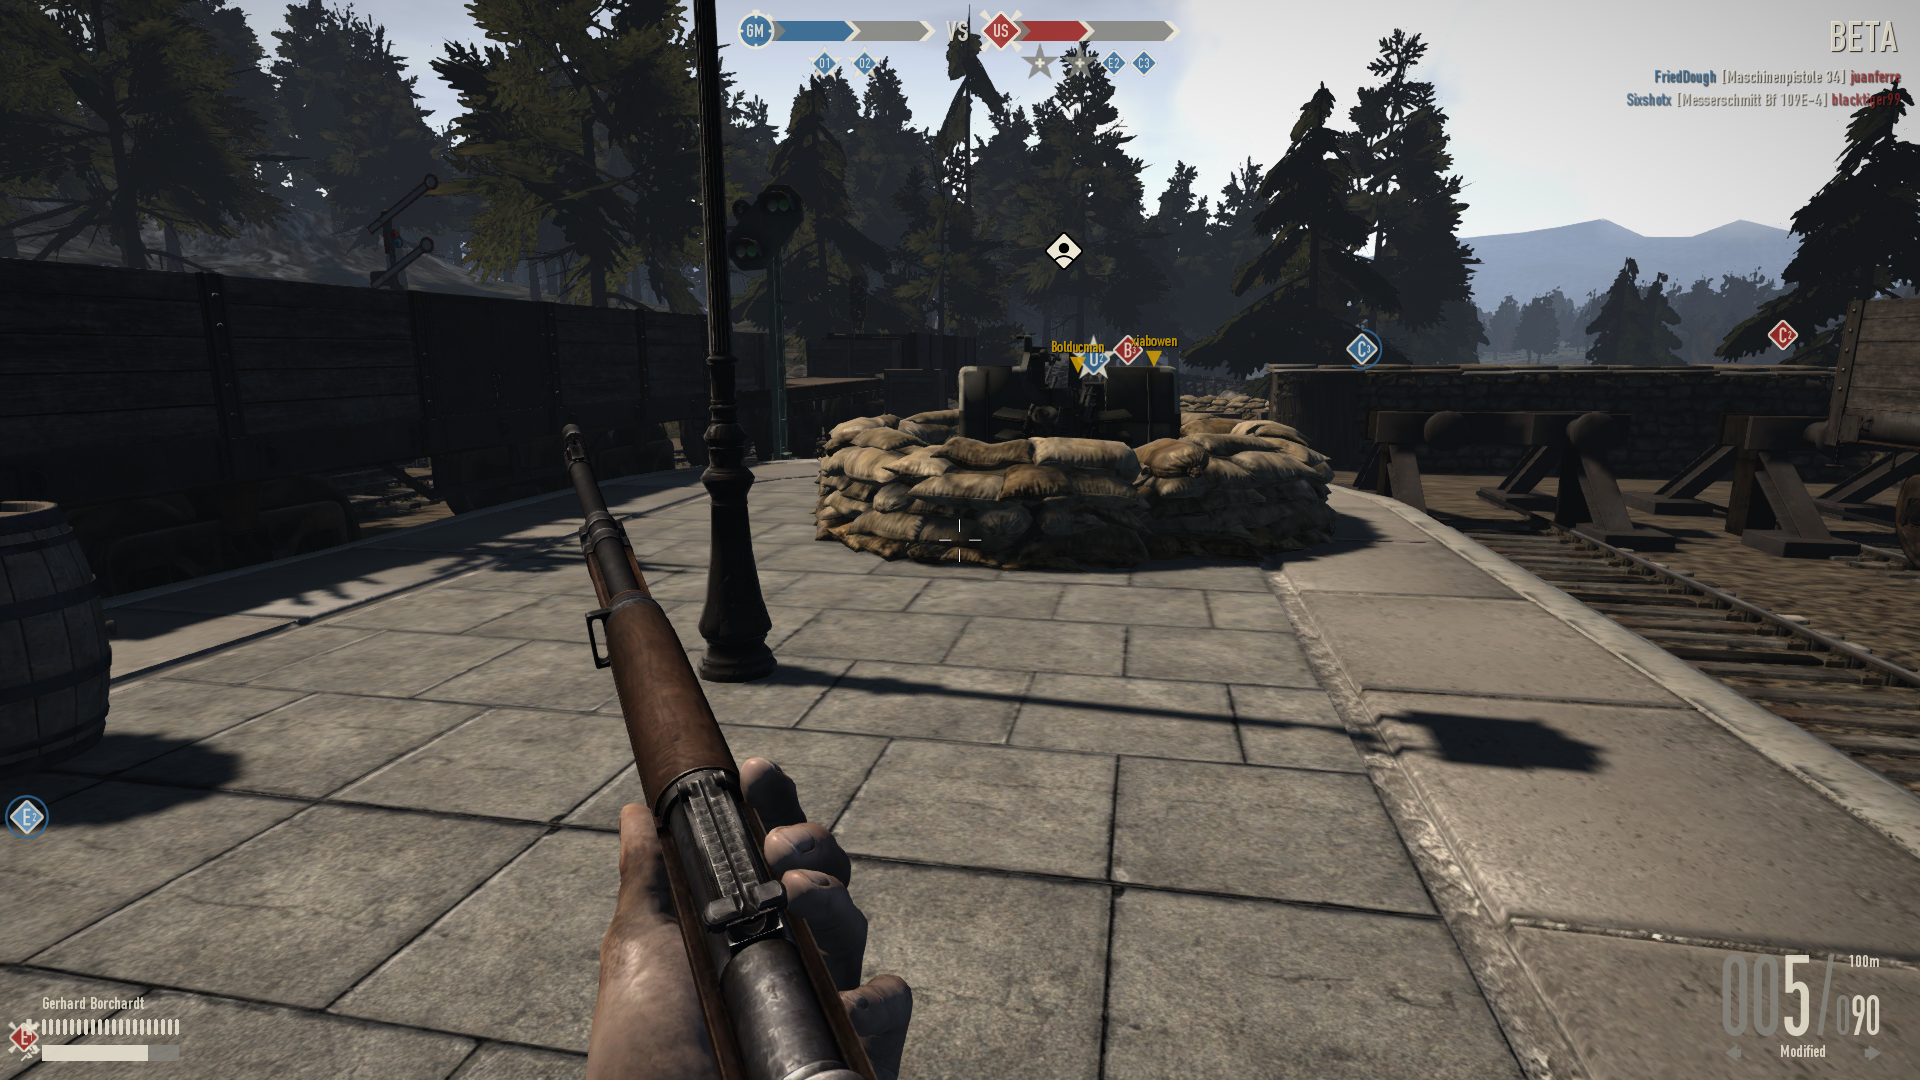
X1[ | ]

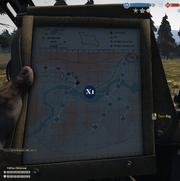
Located between the Train Station (O1) and the Fuel Depot (O2) this objective is one of the most important ones on the map. This because it links both main objectives, which you need to defend or capture it. It holds two houses and one shack for extra cover. The radio room is located in the middle building and can be entered by two ground level entrances or using the ladder on the river side of the building. The area has a river on one side and a big forest hill on the other side. Approaching this area can be very dangerous and you should try to flank this area and not move in a straight line or big group towards it. Being sneaky, flanking and using paratroopers is the perfect way to capture this important objective.
Highlights
- Key capture point between O1 and O2
- Large Hill north of it for great coverage
- At river banks
- Front Entrance
- Back Entrance
- Radio

The Objective[ | ]
You need to capture or defend BOTH O1 and O2 to successfully defend or take over the City.
O1[ | ]
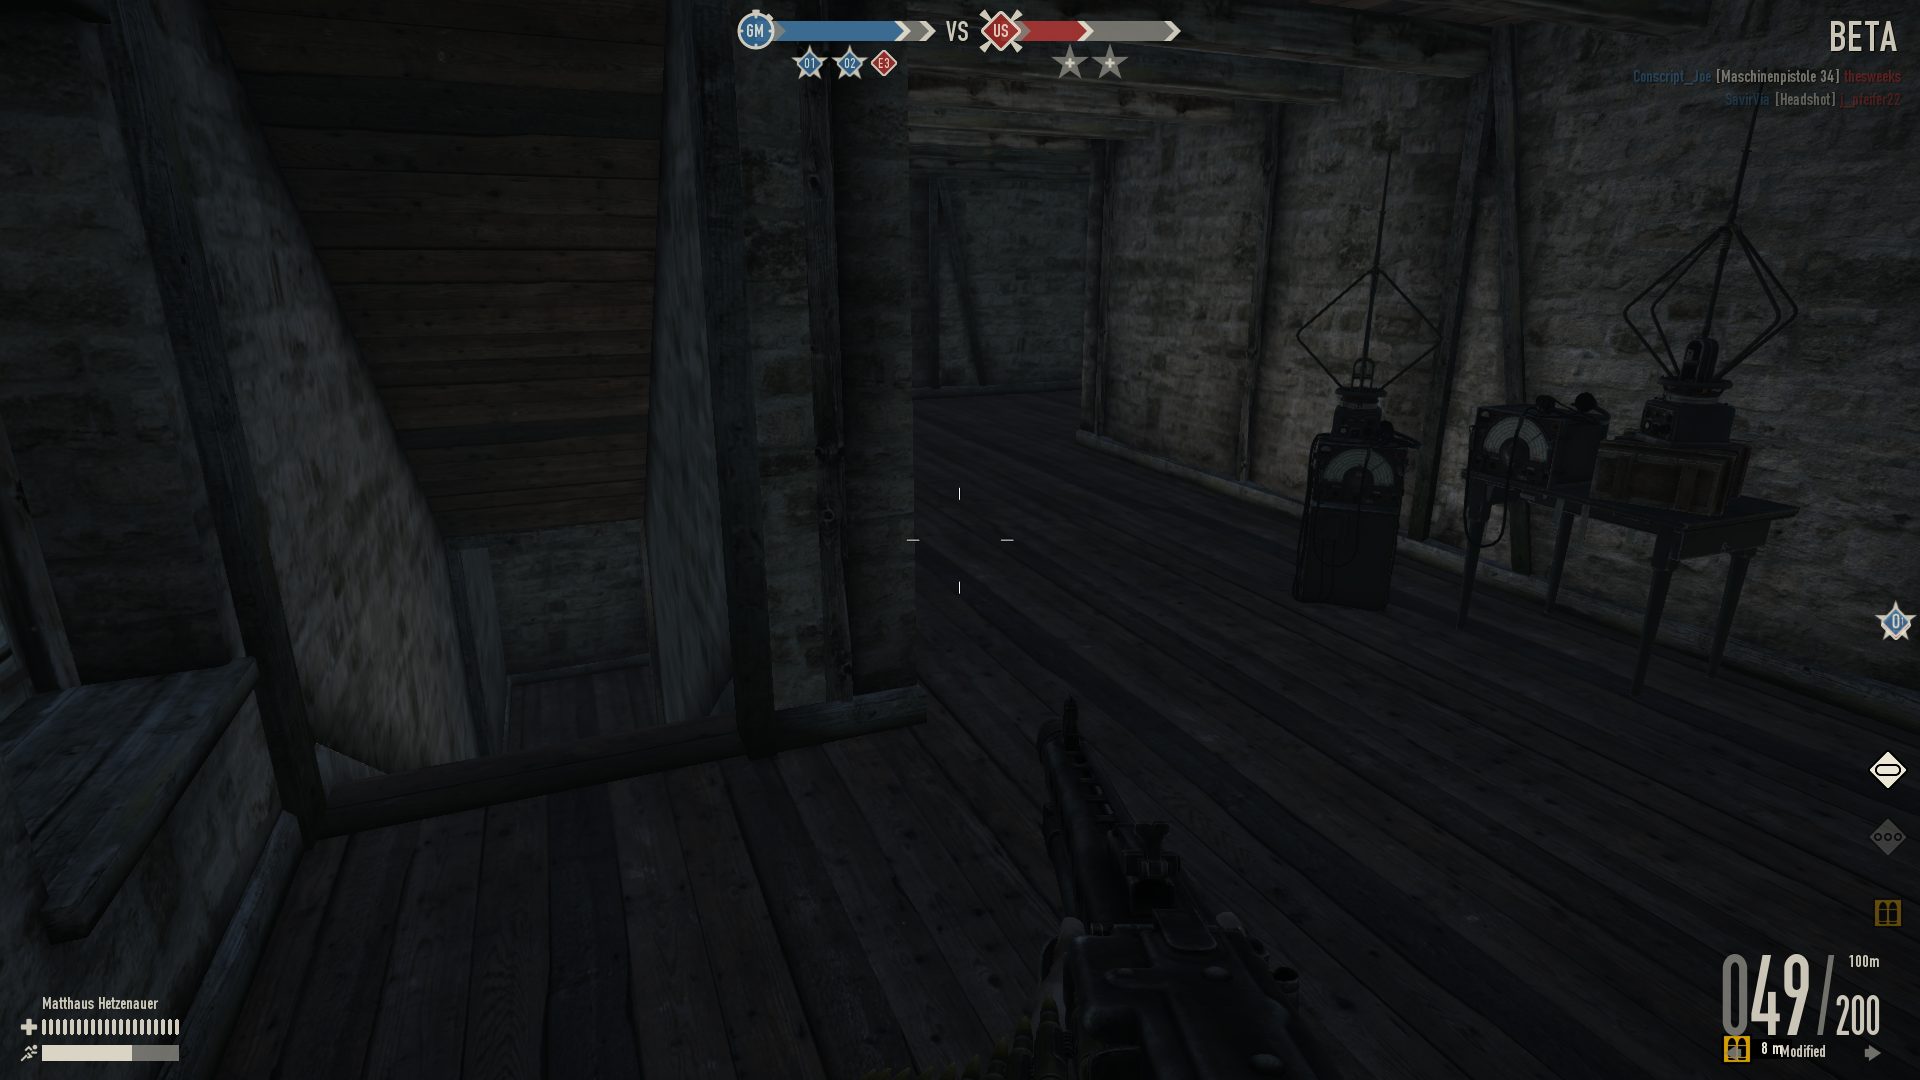
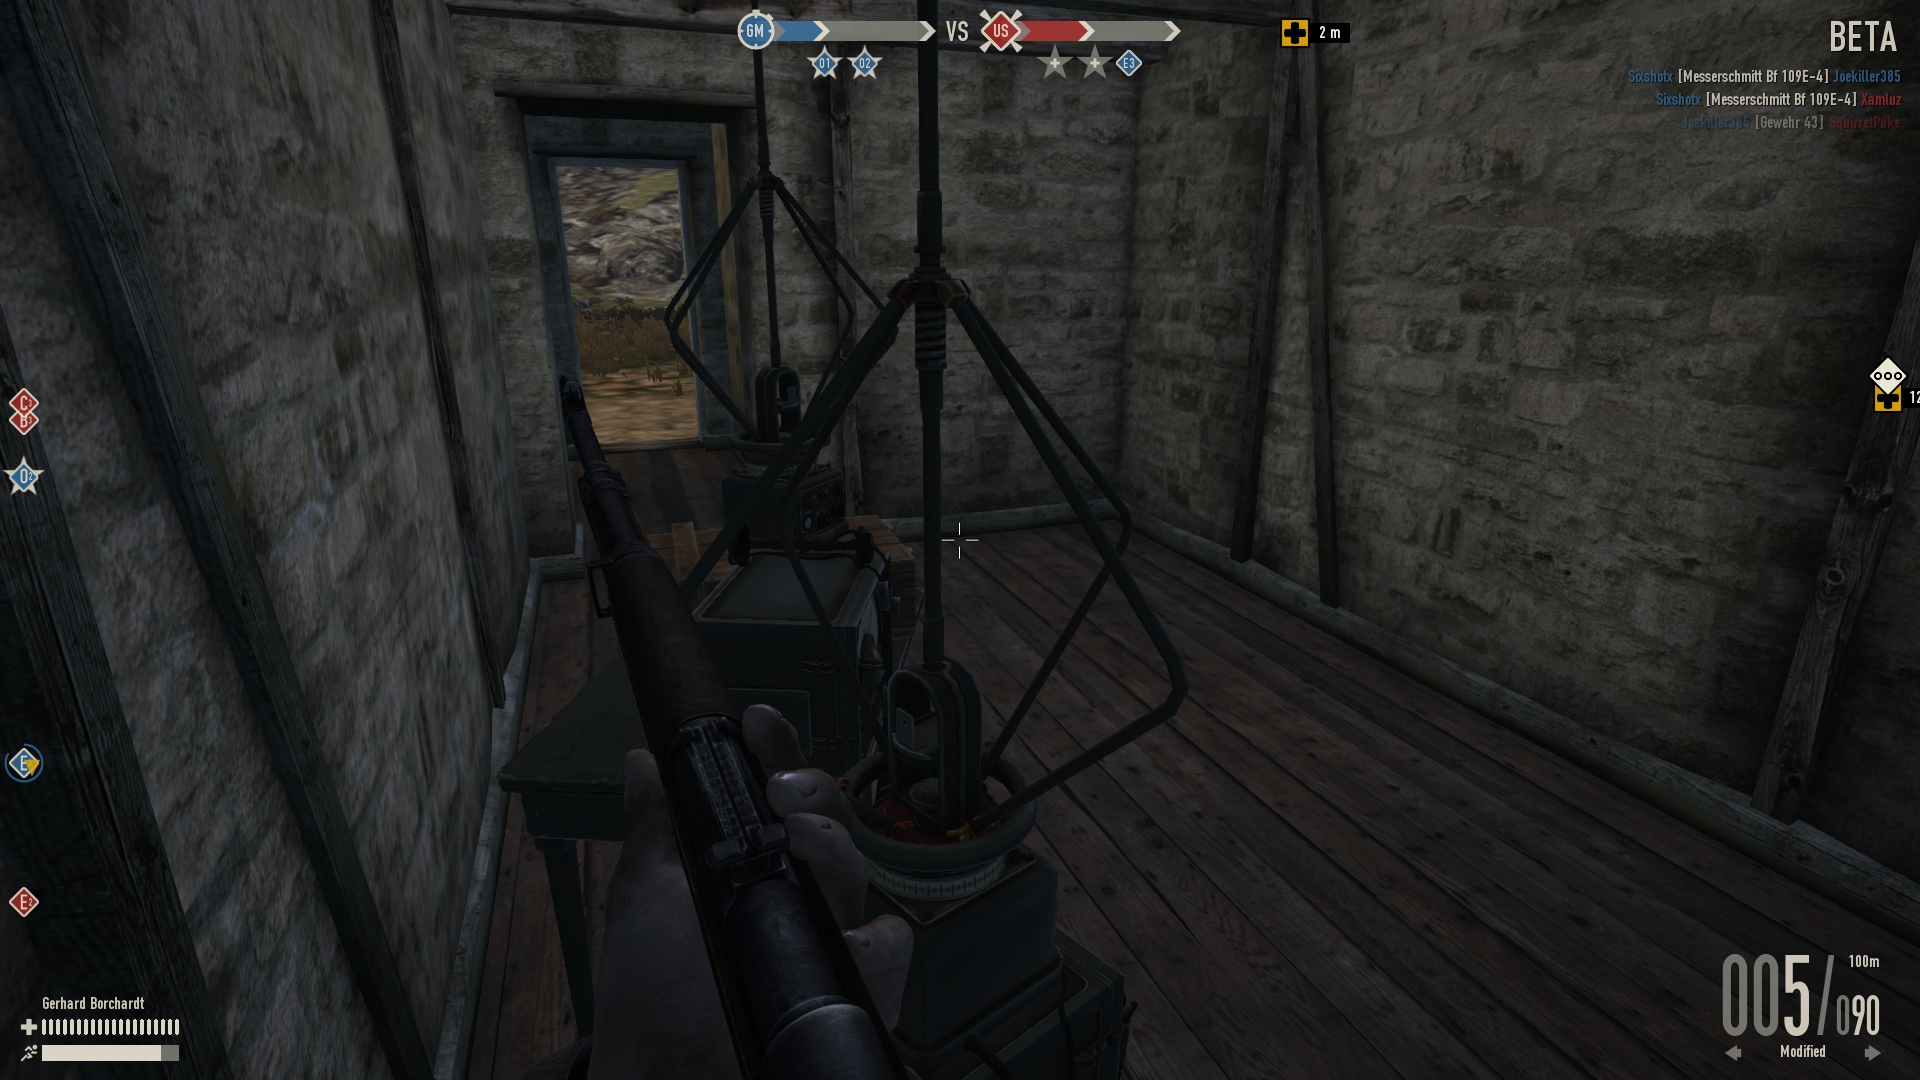
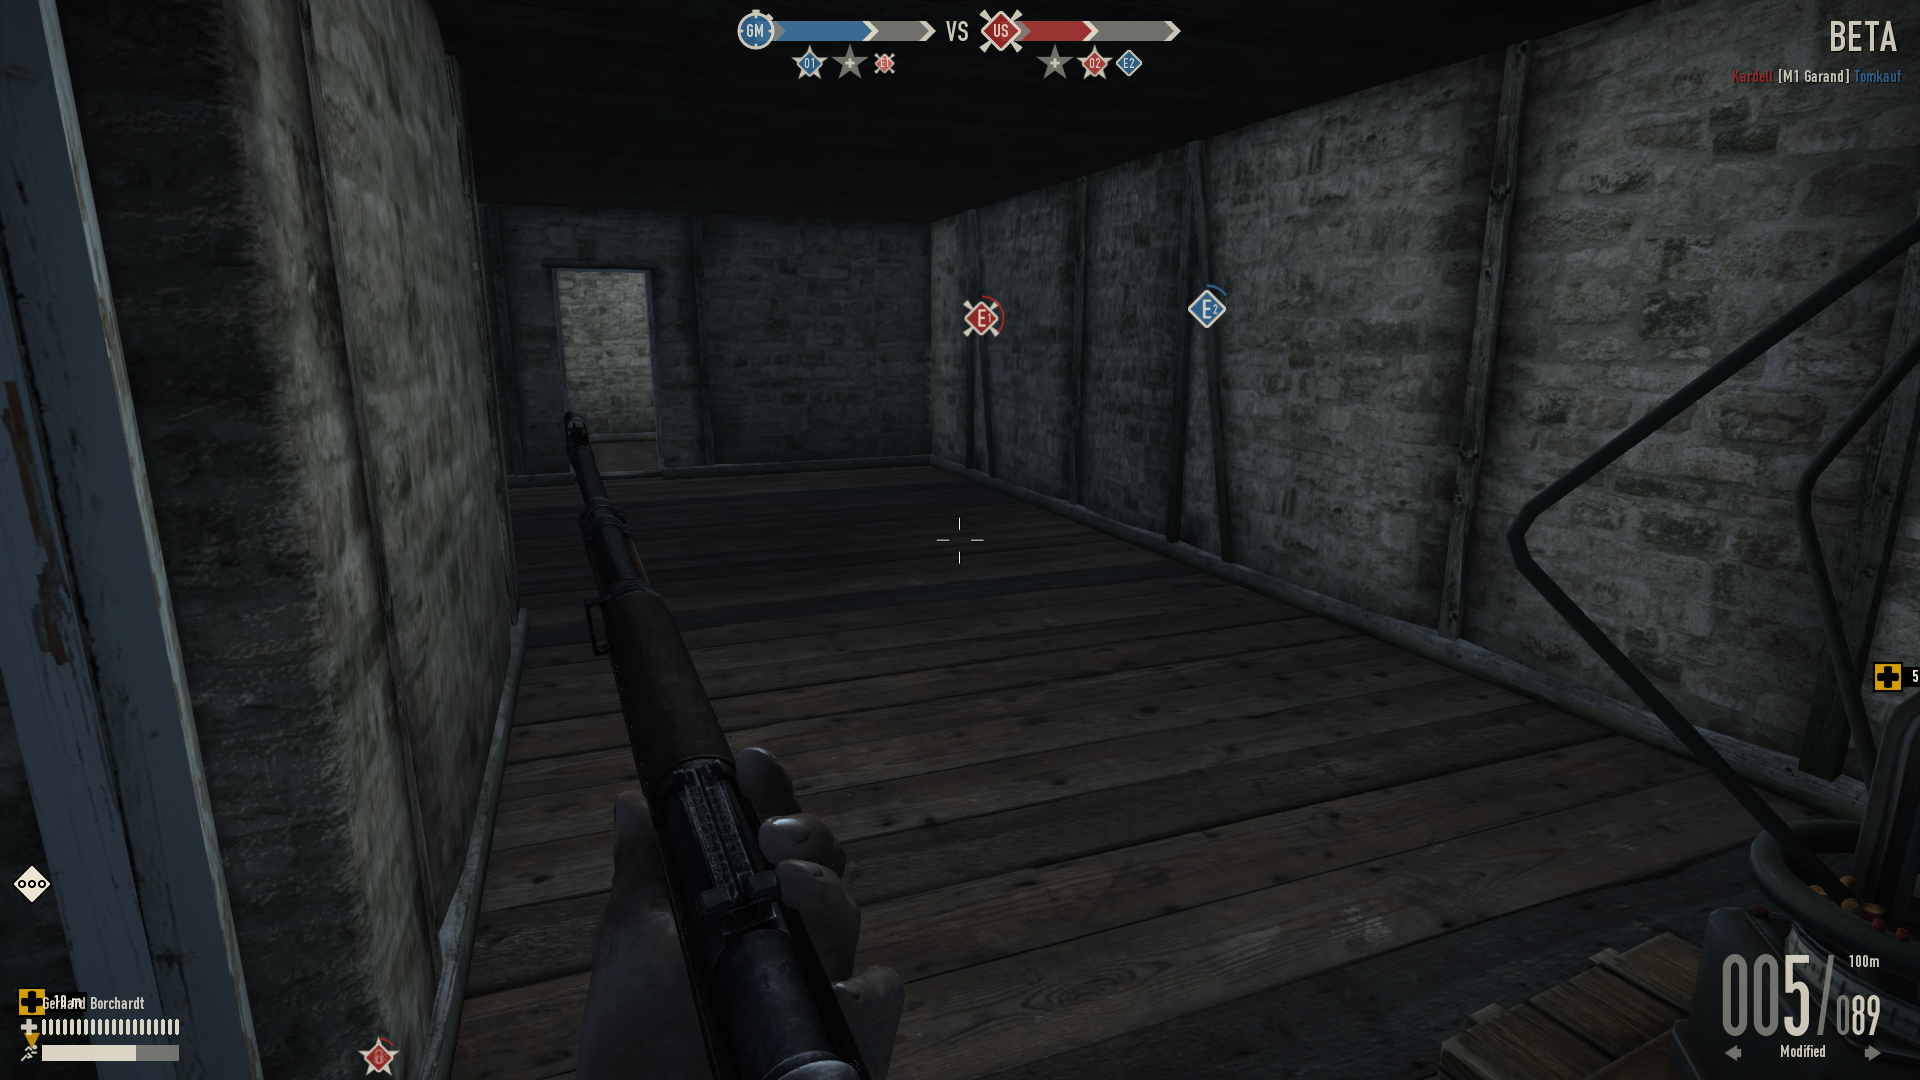
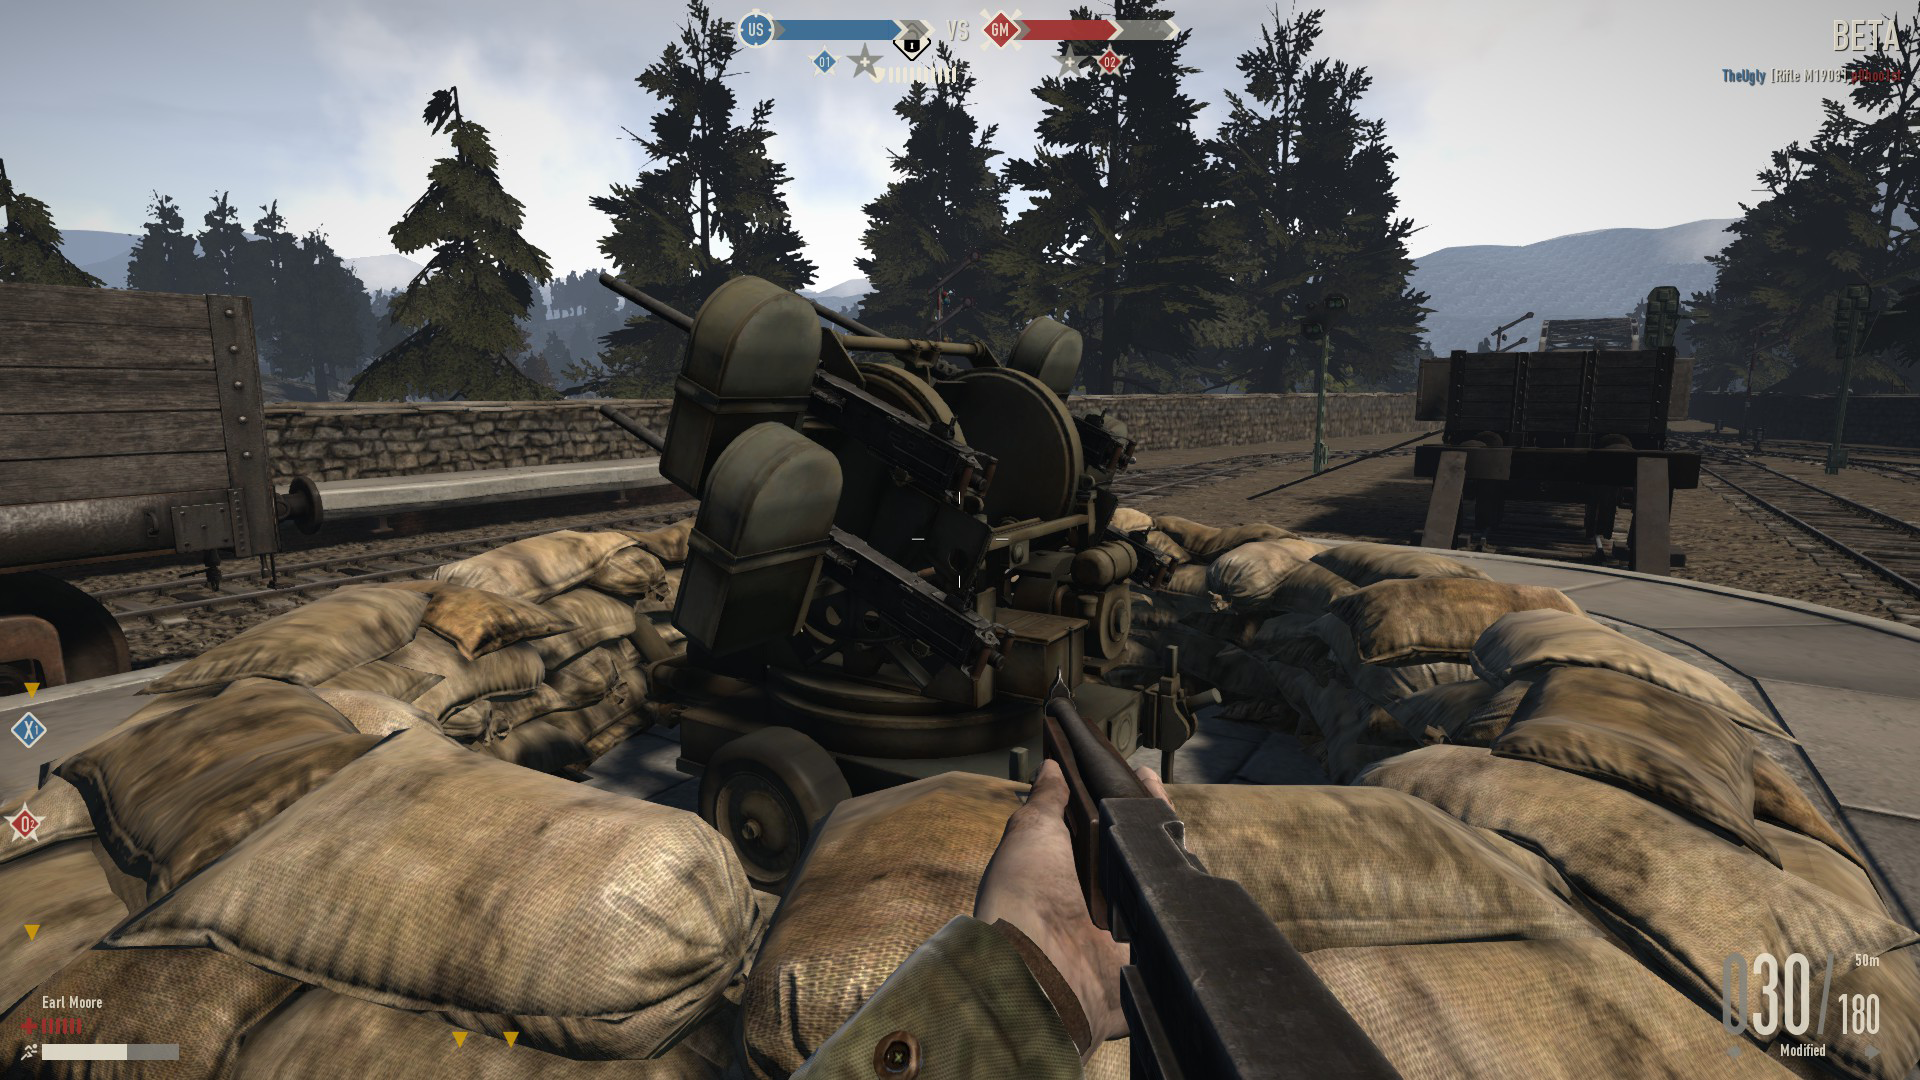
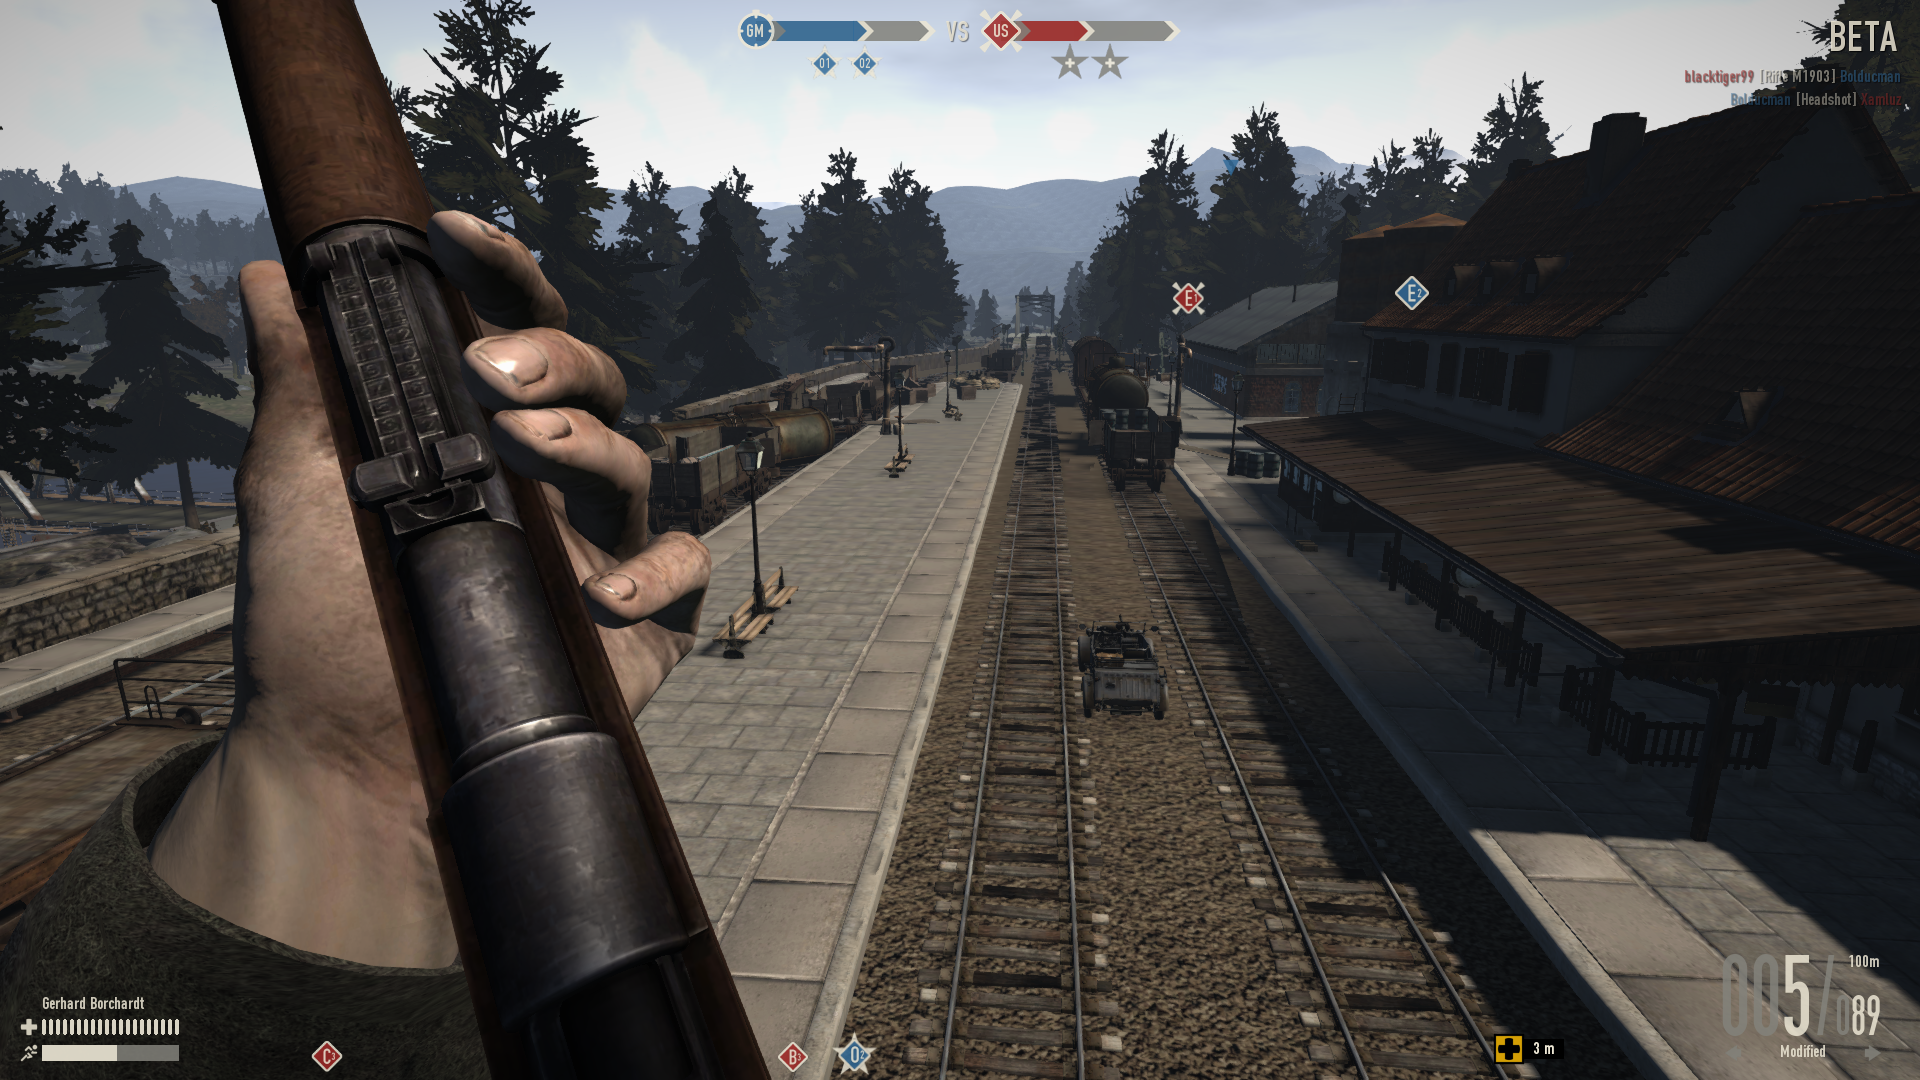
The O1 point is a unique area to the map. It is located in a train station with many train containers that are enter-able and players can crawl and hide underneath or on top of them. There are also two anti-aircraft batteries to shoot down planes and paratroopers with. The unique feature of the O1 point is that it is elevated with walls cover a large portion of the station making choke points. On the D line side of o1, there is a vast wall that players can shoot from covering both the bridge crossing (the water bridge and the iron bridge). There are a few entry points that players can use to get from the ground level up to the station on the D line side using ladders, a broken portion of the wall collapsed, a ramp that leads up to the tracks just outside O1 where vehicles can cross the train bridge into O1, Players can jump the wall on the E line side of O1 at many locations and two ladder spots on the E line side as well. The O1 layout is covered with trains, boxes, and buildings so there is plenty of hiding spots of places to approach from. The O1 Point is contained in a large building that can yield many different locations to hide, the only downside to this building is it is littered with windows. This means players can easily from the outside try to find people hiding inside. There is a second floor to the O1 building, but you can not capture the point from the second floor. There are 5 total entry points to the O1 building, including the ladder to climb up to the second floor. Players can many bicycles and even a truck at the O1 spawn location. There are two different health boxes, one located just outside the O1 building near the tracks, and the other is located on the stairs that cross over the railroad tracks. There is a Panzerfaust 60 box just outside the O1 building as well. One common tactic is for players to bring an APC into the garage like building next to O1 from the railroad bridge crossing side of O1. It provides nice cover for players to hide a spawn vehicle as taking O1 can be rather difficult. The secondary spawn for defenders is located just outside the wall towards the X1 side of the map. This location can easily be camped by tanks and snipers to aid your team in capturing the point.
Highlights
- Two Supply / Medic boxes
- Bicycles and a civilian truck
- Panzerfaust 60
- Two anti-aircraft guns
- Lots of cover and elevated ground
- Limited entry points on one side
- Radio House
- Room 1
- Room 2
- Ladder
- Anti-aircraft gun
- Anti-aircraft gun
- Attack point 1
- Attack point 2
- Attack point 3
- Attack point 4
- Garage
- Trains
- High view
- Sniper Area
- Snipe Spot
- Hills


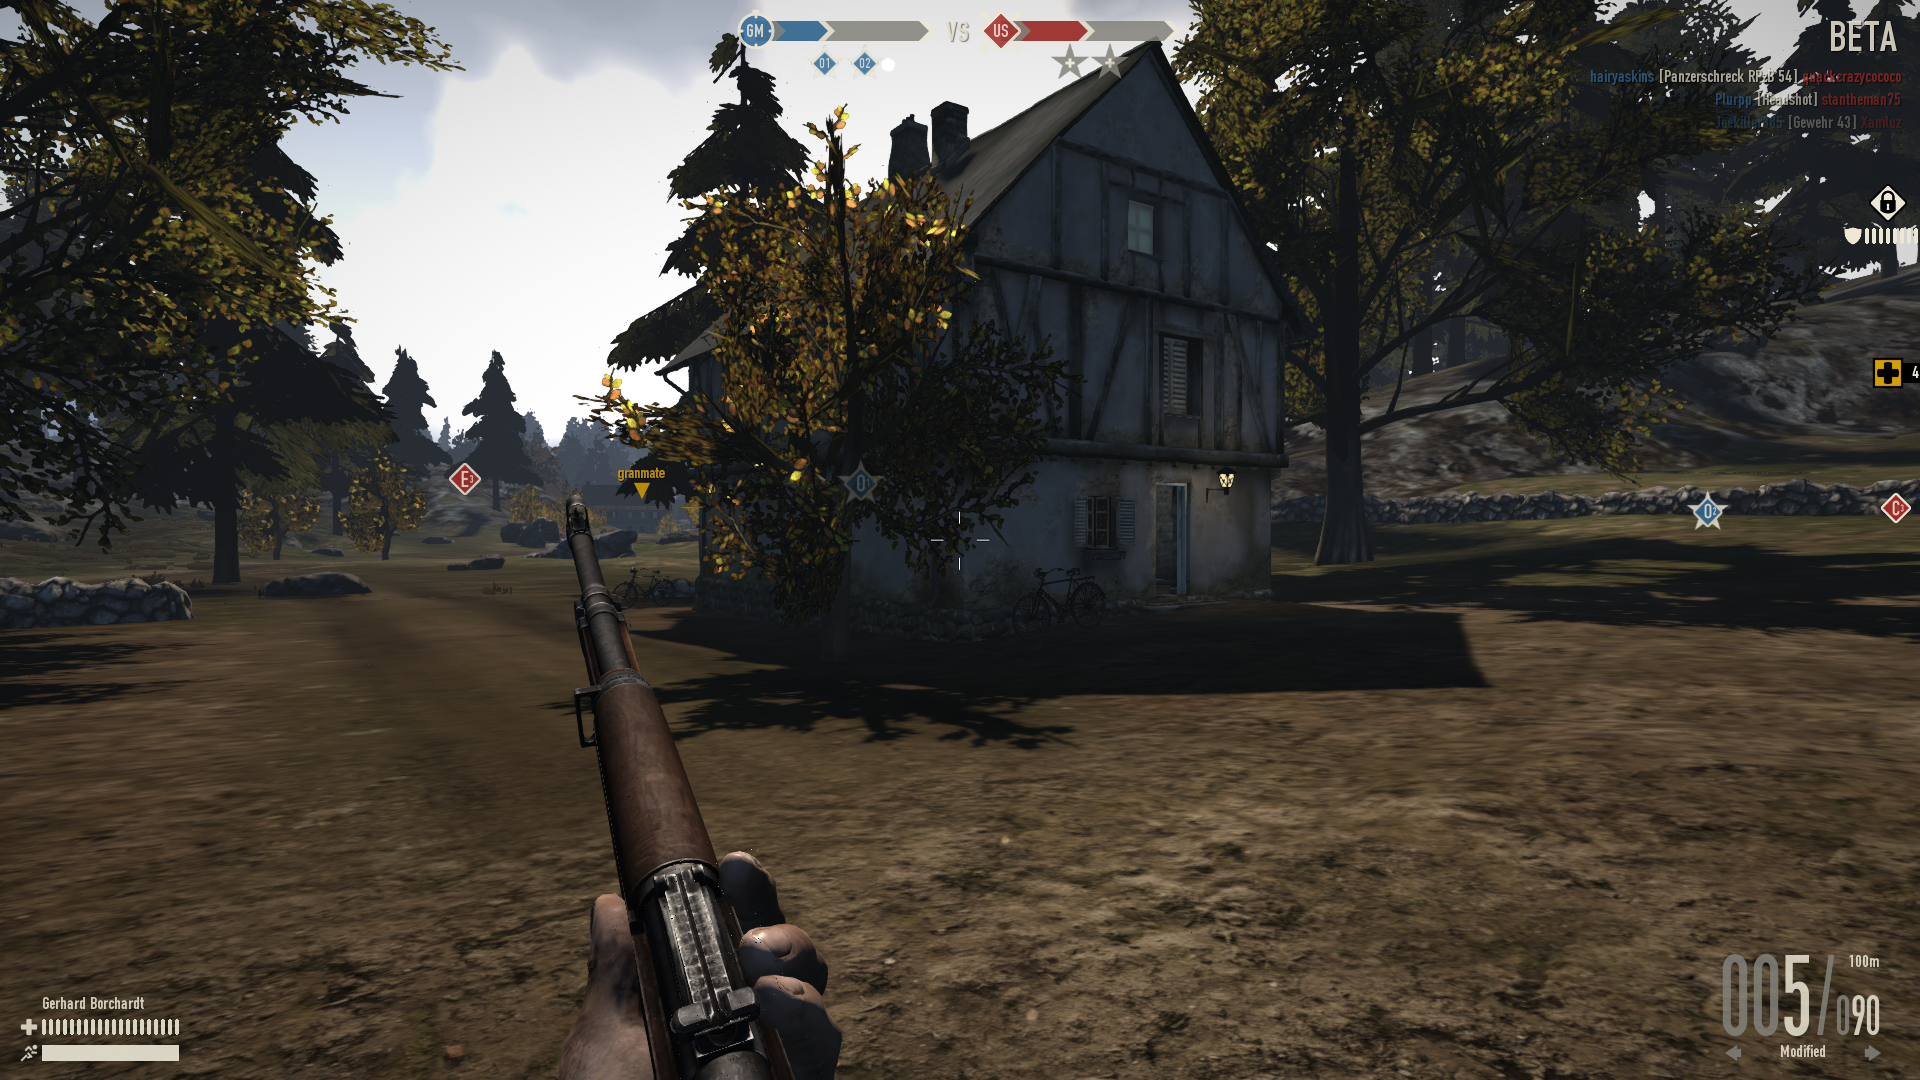
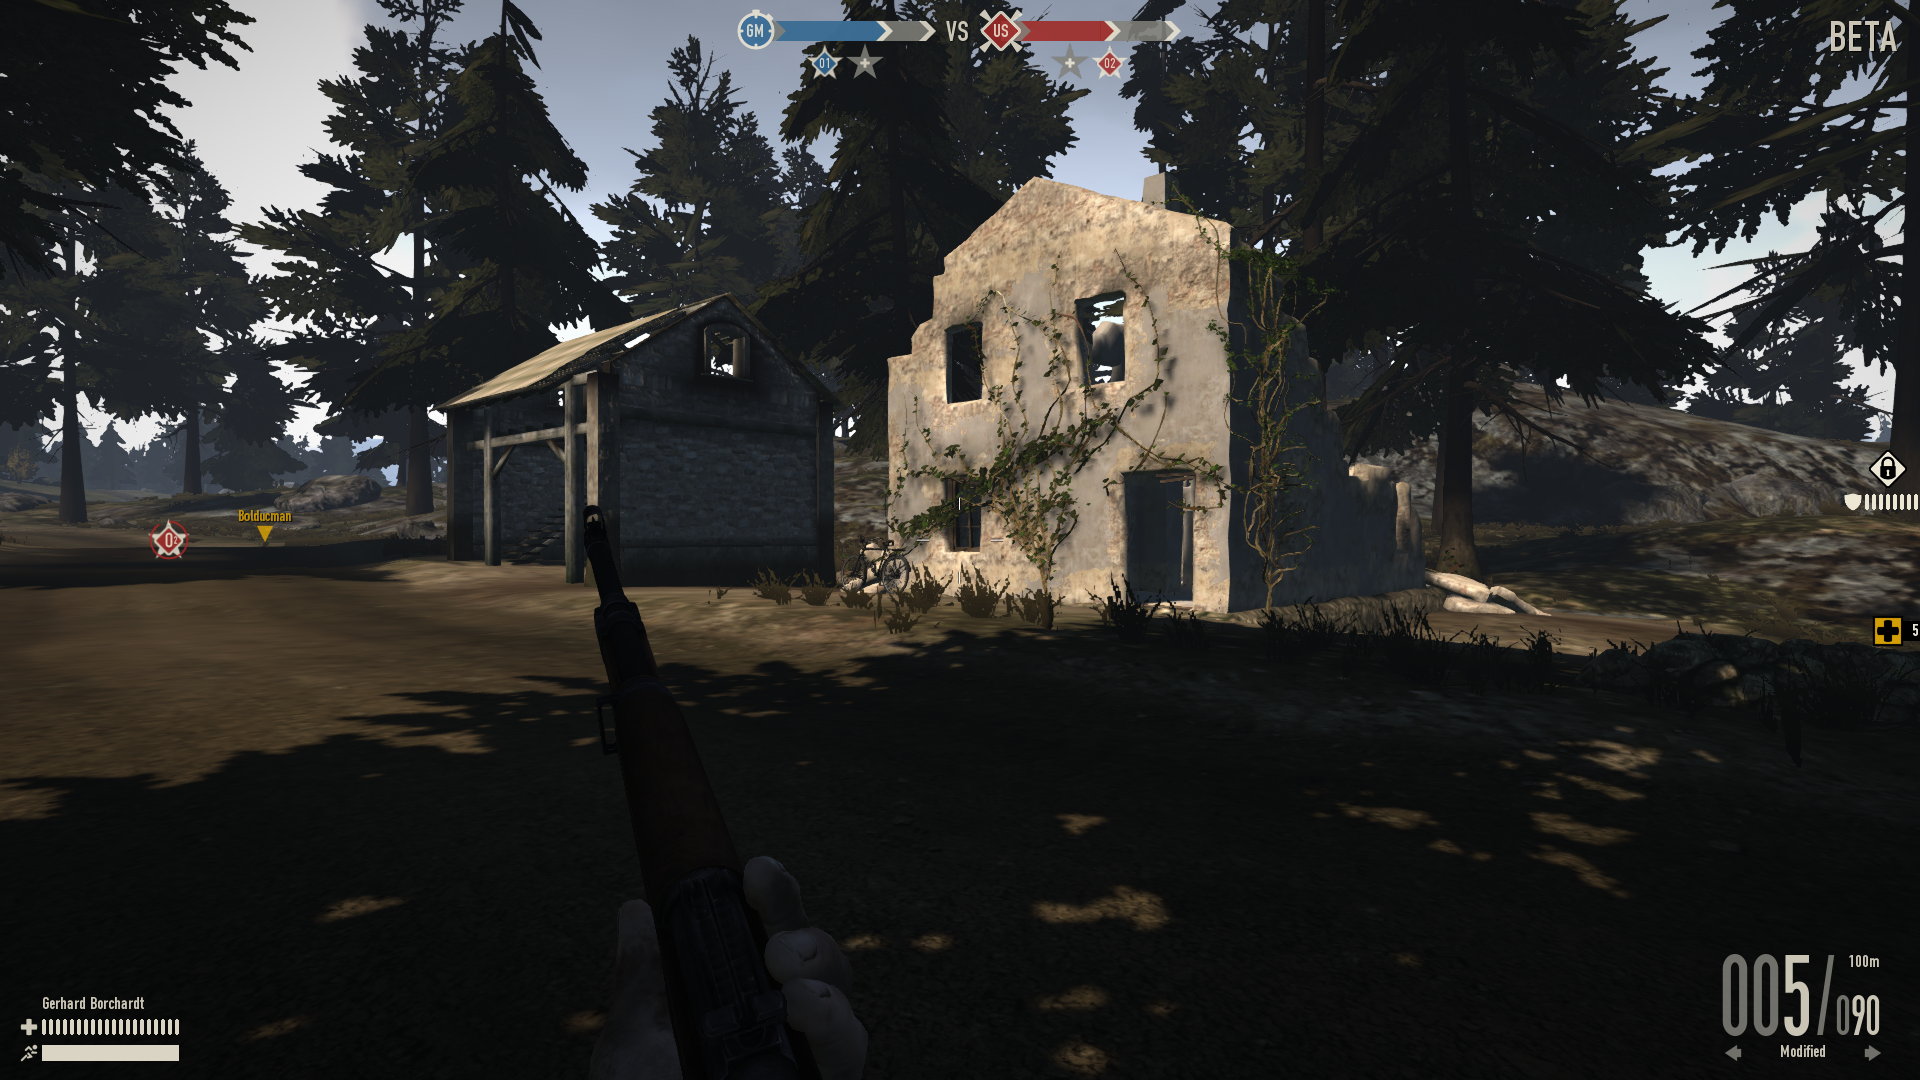
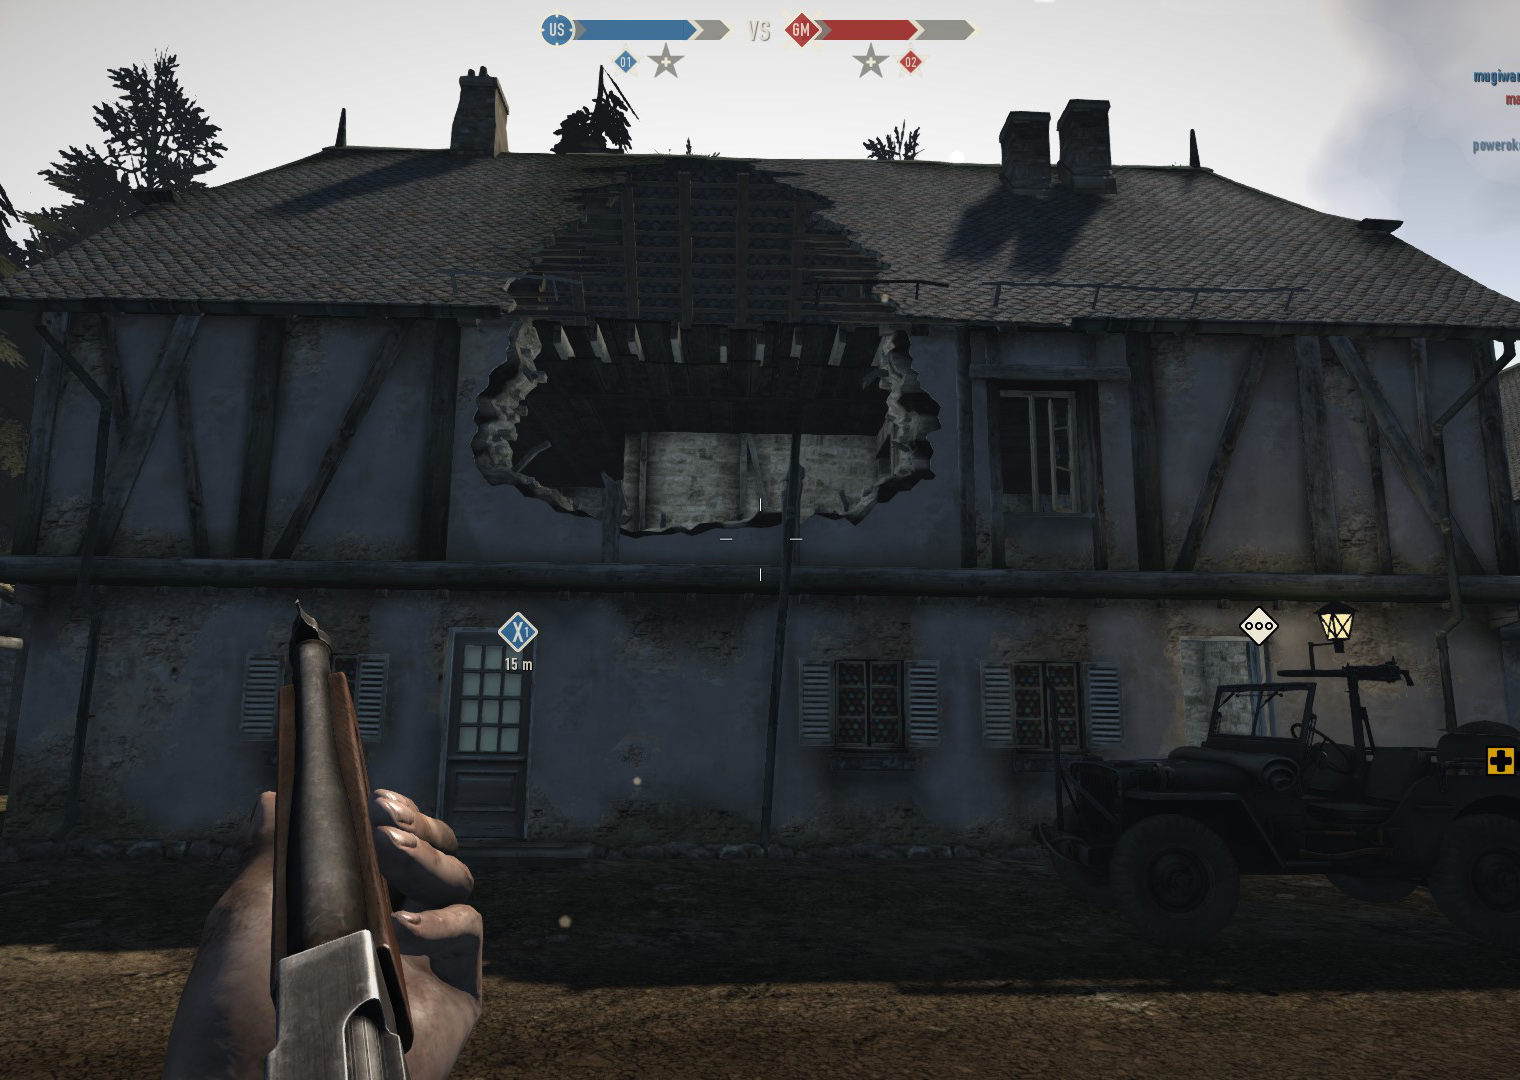
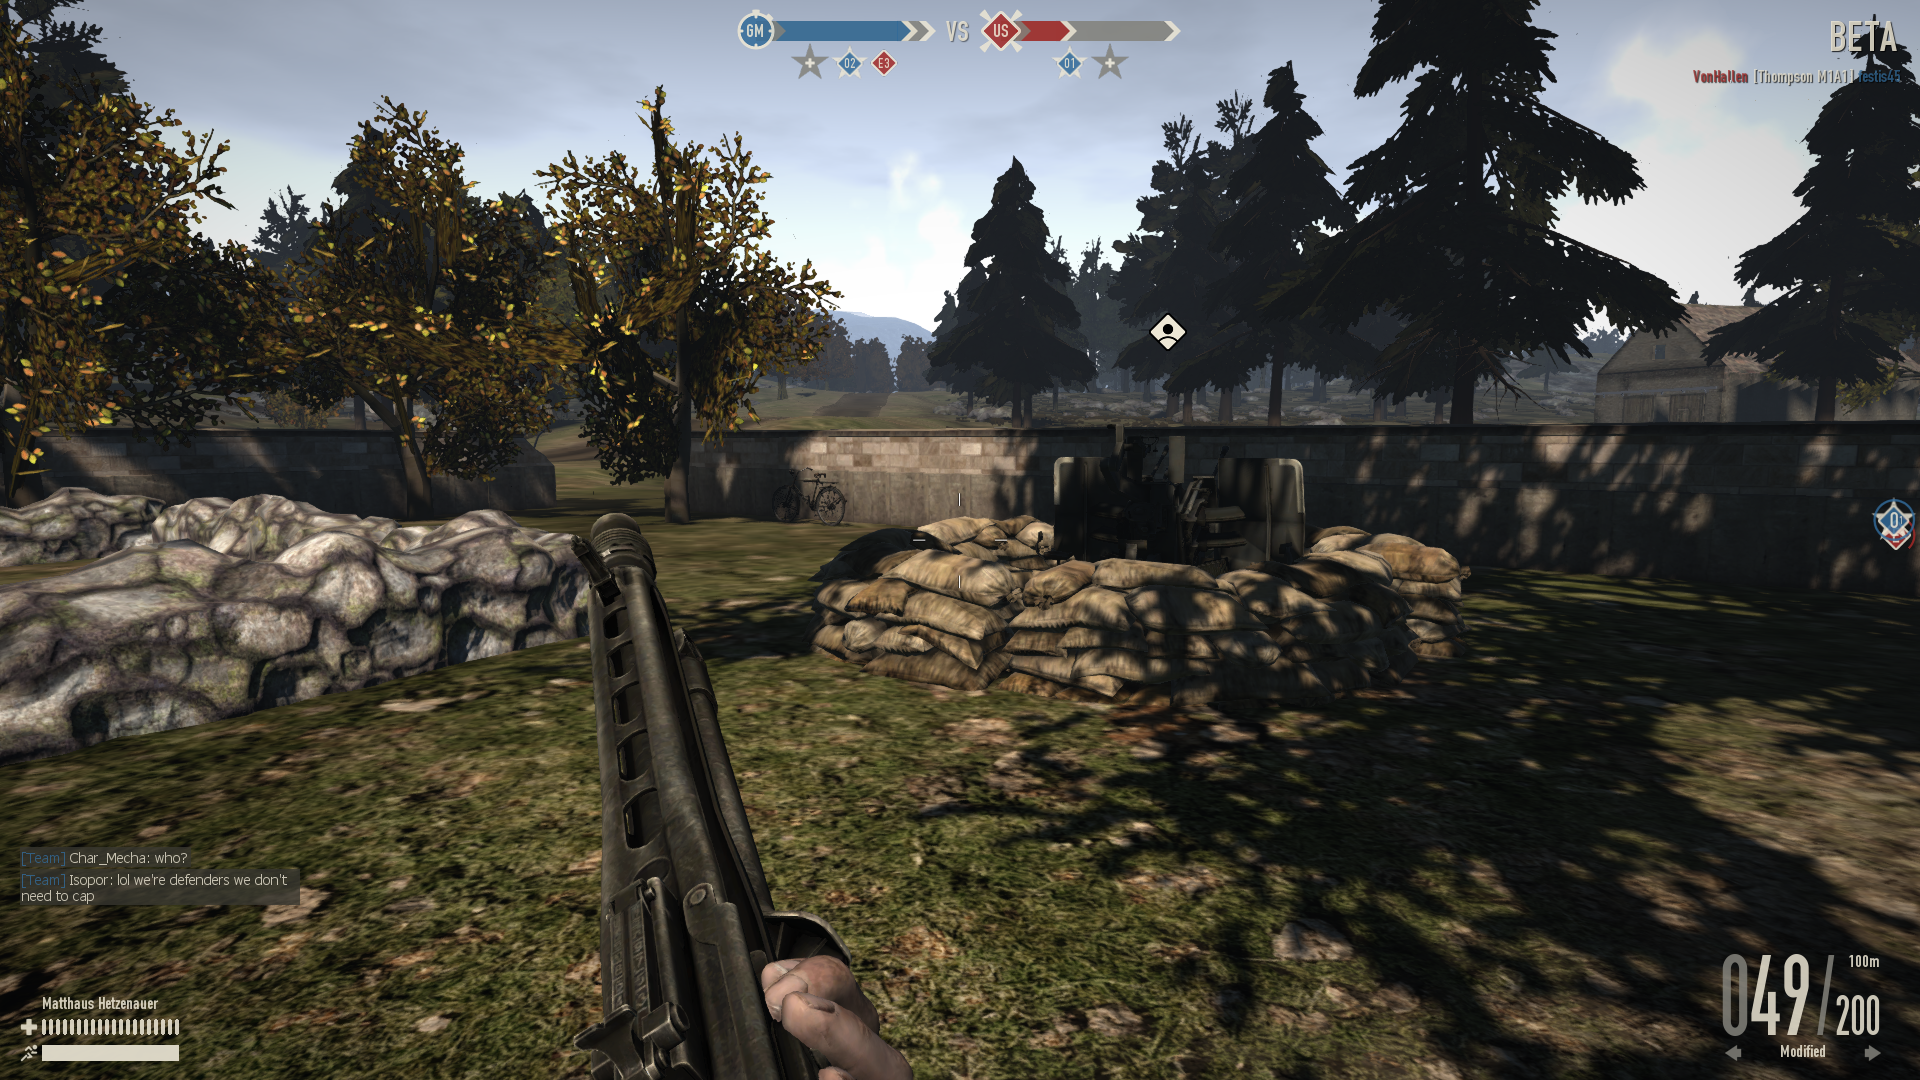
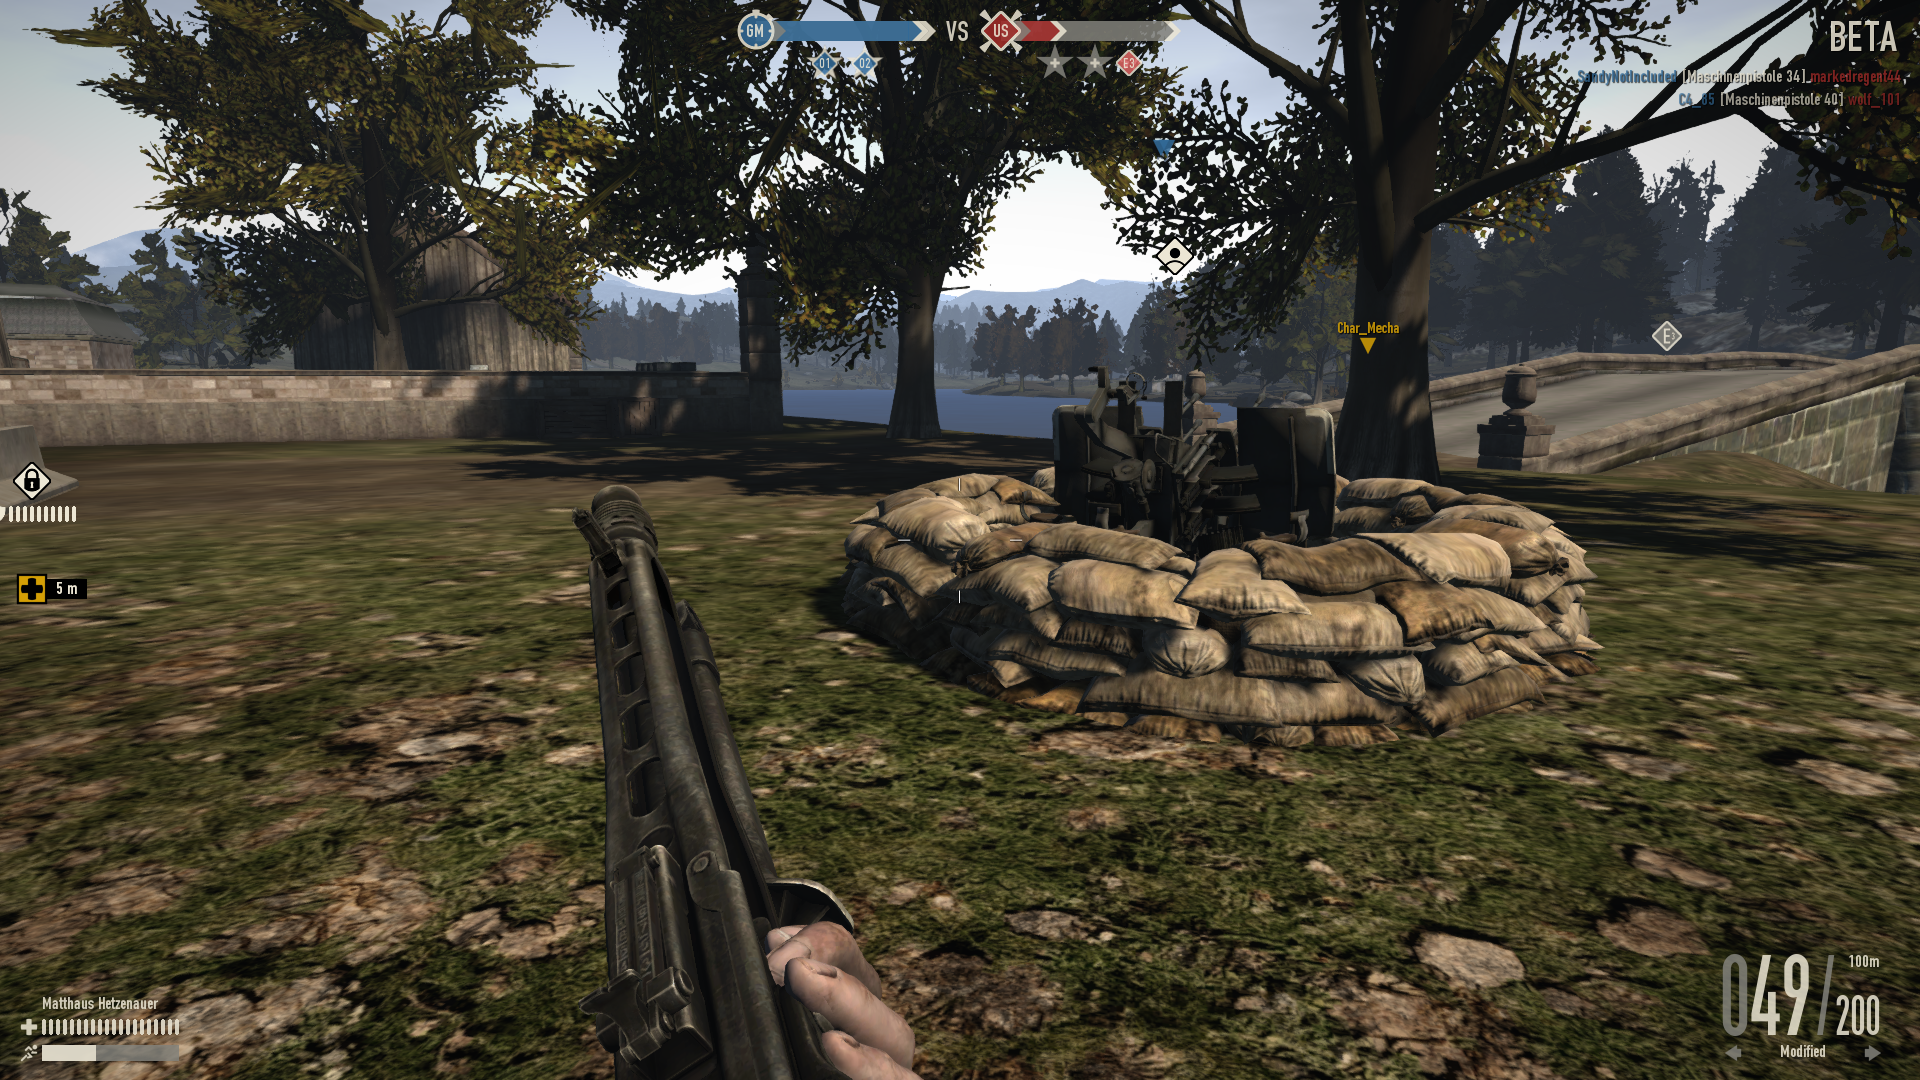
O2[ | ]

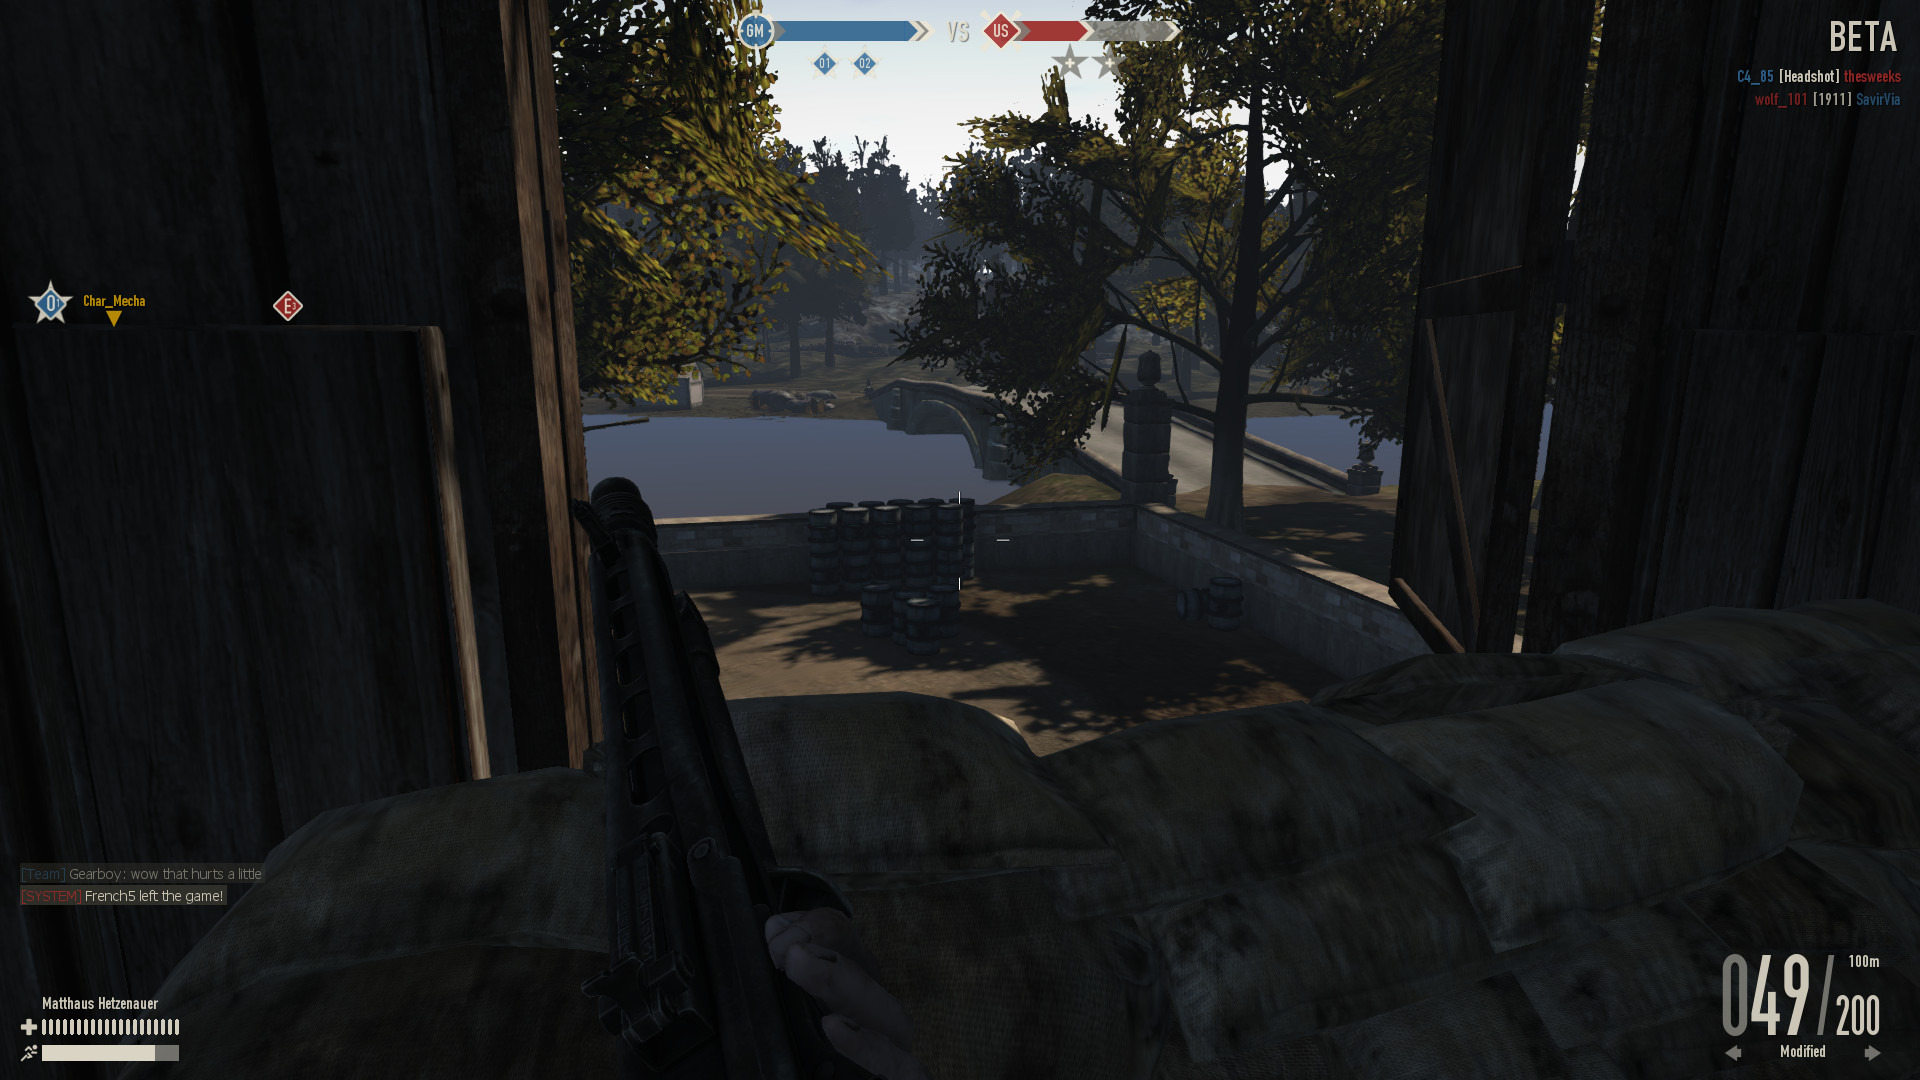
The Fuel Depot (O2) holds one barn (where the radio is located in front of), two garages and one house. You can find a Supply / Medic box, a Panzerfaust 60 and an anti-aircraft gun here. It is located on a river bank next to a bridge and can be attacked from various angles. It is surrounded by stone walls which offer great cover. Always check your map and see what lines the enemy have captured so you know from what area you can expect attacks from. When you die you will respawn either inside O2 or at the barn to the west of it. There are many different hiding places inside O2 and you should always beware of infiltrating paratroopers when defending this area. Inside the barn itself there are boxes, haystacks and ladders to a second floor that offer great coverage or hiding places for defending or capturing this main objective. Capturing this area unlocks X1, which you need to capture to unlock the Train Station (O1).
Highlights
- One Supply / Medic Box
- Bolt-Action Rifle Weapon box
- Bicycles and a civilian truck
- Panzerfaust 60
- Two anti-aircraft guns
- Lots of cover and elevated ground
- Various entry points
- Radio area
- Inside Barn
- Inside 2nd floor
- Anti-aircraft gun
- Anti-aircraft
- Respawn area
Points of Interest[ | ]
Points that use the Mountain Town map[ | ]
Capitals [ | ]
All of the Capital cities except Oslo, Zürich, Rotterdam, and København are played on the Town Map. The rest are.