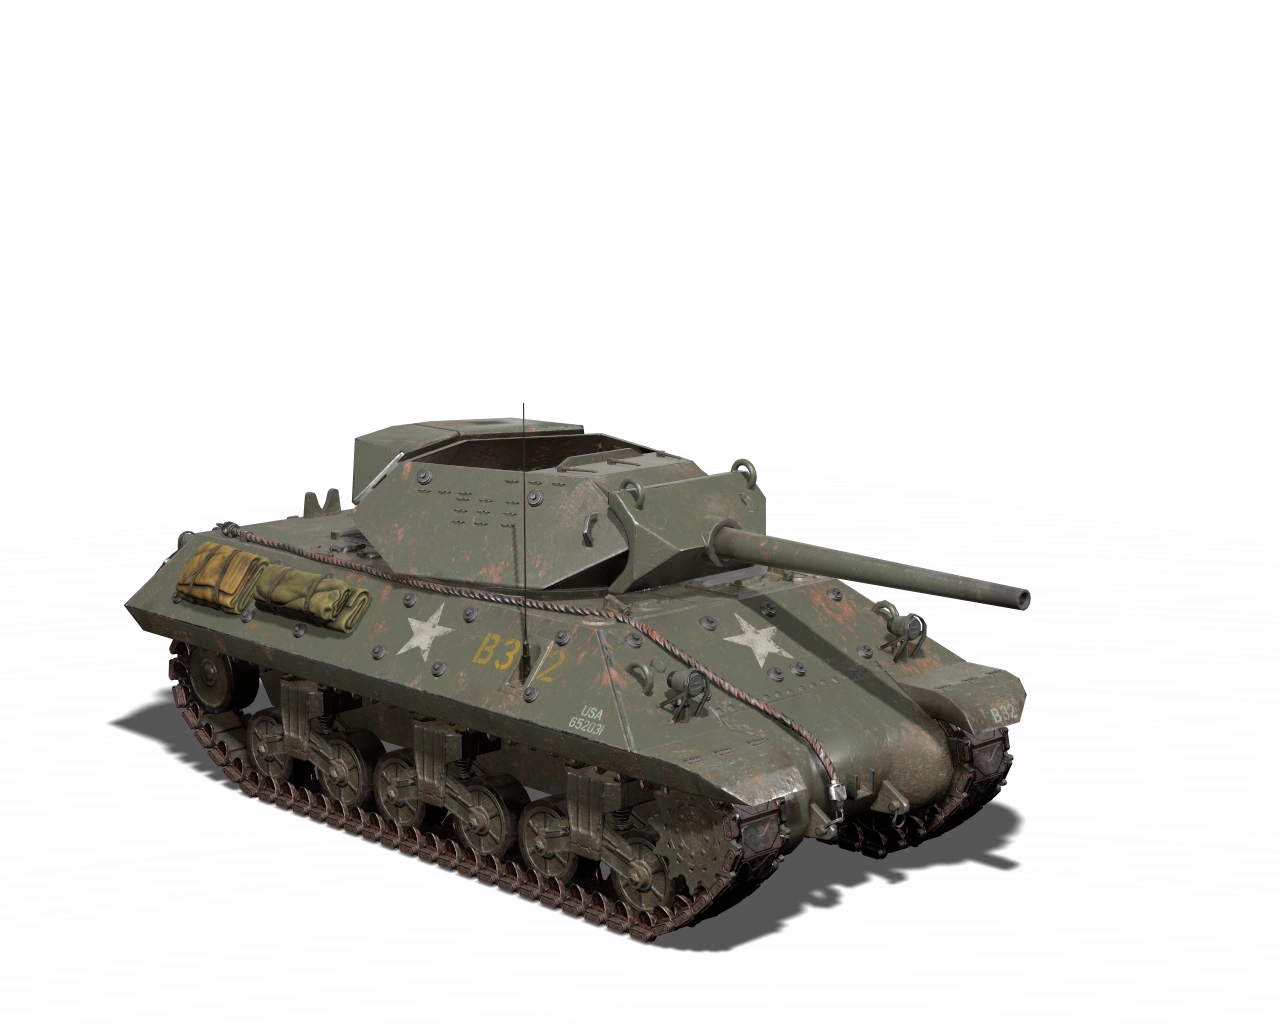
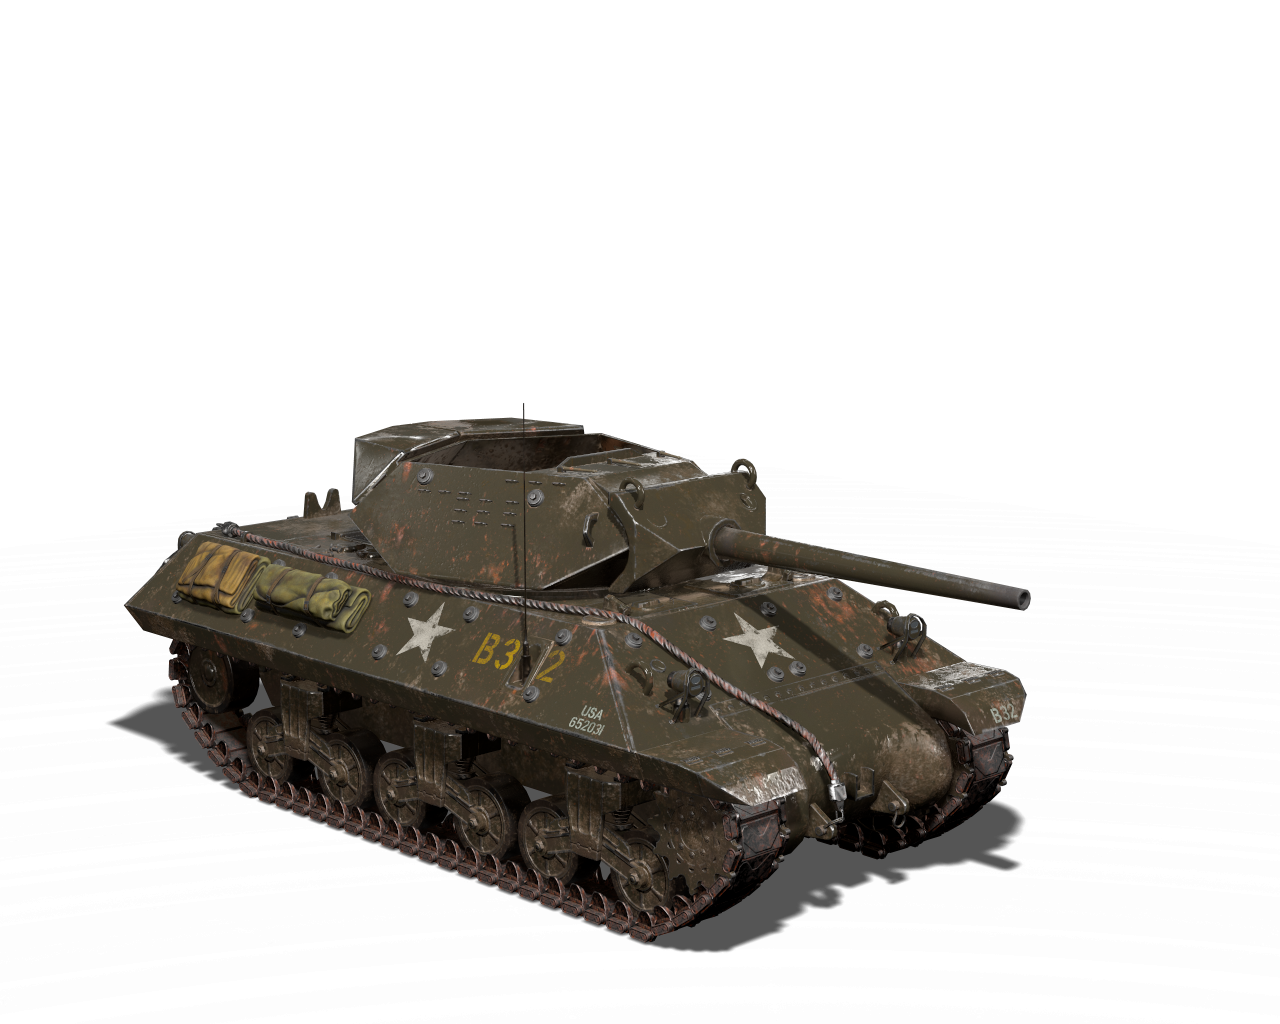
Numerically the most important U.S tank destroyer of WW2 combines high speed and mobility with a hefty 76.2mm cannon to form a well rounded tank destroying package.
Description
| “ | The U.S. tank destroyer doctrine dictates mobility and firepower at the cost of armor protection. The M10 is armed with a hefty 76.2mm cannon and will pose a real threat to enemy tanks. It is known as the ‘Wolverine’ to the British, and simply as ‘TD’ to U.S. soldiers. | ” |
| ― Heroes & Generals | ||
Tips
- As with the M18 Hellcat, the M10 sacrifices armor for speed and mobility. Use this to your advantage when flanking the enemy, firing at their side and rear.
- The M10 costs almost half as much to spawn that the M18. Consider spawning a M10 when facing weaker adversaries such as light tanks.
- Due to the thin armor the M10 should not be played like a normal tank, but rather as a tank destroyer. i.e. avoid infantry hotspots such as capture zones and open fields. Flank the enemy, relocate after a tank kill. Act from the shadows. An unaware enemy tank is an easy kill.
- When engaging a strong enemy tank such as the Panzer VI Tiger, it is advised to pause firing and reverse back into foliage cover once the enemy starts turning their front towards you. Wait until they turn away before resuming fire.
- The wrench is your best friend. make sure to repair your M10 whenever possible, for it is quite fragile.
- Standing on top of your tank can make a good vantage point to see above bushes/ ridges using your binoculars.
Munitions
| Name | Explosion Damage/Radius | Penetration | Damage[1] | Near/Far Range | Far Penetration | Far Damage | Correction Angle | Velocity | Credits Cost | Gold Cost | Cost per Shot | Maintenance Load |
|---|---|---|---|---|---|---|---|---|---|---|---|---|
| [76.2×586mm R] 3” AP, M79, Shot | 100 @ 1m | 109mm - 129mm | 1400 - 1550 | 10m/1500m | 5% | 30% | 4° | 790 m/s | 3,300 |
39 |
8.25 |
0:00s |
| [76.2×586mm R] 3” HE, M42A1, Shell | 165 @ 9m | 10mm - 30mm | 525 - 840 | 0° | 820 m/s | 11,000 |
126 |
27.5 |
0:20s | |||
| [76.2×586mm R] 3” APC, M62, Shot | 100 @ 1m | 125mm - 138mm | 1513 - 1700 | 10m/1500m | 5% | 50% | 6° | 790 m/s | 13,600 |
160 |
34 |
0:10s |
| [76.2×586mm R] 3” HVAP, T4, Shot | 100 @ 1m | 167mm - 197mm | 1400 - 1550 | 10m/1000m | 5% | 15% | 3° | 1000 m/s | 5,780 |
68 |
14.45 |
0:10s
|
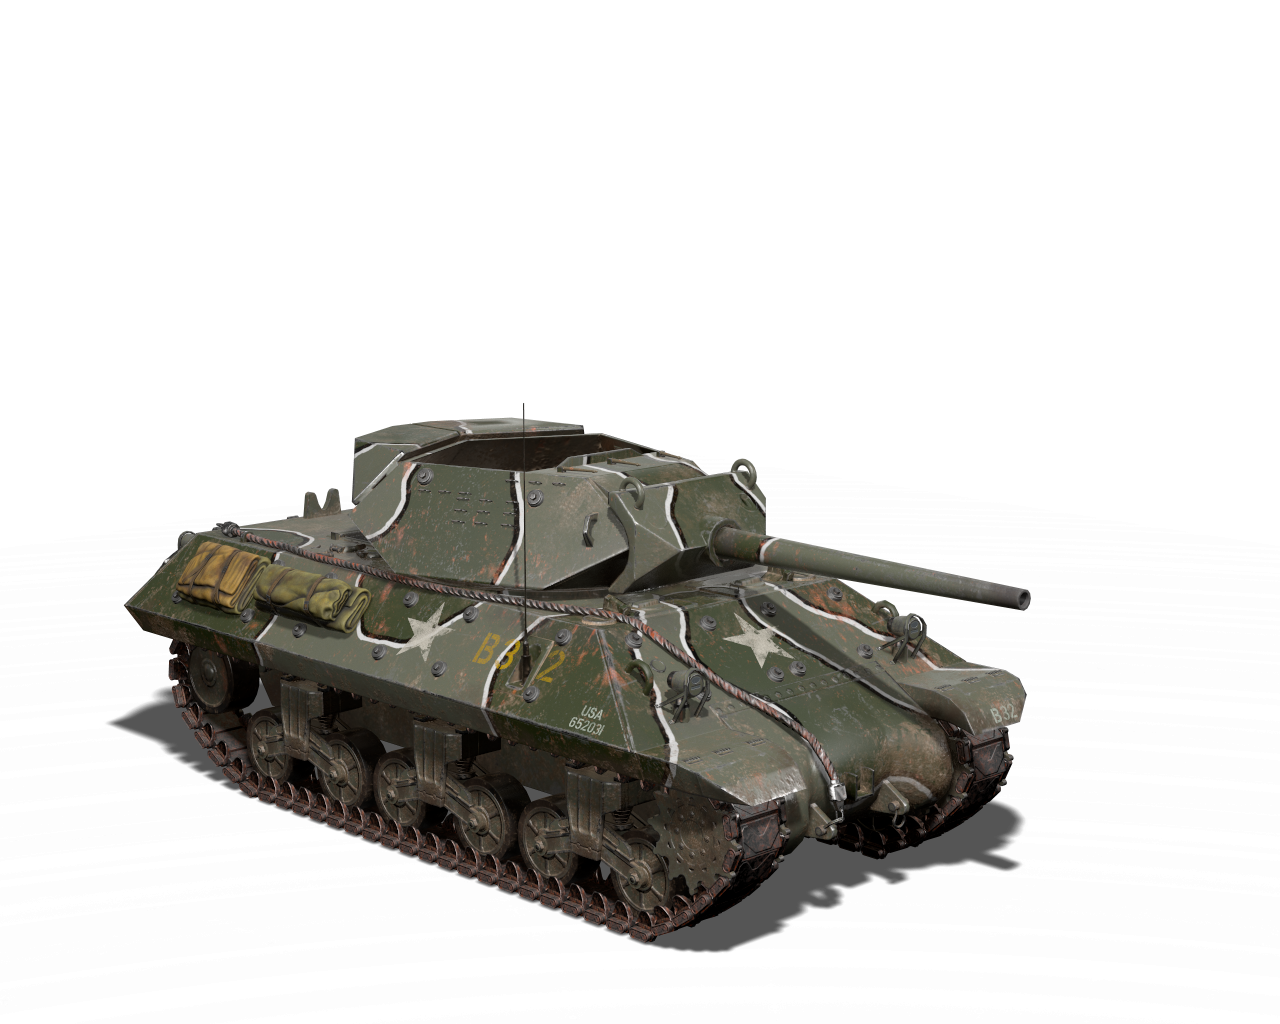
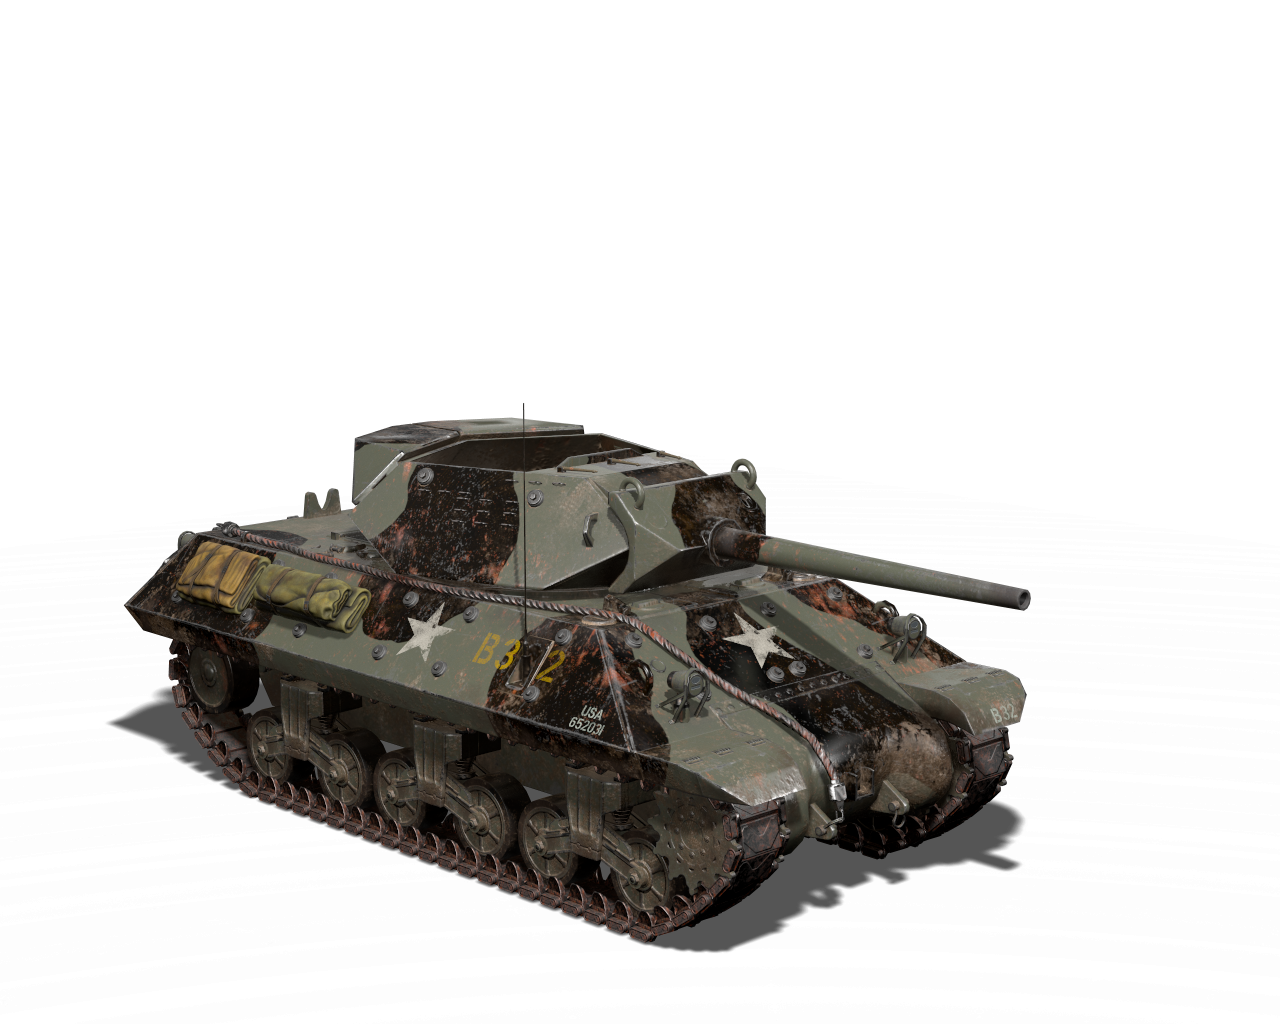
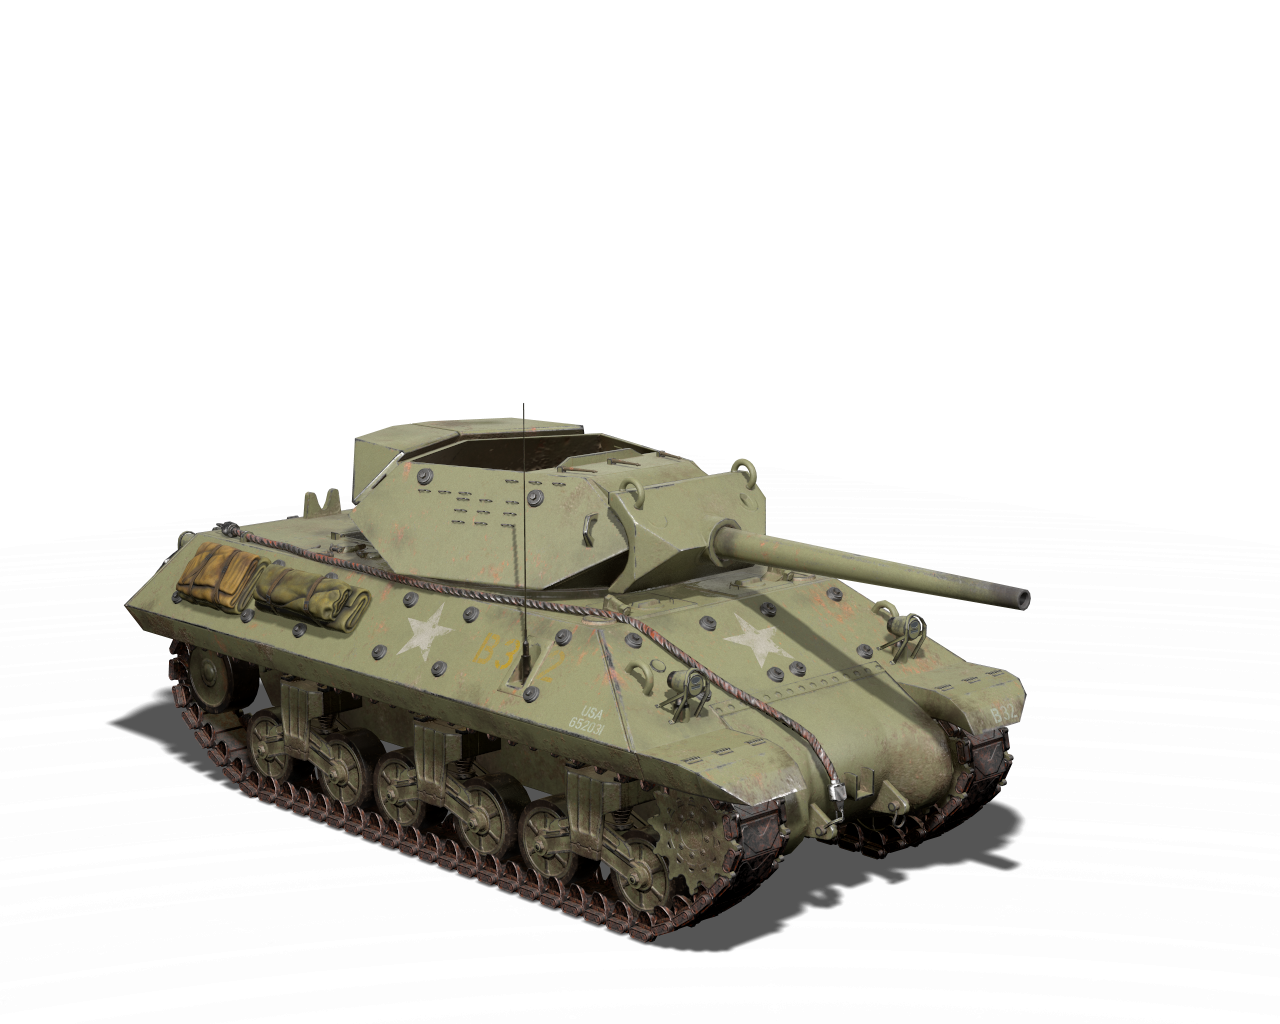
Camouflage
| Factory | Ardennes Four Color | Olive Drab & Black | Lustreless Olive Drab | Gloss Olive Drab Enamel |
|---|---|---|---|---|
| Price (Credits) | 123,000 |
90,000 |
Unknown |
Unknown |
| Price (Gold) | 490 |
360 |
Unknown |
Unknown |
 |
 |
 |
 |
 |
 |
 |
 |
 |
 |
Upgrades
Supply Crates and other upgrades can be fitted to your vehicle to aid yourself or nearby infantry.
| Name | Contents | Credits Cost | Gold Cost | Spawn Cost | Maintenance Load |
|---|---|---|---|---|---|
| Camouflage Net | Battle Pass Season 2 Battle Pass Season 3 |
||||
| Ammunition Supply Crate | Ammo | 1,300 |
15 |
12 |
0:02s |
| Medic Supply Crate | Health | 4,400 |
52 |
44 |
0:02s |
| Anti-tank Supply Crate | Panzerfaust 60 | 7,500 |
90 |
68 |
0:02s |
| Demolition Kit Supply Crate | Infantry Demolition Kit M1 | Battle Pass Season 0 | 44 |
0:02s | |
| Flame Thrower Supply Crate | Einstossflammenwerfer 46 | Battle Pass Season 0 | 44 |
0:02s | |
Specialist Ribbon
| Vehicle Required: | M10 Tank Destroyer | |||||||||||
|---|---|---|---|---|---|---|---|---|---|---|---|---|
 M10 Tank Destroyer Specialist M10 Tank Destroyer Specialist
| ||||||||||||
| Using the M10 Tank Destroyer in battle will earn you points on this ribbon. More points are awarded for scoring hits on enemy tanks. Highest rewards are given for destroying enemy tanks. | ||||||||||||
| Rank | 1 | 2 | 3 | 4 | 5 | 6 | 7 | 8 | 9 | 10 | 11 | 12 |
| |||||||||||
- ↑ Against armor